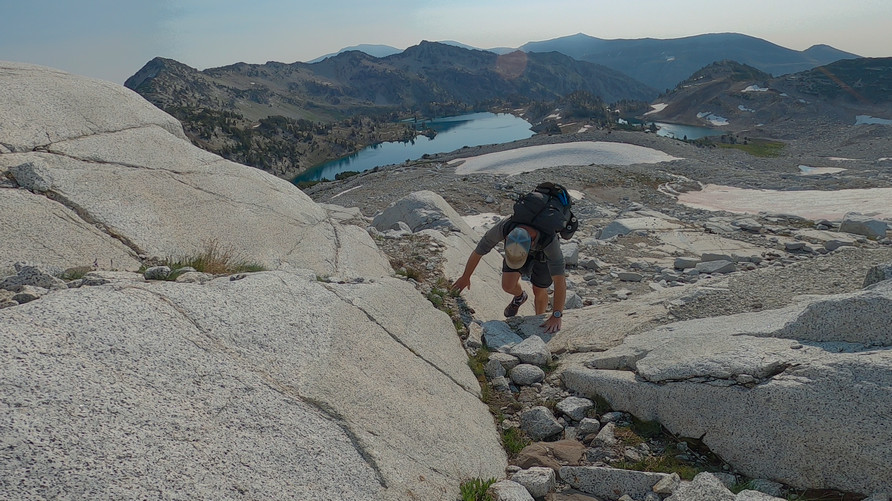
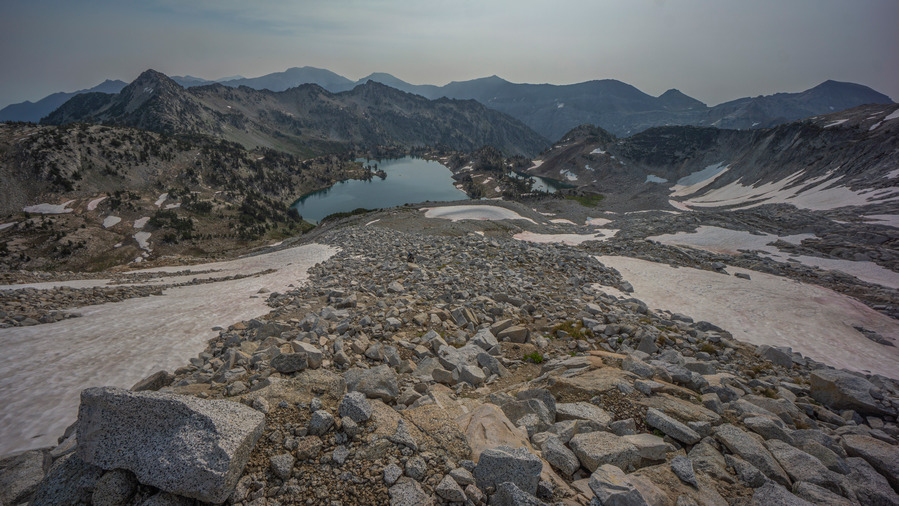
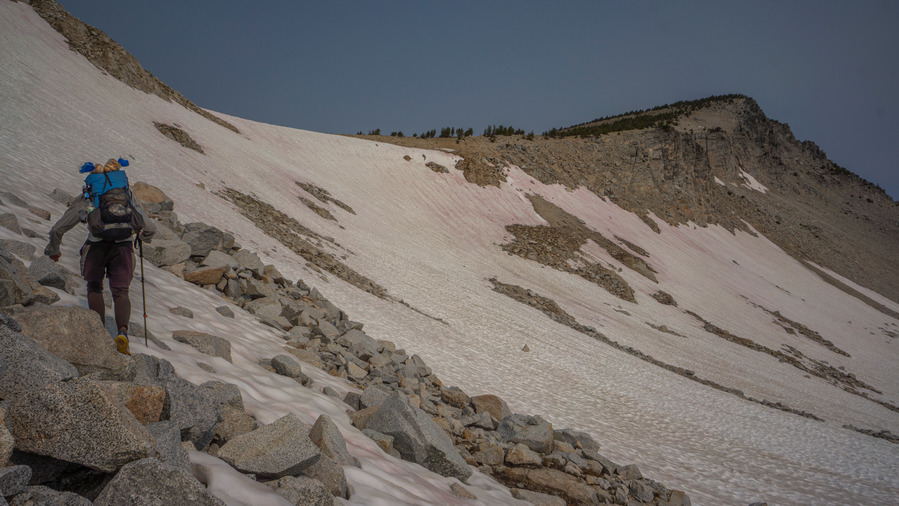
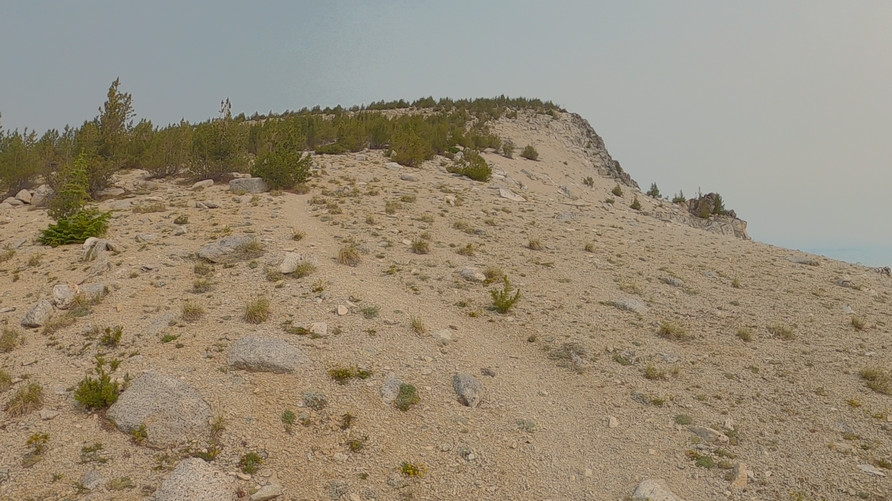
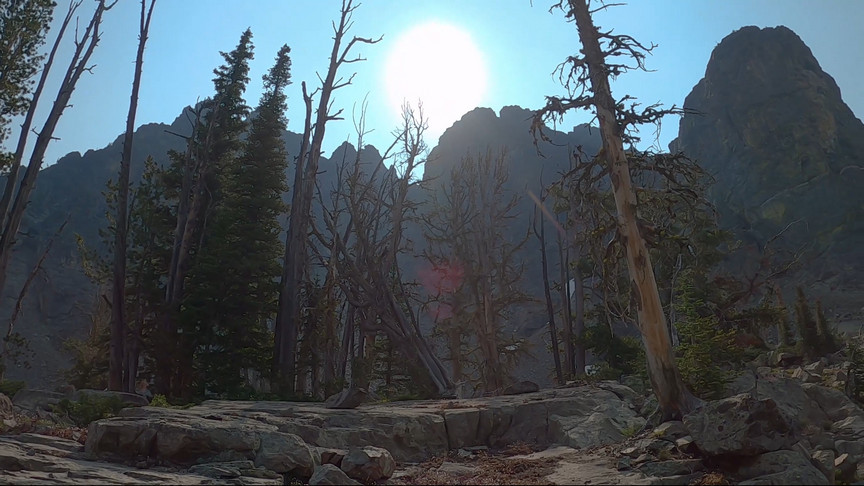
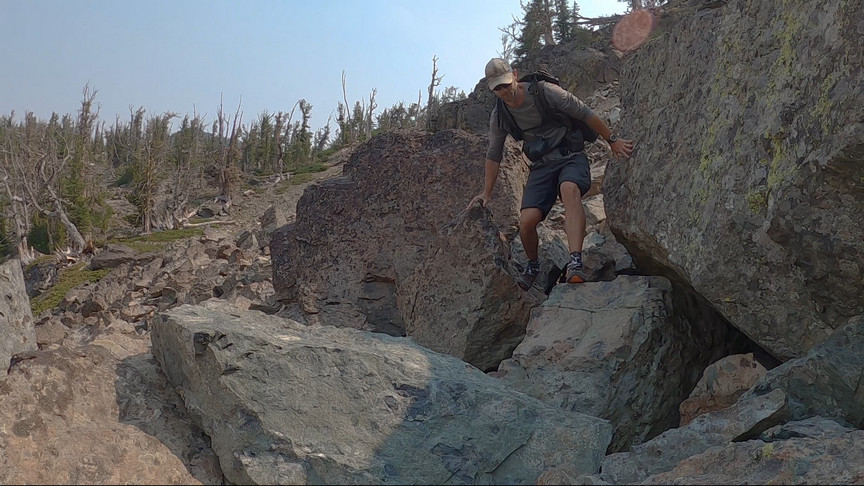
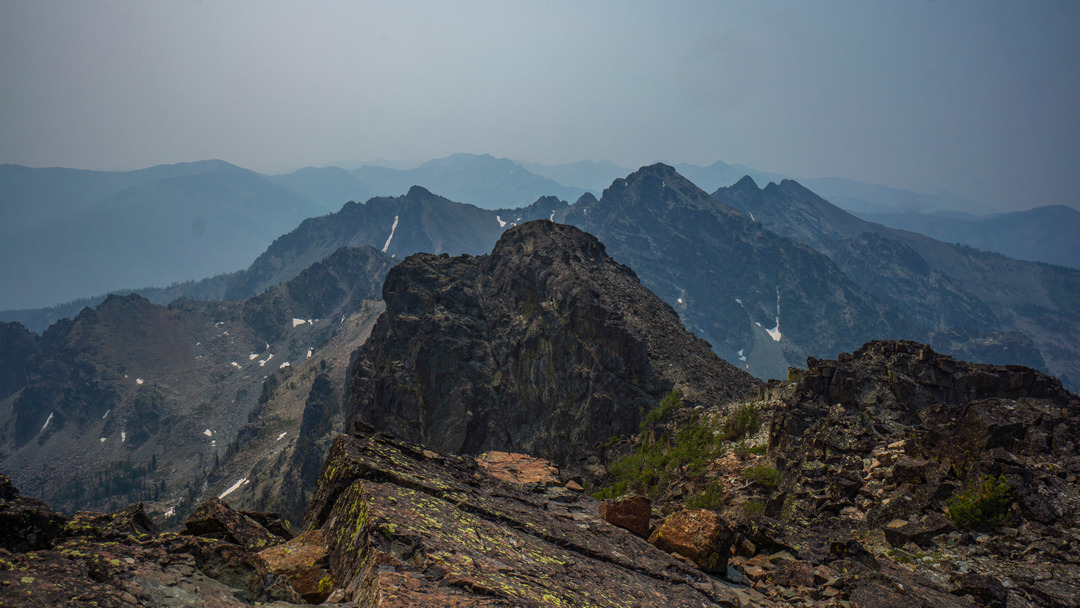
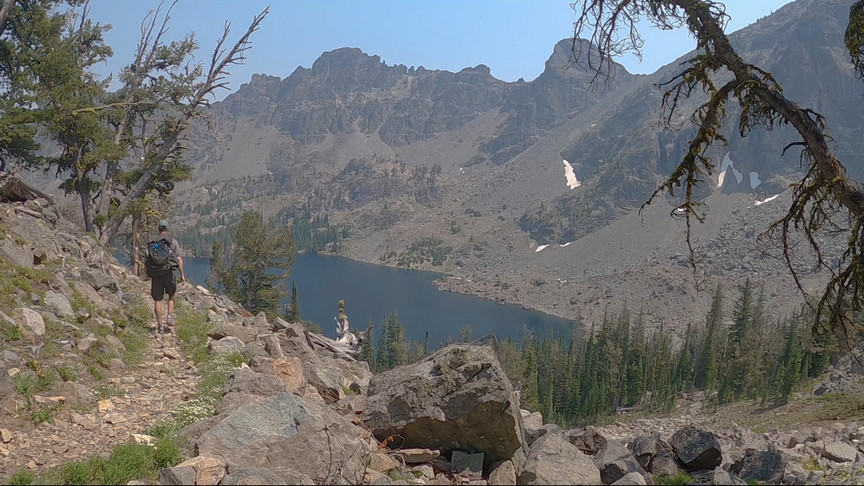
CDT Section Hike 2021 – Never Summer Wilderness & Parkview Mountain
CDT Section Hike August 2021 – Rocky Mountain National Park, Never Summer Wilderness & Parkview Mountain, Colorado
-
- Hike Location – Rocky Mountain National Park, Never Summer Wilderness & Parkview Mountain, Colorado
- Land Administration – National Park, National Forest
- Hike Type – Point to Point
- Fees & Permits – No fees or permits needed (unless camping overnight in RMNP)
- Start Trailhead – Shadowcliff Hostel, Grand Lake
- End Trailhead – Forest Rd 104
- Length Of Time Hiked – 3.5 Days
- Miles Hiked – 60
- Route Difficulty – 4.5
- Scenic Beauty – 7.5
- Solitude – 8
Pre-Hike Planning Notes
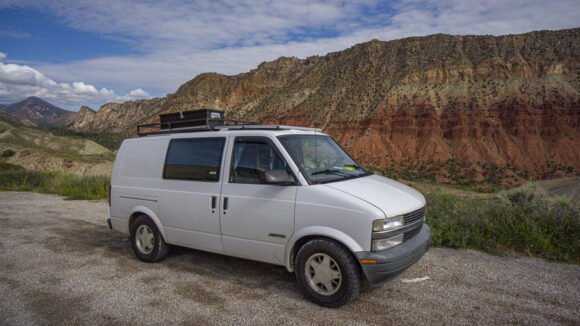
I’ll be joining my friends Alex Maier and Amy Robin on their 2021 CDT thru hike as they walk from Grand Lake to Steamboat Springs. I’ve hiked this before myself on my 2018 CDT thru hike, and know it probably isn’t the highlight of the CDT. But, I wanted to join Alex and Amy for a section of hiking this summer and logistically, this is where it worked out for us both. I’ll have a friend pick me up along FR 104, south of Little Haystack Mountain. He’ll take me back to Grand Lake to get my van, where I parked it at the Shadowcliff Hostel, and I’ll follow him back to his place in Colorado Springs afterwards.
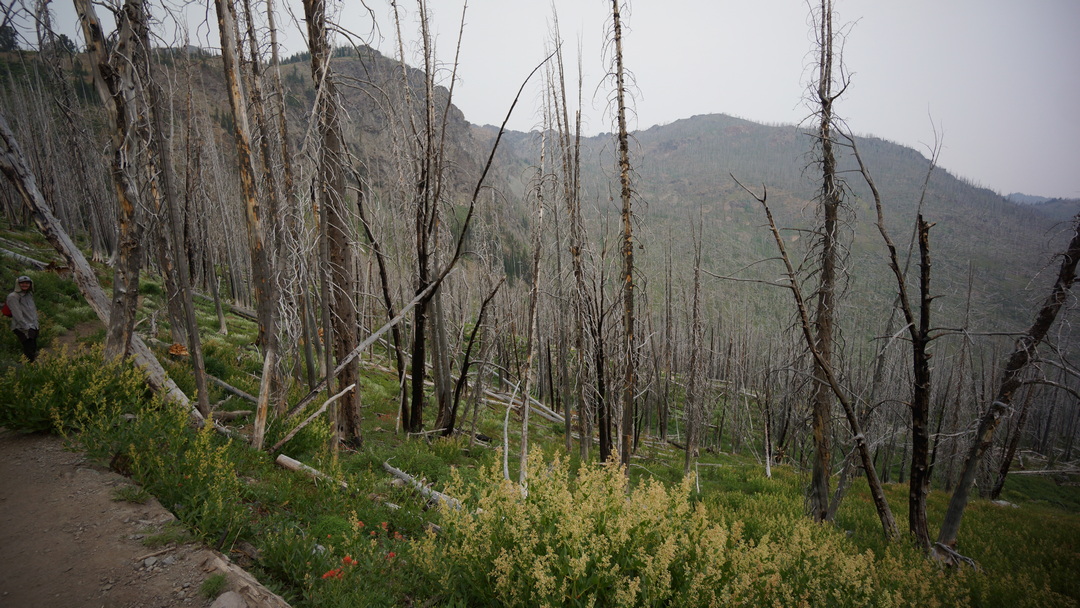
You’ll need a permit if you plan on camping overnight in Rocky Mountain National Park. But the RMNP section is only a few hours walk out of Grand Lake, and much of it has been burned recently in a fire, so you wouldn’t want to camp here anyways. Recent fires have also burned sections of the CDT south of Parkview Mountain. Much of this section has good trail and is a relatively easy hike.
Map of my CDT Section Hike:
Caltopo map of my CDT section hike from Grand Lake to, well, not quite Steamboat Springs
Download GPX file of this hike
Video: CDT Section Hike: Grand Lake to Steamboat Springs, Colorado
Day 1 – August 2nd, 2021
Miles Hiked – 12.92
Elevation Gain – 2973′
Route Hiked – Grand Lake to Upper Bowen Gulch
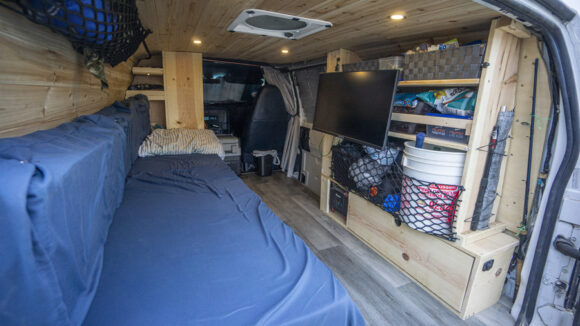
Let me start by backing up a bit. Two nights ago, my friends Alex Maier and Amy Robin hiked into Grand Lake. They have been hiking since April on the Continental Divide Trail, having started at the border of Mexico and New Mexico. This puts them roughly 1300 miles into their hike, with another 1700 remaining to the border of Canada. I completed the CDT in 2018, and now it’s my privilege to join Alex and Amy for a section of their hike this year. I had been touring the west for the past 6 weeks in my newly built camper van, and it’s here in northern Colorado that our paths cross this summer.
Alex is a documentary film marker, best known for his “Figure It Out On The Hayduke” movie. I really enjoyed Alex’s take on the benefits of being in the wilderness, and his ability to put profound concepts into clear, distinct words. So I was very interested in his latest project, “Mind Body Soul“. This project follow Alex and Amy’s 3,000 mile hike on the Continental Divide Trail, with a goal of exploring the effects hiking has on the mind, body and soul. Alex also has a youtube channel called Wilderness Mindset, where he shares high quality videos of his outdoor adventures and thru hikes.
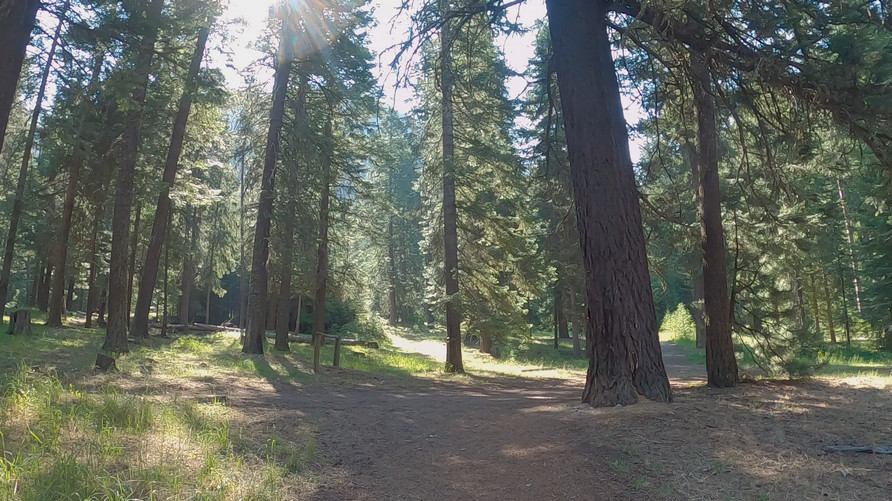
We started the hike out of Grand Lake at Shadowcliff Hostel. Alex and Amy are also hiking with their two service dogs, Echo and Minnow. From here it’s a short walked through some burned forest. This had all burned since my visit here in 2018 on my CDT thru hike. The route I took before had us continuing north for a few more miles, but the trail was closed and we had to detour west. This led us back to HWY 34, the main road north/south running road in the area. And now it’s a few miles of road walking through Rocky Mountain National Park.
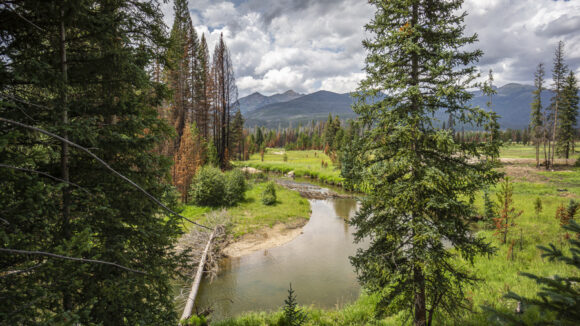
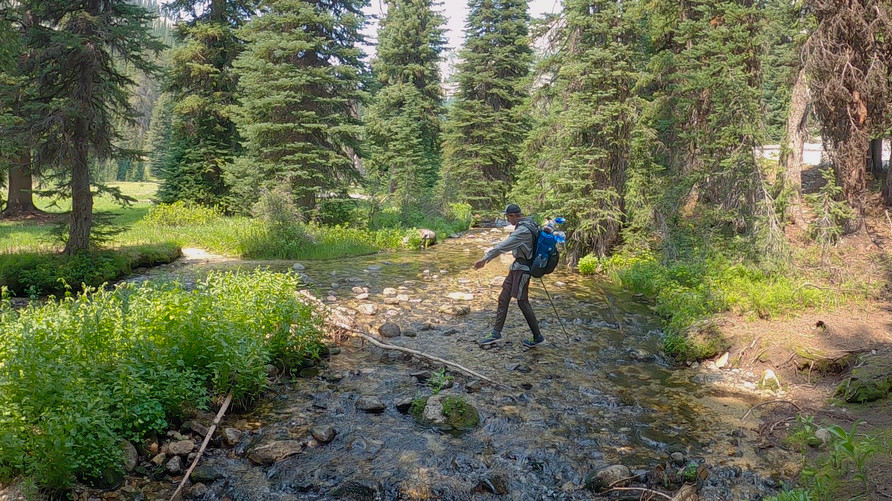
North of Onahu Trailhead, we leave the paved road for a dirt one. Life is suddenly more quiet and calm away from the traffic. We cross the Colorado River here, not all that far from its headwaters just 10 miles away, as the crow flies. We stop here for a lunch break along the banks of the river. This is nice. This brings back memories.
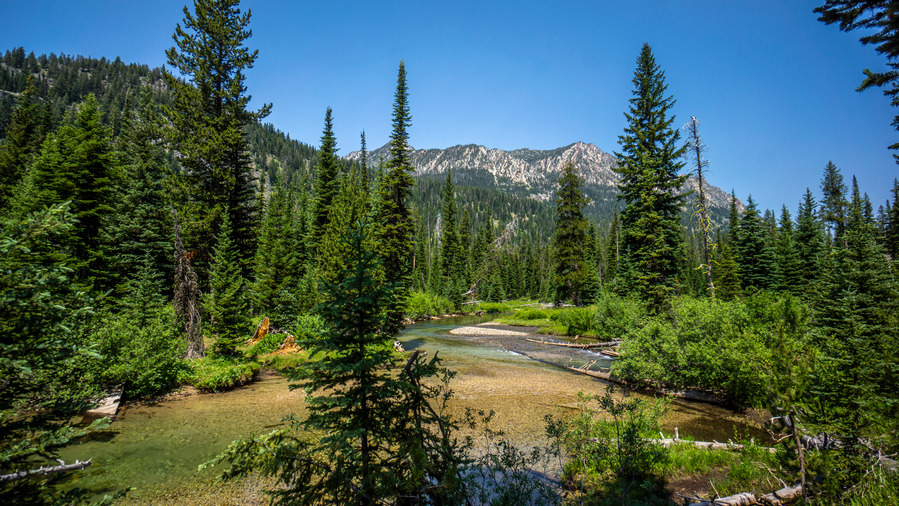
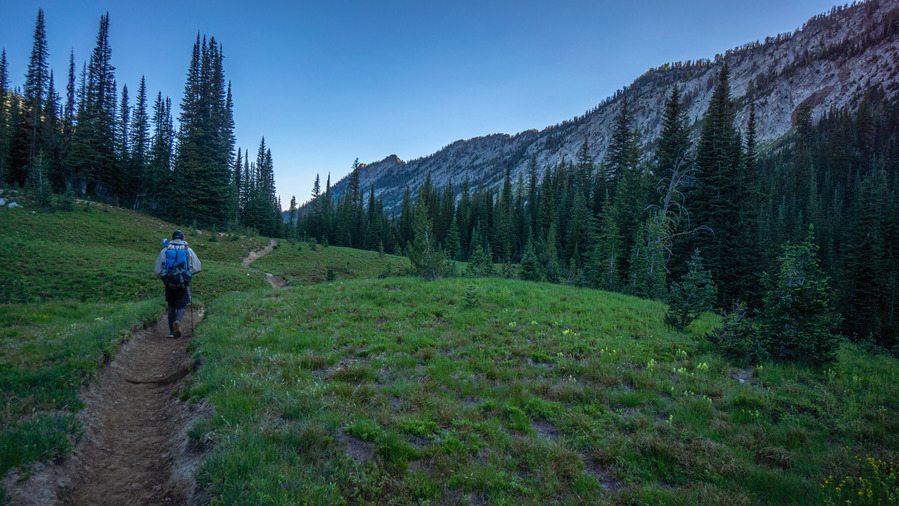
We leave the Colorado River behind and hike towards Bowen Gulch. We hike uphill though the the forest for a while and enter the Never Summer Wilderness. The trail is good and the grade is excellent for those long, continuous pushes uphill. This makes a 2,000ft climb like this one much easier.
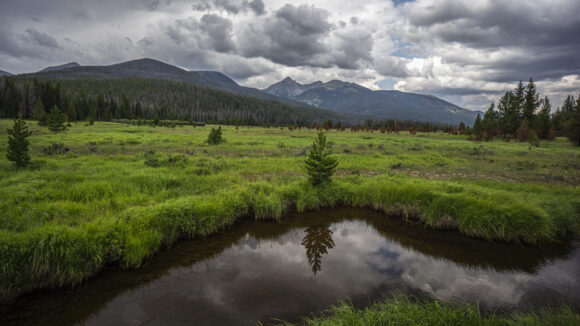
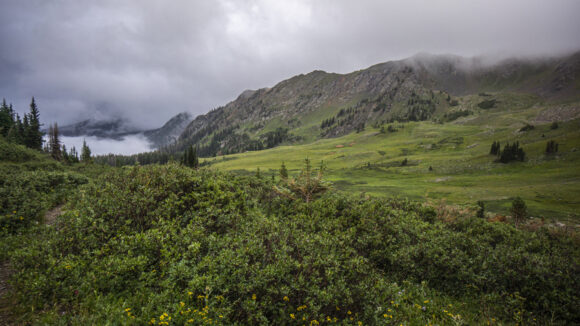
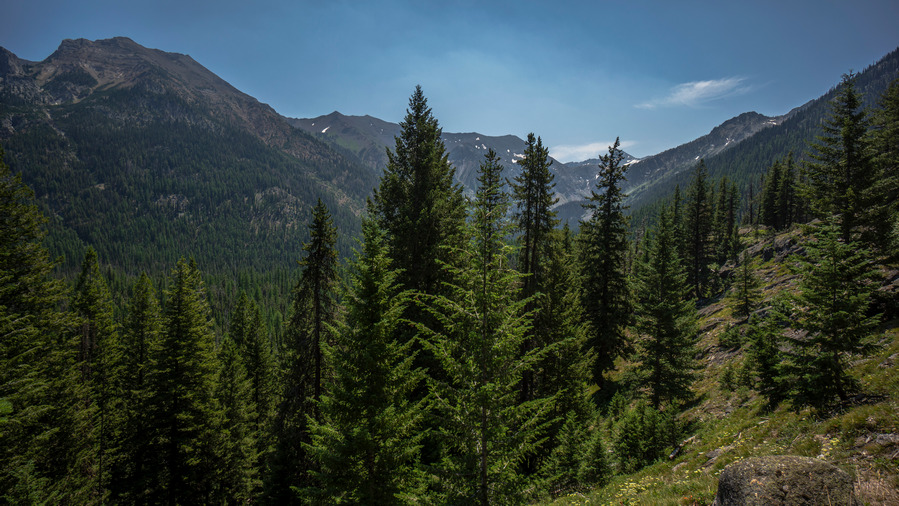
The trees break as we reach the upper Bowen Basin area. We see a few moose in the area, and I remember seeing them here in 2018 too. This is their turf.
We found a pretty nice campsite with good tree cover not far off trail. The clouds moved in and out rapidly as the evening progressed.
Day 2 – August 3rd, 2021
Miles Hiked – 13.75
Elevation Gain – 2411′
Route Hiked – Upper Bowen Gulch to Willow Creek Pass
Last night we had a lot of animal activity. By the sound, they were large animals, and they were close by. We assumed moosr, since we saw several in the area lst night, and there were little trails leading through our general campsite area. One animal was probably only 4ft from my tent at one point.
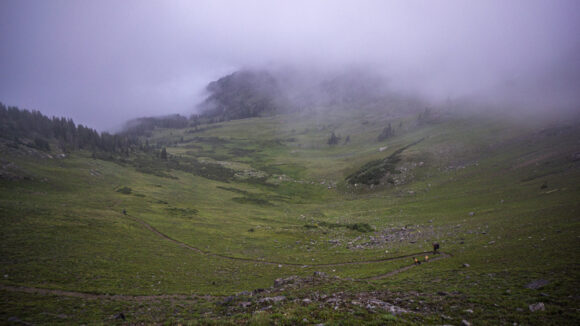
After leaving camp, we still had a few hundred feet left to climb to reach the top of Bowen Pass. We saw a few more moose down lower in the valley. They really like this area.
West side of Bowen PassThe top of Bowen Pass was a bit of a let down, with all the fog around. This pass separates the Arapaho National Forest and Route National Forest though, so that’s something.
On the way down form Bowen Pass, we stop at a small creek for water. I remember stopping here for water too on my 2018 hike. I don’t remember the miles ahead being very memorable, though.
My memory served me right; the rest of the day was not that interesting. It had been raining on and off today, quite a bit in the afternoon. We were pretty wet and when we stopped, it was cold. We kept our breaks short and kept moving.
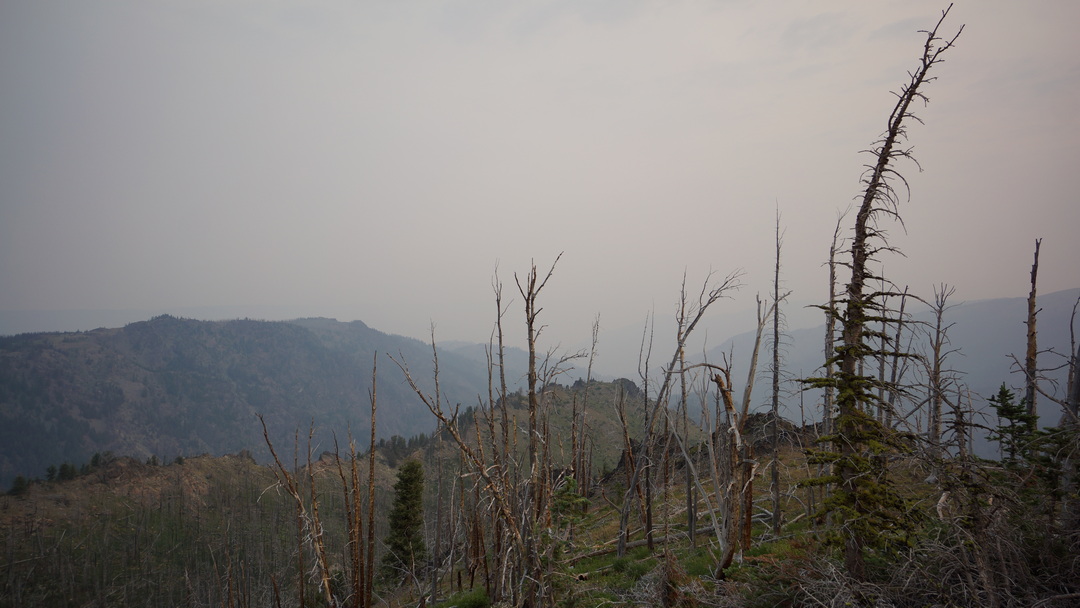
Later this afternoon, we hiked through several large burn areas. I didn’t take any photos here, apparently. It was pretty bleak looking, but very easy to walk. The terrain was pretty open and free of vegetation, and some erosion was starting to occur as a result.
We found camp above Willow Creek Pass. Nothing special, but campsites on the CDT seldom seemed special to me. This fits my recollection of CDT camping perfectly; a subpar campsite that looks a lot better at the end of a long day.
Day 3 – August 4th, 2021
Miles Hiked – 14.26
Elevation Gain – 4523′
Route Hiked – Willow Creek Pass to Poison Ridge
We got clobbered with rain last night. It was coming down heavily. Probably heavier than any single rain event on my entire CDT thru hike in 2018. But it barely rained at all on my 2018 hike. Now, I’m getting the full Colorado experience here.
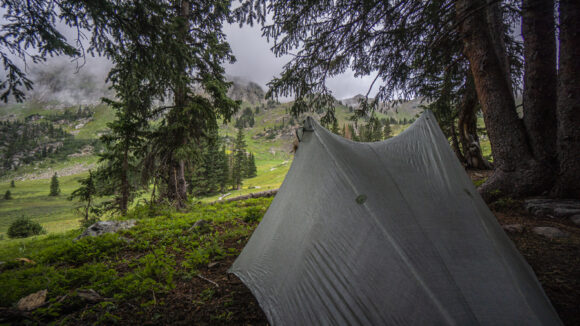
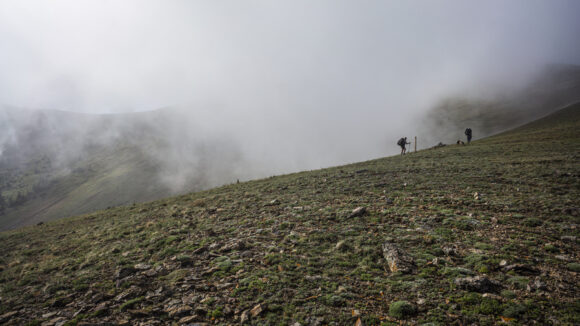
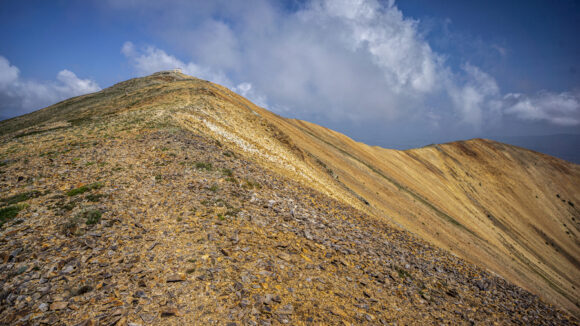
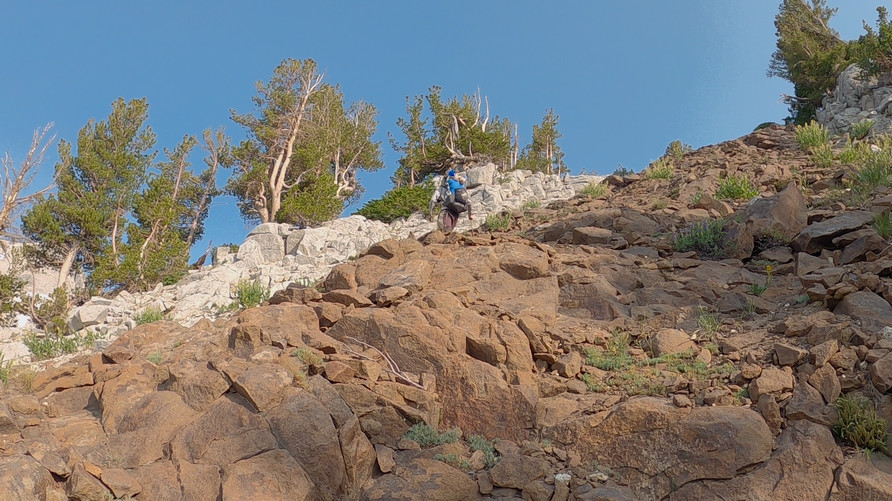
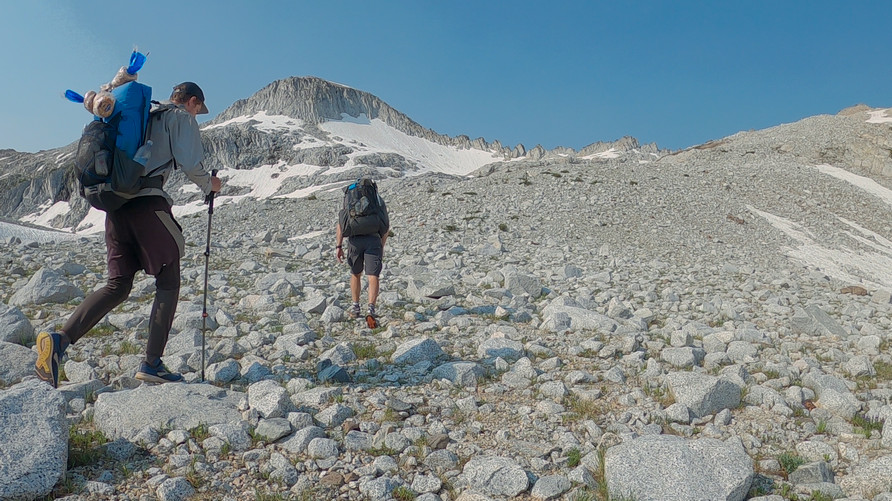
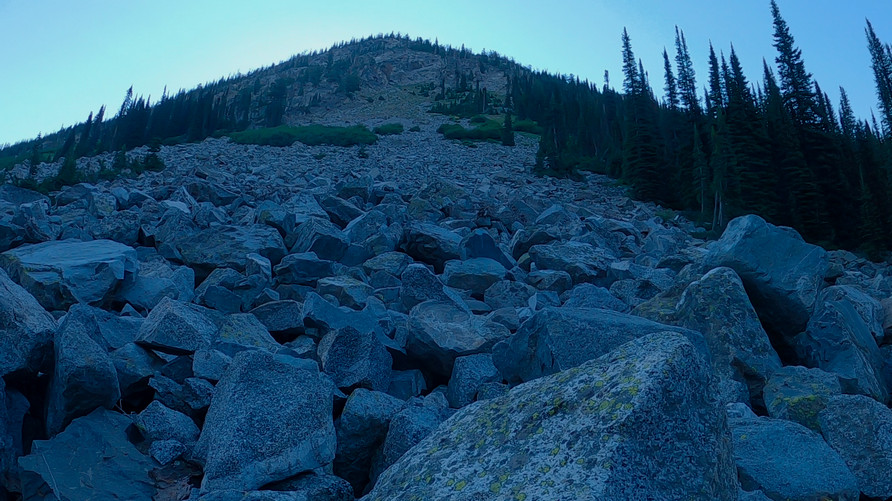
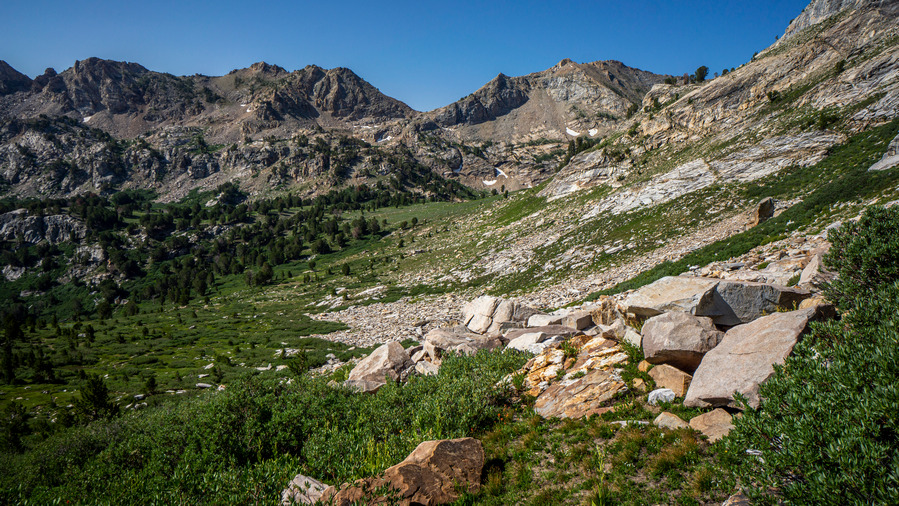
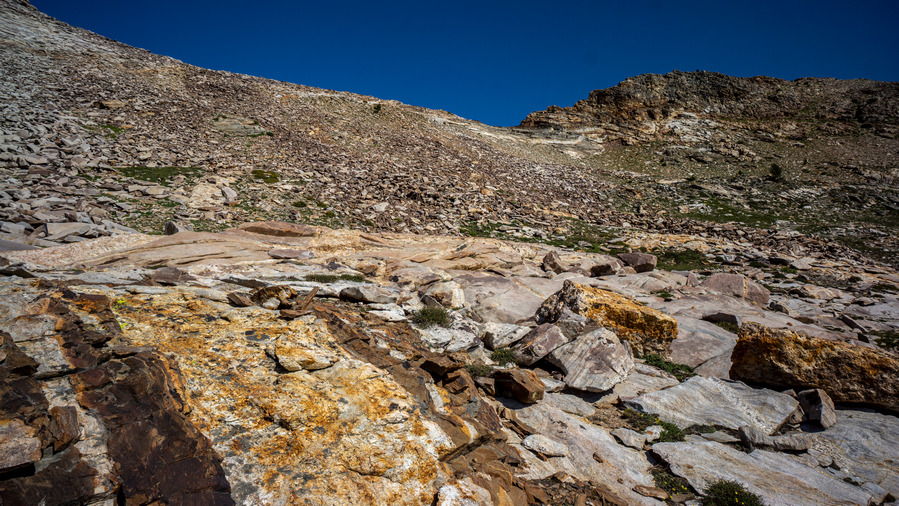
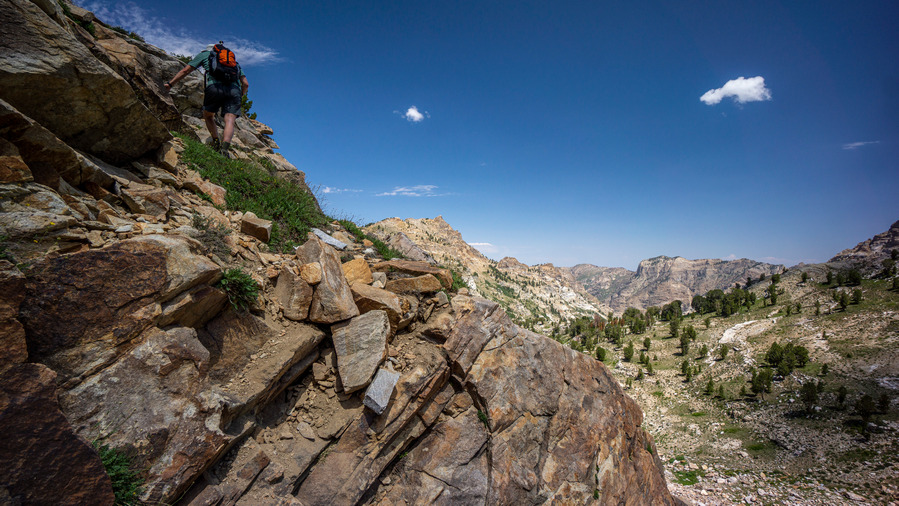
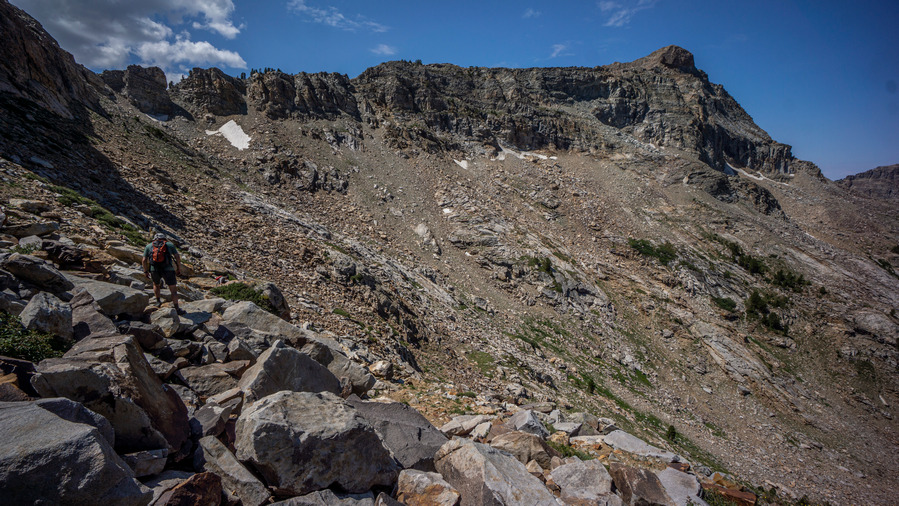
We pack up camp wet this morning and hit the soggy trail. We emerge from the forest and find ourselves at the bouldery base of Parkview Mountain. We skirt this base and begin our ascent of Parkview as we punch through the clouds.
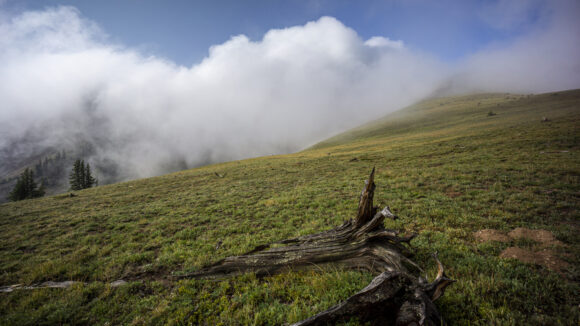
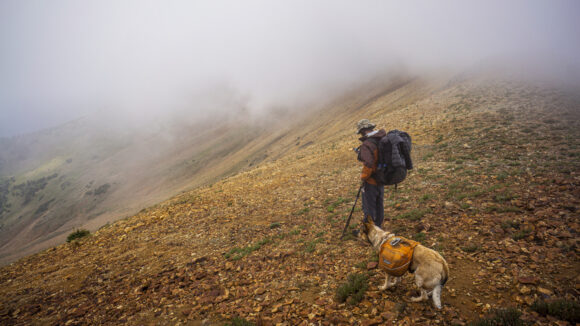
The weather is weird today; low clouds that rapidly come and go, alternating periods of high winds and total silence. Once we gain the crest of our first ridgeline, we get above the clouds for the first time. Well, we’re hiking in them now, too. It’s sunny and clear blue skies one minute, and within seconds, a big cloud blows in and visibility goes down to mere feet. It’s wild, and pretty damn cool.
The hike up the ridgeline is great. I enjoyed it in 2018, when the views were wide open and vast. But I enjoyed this more. Alex and Amy hadn’t had any days like this either on their CDT hike this year up to this point.
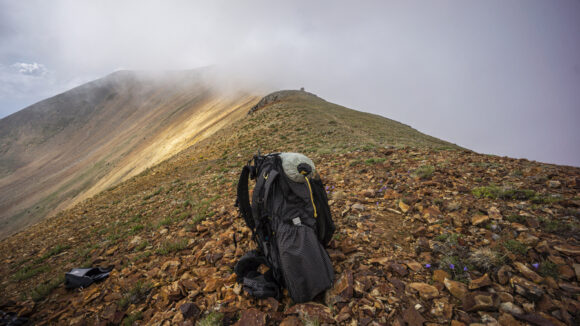
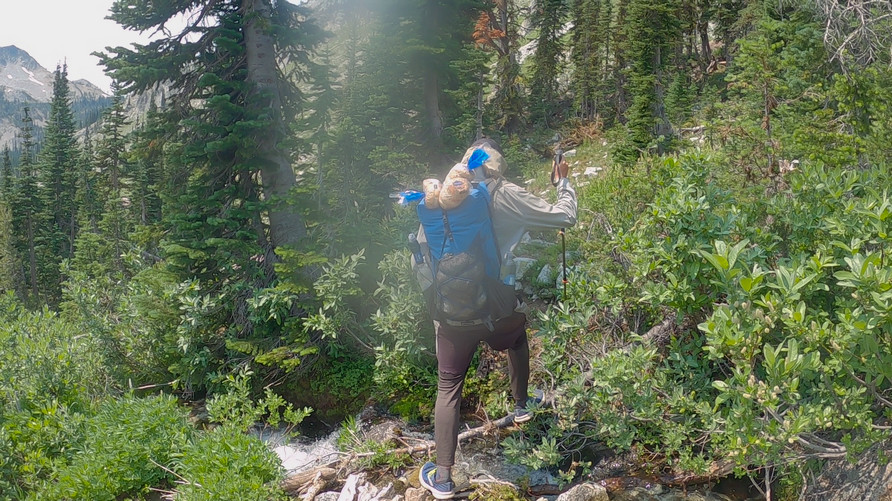
Optimism has my tent on the outside of my pack today, hoping it will dry out after last night’s rain
Conditions continue to change second by second and keep us on our toes. But, there seems to be no threat of rain. We take our time heading up the mountain now, as the 3 of us are all photographers. We are sidetracked with the constantly changing lighting, mood and landscapes!
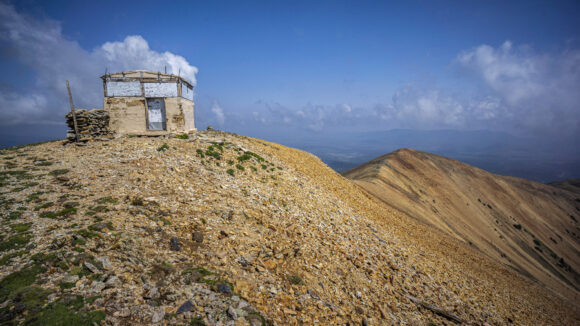
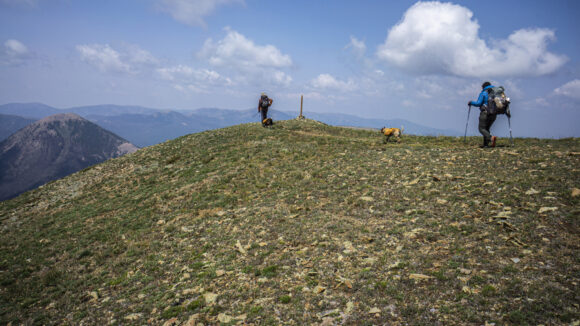
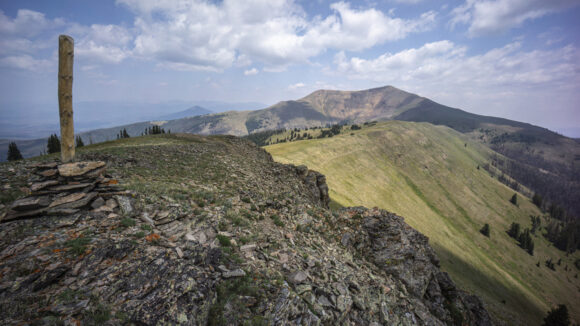
We reach the summit of Parkview Mountain mid-day. For northbound CDT thru hikers, Parkview Mountain is the last 12k peak they will encounter. Unless you do the Wind River Range High Route alternate, and you’d be a FOOL not to! Just saying. We take lunch inside the shelter and enjoy the wind break. I’m sure the rodents would be an issue if one tried sleeping in here. The dogs were going nuts trying to get at them while they scurried around underneath the shelter.
We begin the descent down Parkview Mountain by doing exactly what I did in 2018; taking a wrong turn here and walking down the obvious looking ridgeline. While there is good trail leading this way, and good views too, the correct route was to take the ridge to the west. This was a dumb mistake, and even dumber because I made it twice.
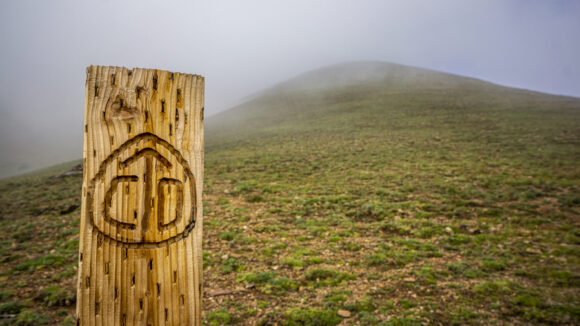
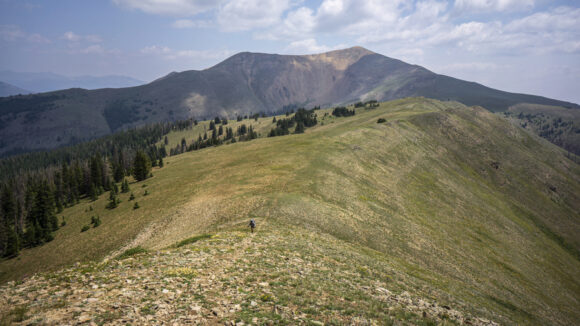
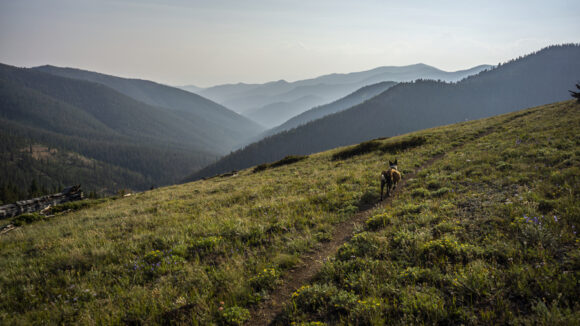
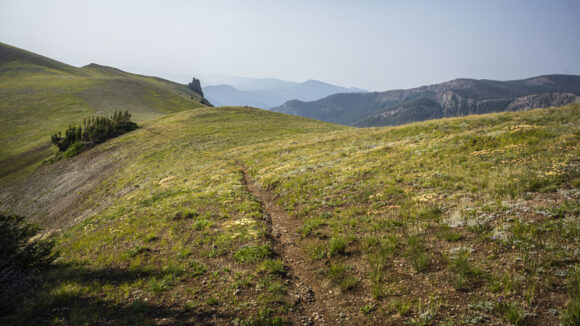
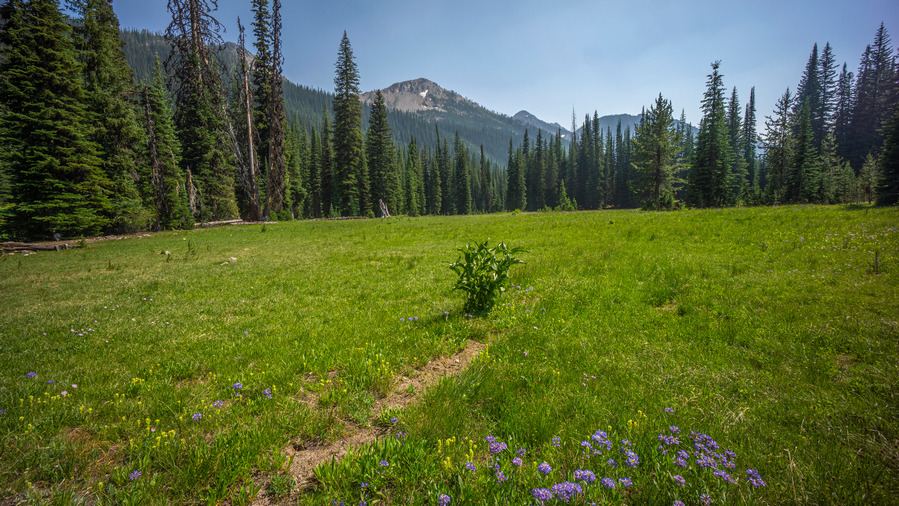
Back on trail now, CDT signs and posts lead the way. The hiking here is excellent, just as I remembered it from 2018. It’s not the most scenic place you’ve ever been, but it has a simple beauty to it. It’s mot going to wow you, but it’s extremely pleasant. You just feel good being here.
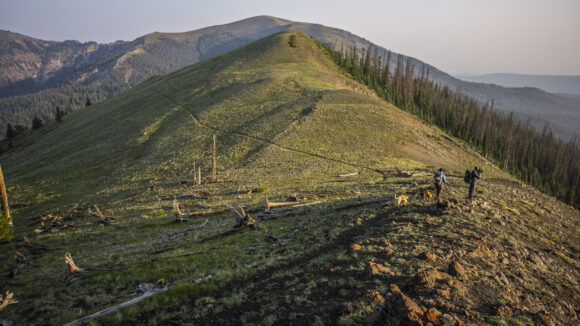
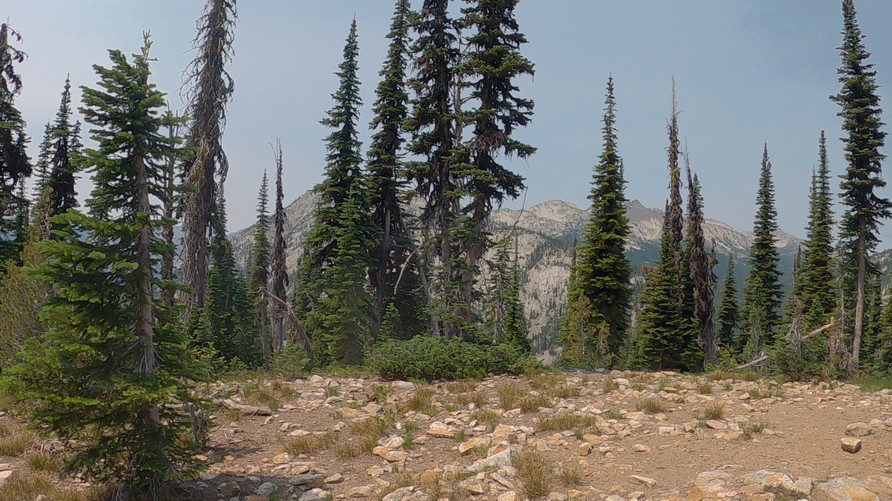
We get some distance from Parkview Mountain and watch it become smaller on the horizon. It’s also an excellent backdrop now to the scenic ridge we’re hiking.
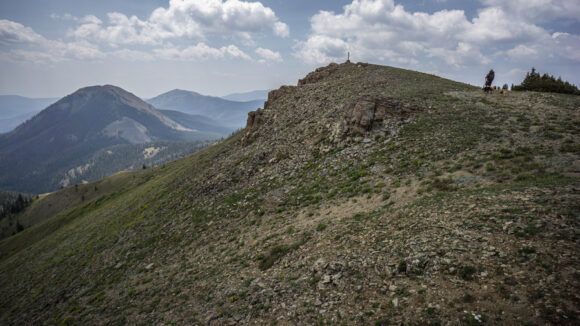
Next, we hike around Haystack Mountain. The trail drops down off the ridgeline about 450ft and contours around the east side of Haystack at the 10,200 mark. This section had a few downed trees and minor obstacles, but nothing too bad.
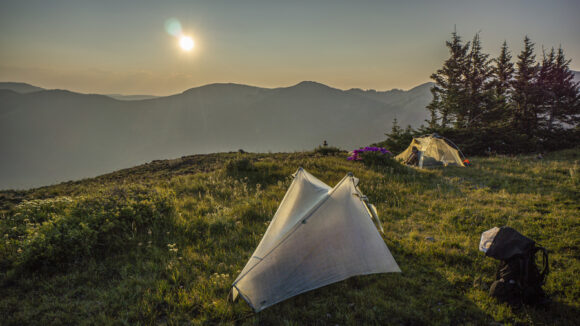
We cross Troublesome Pass and keep hiking towards Poison Ridge. The sun is getting lower in the sky and it’s time for camp. We find a pretty nice spot with an elevated view over Sheep Creek. With the full sun of the afternoon, we have been able to fully dry out our gear. What a great end to a day that started out wet and dreary.
Day 4 – August 5th, 2021
Miles Hiked – 15.47
Elevation Gain – 3075′
Route Hiked – Poison Ridge to FR 104
This morning’s hike was nice. Clear skies and sun, good trail and good views. Again, this area is not spectacular. But it’s enjoyable. I felt good being here. However, today is the day I’ll meet up with my friend who will pick me up somewhere along FR 104. And so, after a few hours, I say goodbye to Alex and Amy and hike ahead. I’m slightly behind schedule now, and increase my pace to make up for the time. I don’t want to keep my friend waiting any longer than he has to, he drove quite a long ways to meet me out here.
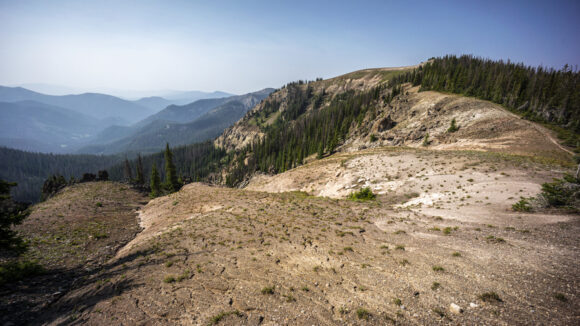
The ridgeline hike continues to be enjoyable. Eventually though, it’s time to drop down to Middle Fork Arapaho Creek near Hyannis Peak. It’s here that I run into another moose along the trail. Fortunately he went on his way, and I could keep running down the trail. And that’s what I was doing now, jogging where possible.
I climb out of Middle Fork Arapaho Creek to the ridge on the south side of the canyon. This is FR 104, the 4×4 road I have been shooting for. The spot my friend and I chose was a little farther downhill, so head that way. The road looks pretty good here, but I have a feeling it’s rough lower down the mountain. I get a brief moment of cell service and call him. He’s about 6.5 miles downhill from here, but the road is really rough. I get going to try and knock out these final miles as fast as possible.
I hike another hour or so, and was surprised to see my friend’s Subaru coming uphill. He was able to keep driving since our last call, but as rough as the road was here, I was not expecting him at all. So that saved me about 3 miles of the 6.5. But I would not recommend driving on this road without a high clearance vehicle!
That’s it for this hike. What’s next? I have a killer Wind River Range hike planned for next week!
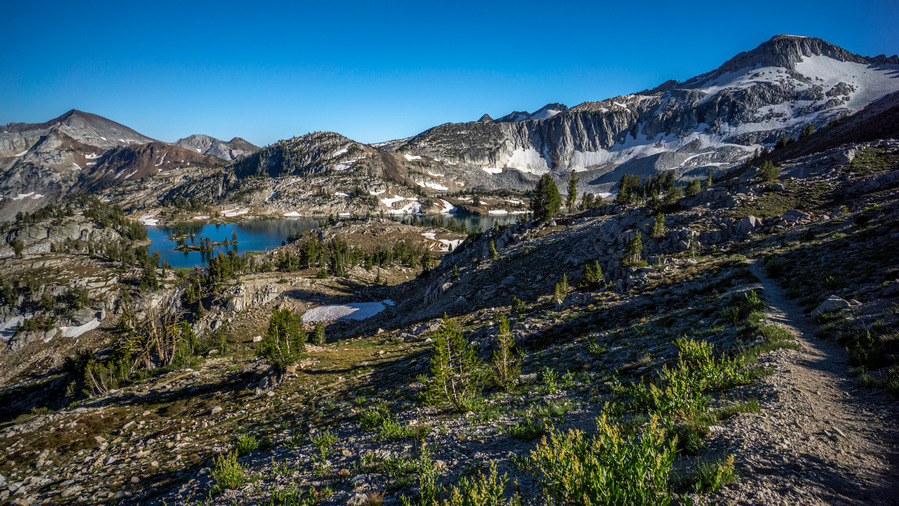
Wallowa Mountains, OR – Eagle Cap Wilderness 3 Day Hike

Wallowa Mountains, Oregon – Eagle Cap Wilderness 3 Day, 40 Mile Hike
- Hike Location – Wallowa Mountains – Eagle Cap Wilderness
- Land Administration – Wallowa National Forest
- Hike Type – Point to Point
- Fees & Permits – No fees or permits needed
- Start Trailhead – Wallowa Lake
- End Trailhead – Two Pan
- Length Of Time Hiked – 3 days
- Miles Hiked – 39
- Route Difficulty – 7.5
- Scenic Beauty – 8.5
- Solitude – 8
Maps
Here’s the caltopo map of the 3 Day Eagle Cap Wilderness Hike:
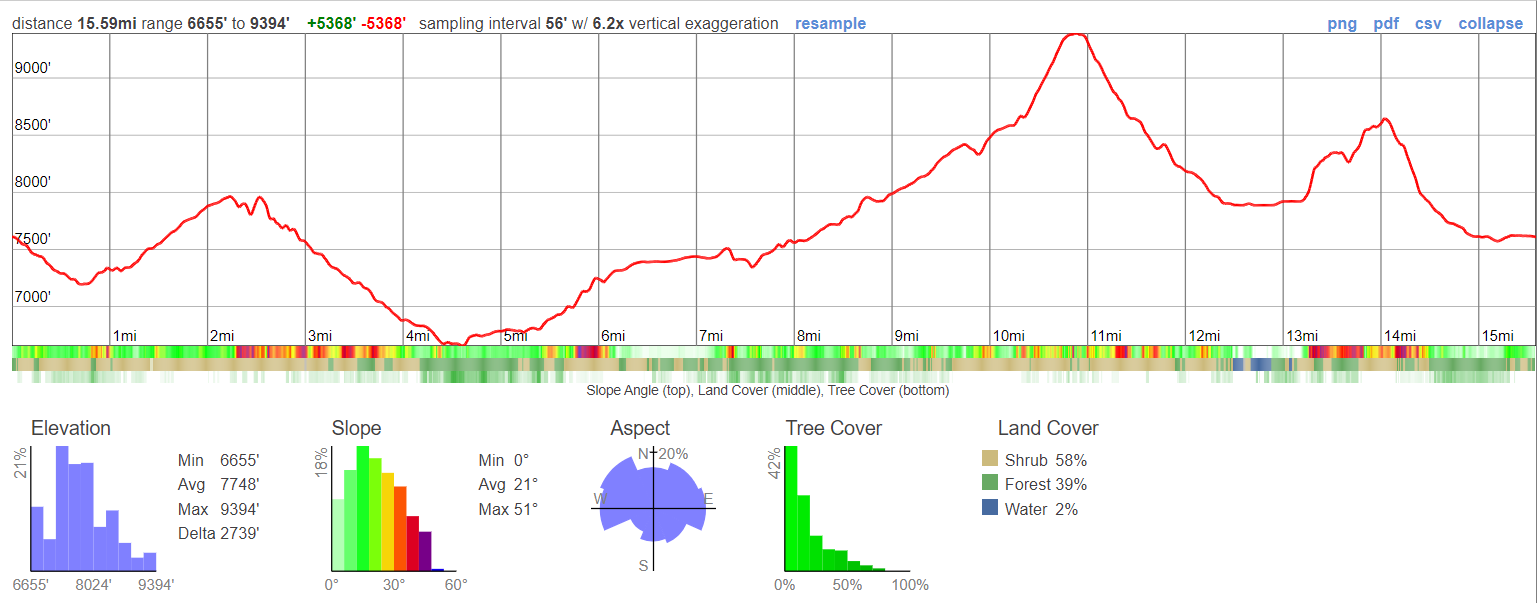
Elevation gain/loss chart for the 3 day Wallowa Mountains hike: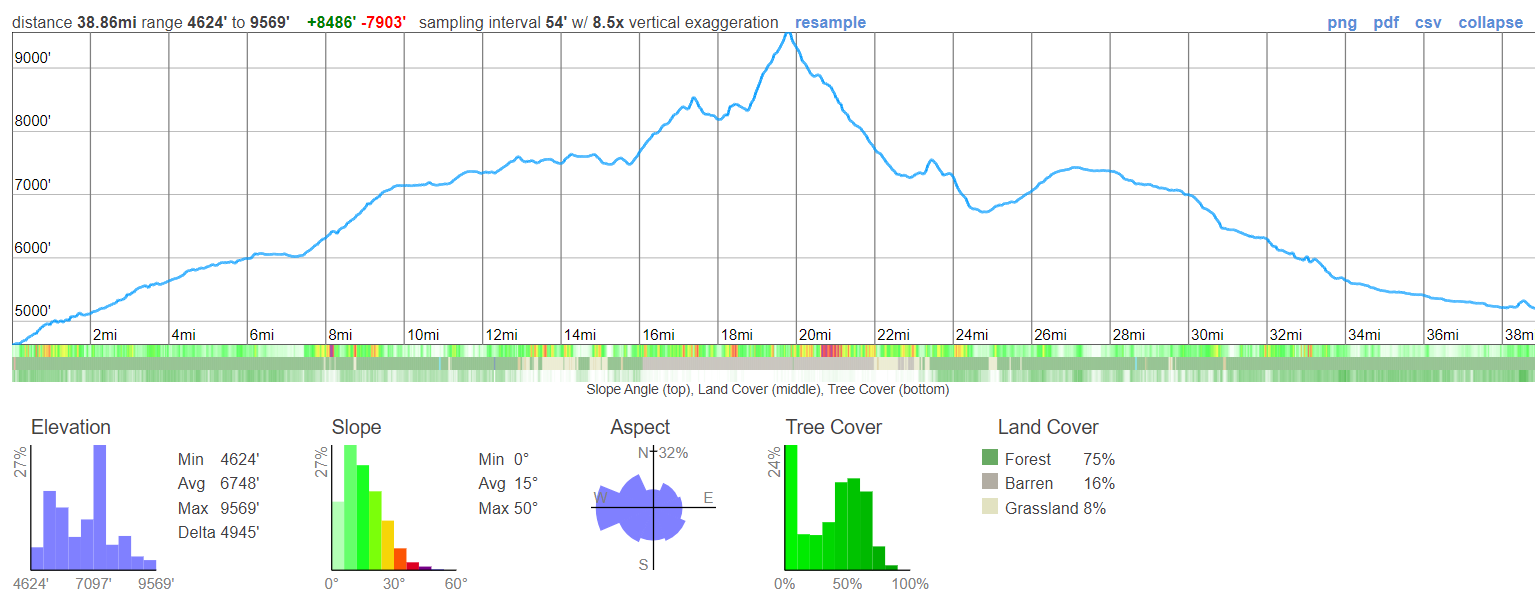
Video: Wallowa Mountains, Oregon – Eagle Cap Wilderness 3 Day PNW Hike
Pre-Hike Planning Notes
If you are driving a long ways to the Wallowa Mountains for your hike, you may want to camp near the trailhead to get an early start the next day. There are plenty of paid campsites at Wallowa Lake State Park and in the variety of campgrounds in the area, but The Wallowa Mountains, outside of Joseph and Enterprise, do not offer much for those looking to do any boondocking or dispersed camping on public land. We drove up Hurricane Creek, the drainage west of Wallowa Lake, and found a few crappy spots alongside the road suitable for an overnight stay in the camper van. Tent camping would be harder here.
Joseph and Enterprise, the two gateway towns to the Wallowa Lake area, are very touristy. The Market Place grocery store offers a decent selection, probably enough for most hikers to pick up 3 days worth of food. However, if you are in doubt, get your food at a larger grocery store on your way.
There is plenty of parking at the Wallowa Lake trailhead. Nearly all of the license plates were Oregon or Washington, which ought to tell you what a hidden gem this place. It’s an out-of-the way place, but worth the drive.
We hiked this route in mid July. The snow had almost entirely melted out, and the mosquitoes were terrible. A mosquito head net would be a good thing to have, and perhaps bug spray.
The system of hiking trails in the Wallowa Mountains are very good. There are trails leading up just about every valley and over every saddle, so there should be little need for off-trail bushwhacking here. Besides that, the trails seem to be pretty well maintained. We encountered very few blow downs.
The Wallowa Mountains are not very well suited for any kind of continuous ridgewalking, or high routes. Instead, the Wallowas are a series of deep valleys separating segments of high country with huge climbs. As much as I wanted to put together a more dedicated high route here, it just wasn’t possible without climbs of 7,000ft daily. The valleys are pretty incredible here, though!
After your hike, there are showers at the Wallowa Lake State Park campground. They are for campers only, but it’s a busy park and you will likely go unnoticed.
Wallowa Mountains/Eagle Cap Wilderness 3 Day Backpacking Trip (July 2021)
Day 1 – July 9th – West Fork Wallowa River, Lake Basin, Mirror Lake, Glacier Lake
Miles Hiked – 18
Sam and I left the Wallowa Lake trailhead sometime after 8am. Right away, huge pines towered above us and quickly caught our attention. The trail is wide and well beaten here as it begins a continuous climb uphill along West Fork Wallowa River.
We passed several groups of people in the first few miles. There were a lot of cars at the trailhead, but often times, the majority of these people are only hiking a few miles. We encountered a group of horseback riders, and and couple of guys who look like they had quite an adventure… one guy had blown out his show, the sole was gone. He had rigged it up with some tape the best he could, but it didn’t look like a fun walk.
The roar of the driver grows louder when we near it. Soon we get our first view of the water, and a view up the canyon. I saw a mink running across the trail, which was a cool thing to see. I’ve only seen a couple of other mink in my life. It could also have been a pine marten, but after comparing the two animals after the hike, I think it was a mink.
At Sixmile Meadow is where the scenery really starts to get good. Across this big green meadow, the high country began to show itself. We begin to notice how green and lush our surrounding are. The mountains are steep, and heavily forested. No beetle kill here, just a healthy green wonderland.
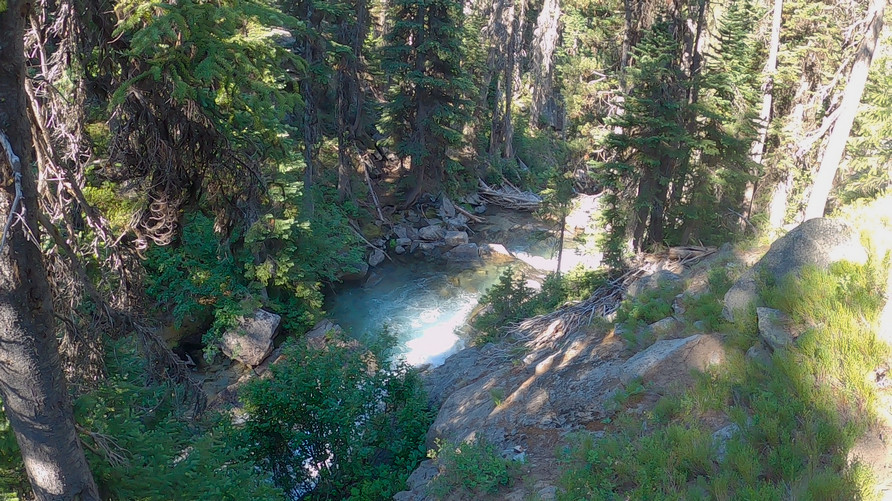
We hike across Sixmile Meadow and cross West Fork Wallowa River. Here, it’s only a foot deep. A beautiful scene, too. The water is a deep turquoise blue with outstanding clarity. The river here reminded me of a past hike in Glacier National Park.
Next the trail begins to ascend towards Lake Basin. The views open up now as we gain elevation. A sea of healthy green pines cover the entire basin, up to the treeline.
After an 1100ft climb up to the Lake Basin, we find ourselves on a flat shelf with a view of Horseshoe Lake. Very nice. The trail follows the shoreline, offering great views of this beautiful lake.
The next segment of hiking is an enjoyable one. We hike by Lee Lake, and then Douglas Lake. The trail alternates between segments of flat ground and climbing 200ft or so. Good trail, good views.
The trail then follows the shores of Moccasin Lake as it continues up higher into Lake Basin. The crest of the Wallowa Range is now in sight, it’s peaks and ridgelines capped in patches of snow. The upper Moccasin Lake area was really beautiful!
We decided to take a short detour to check out Mirror Lake, since we are so close to it. Good views looking back down on Moccasin Lake from the saddle above Mirror Lake.
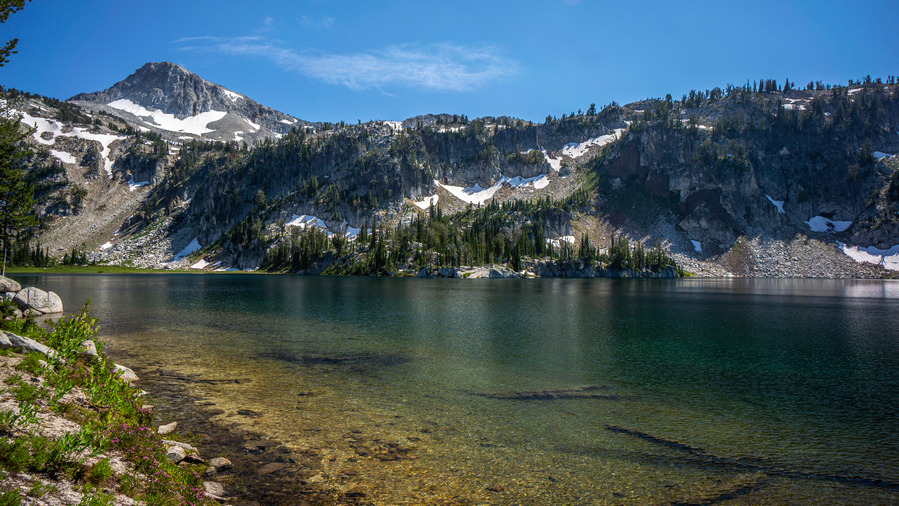
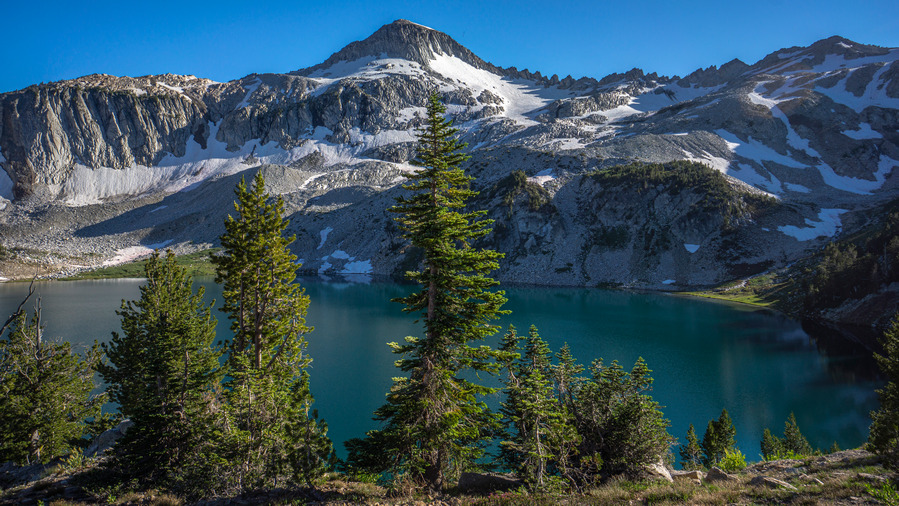
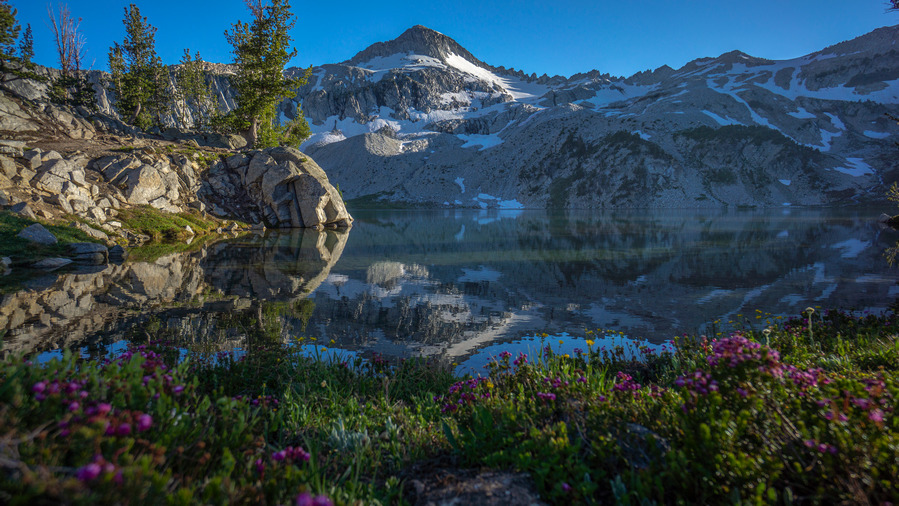
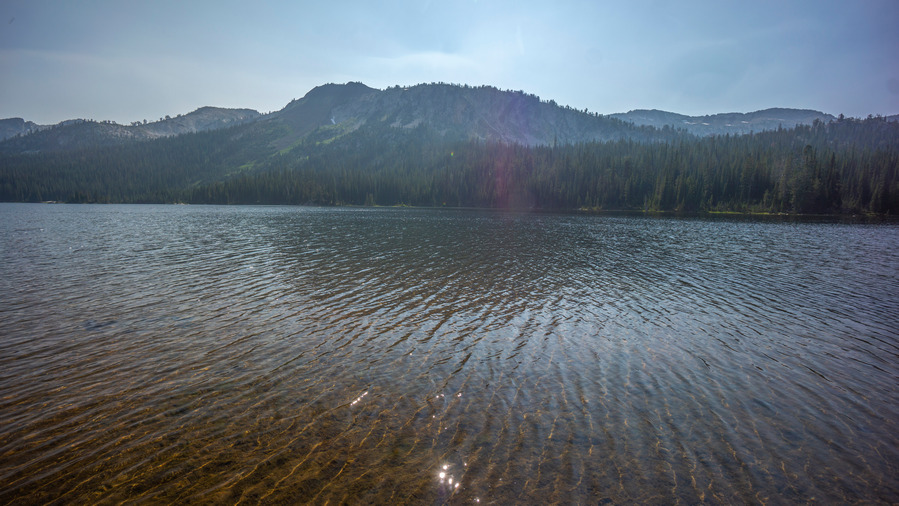
Mirror Lake was definitely worth the side trip. This is a top notch alpine lake with outstanding scenery. The north face of Eagle Cap peak, which we’ll summit tomorrow, provides the perfect backdrop. Indeed, this will make a fine lunch spot.
Our lunch spot along Mirror Lake was a great place to stop, for the scenery, but perhaps the worst place we’ve been so far along our hike for bugs. The mosquitoes were thick here, and we could hardly eat a snack without also eating mosquitoes. I put on my rain gear for long sleeve protection while we ate, but really, it was one of those times where you’re just constantly swatting at the air in front of your face, just to keep the bugs at bay. Slack for a few seconds, and they’re on you again. Bastards.
We left Mirror Lake and hiked back downhill to Moccasin Lake, where we take a trail that will lead us to Glacier Pass. I really enjoyed this area here.
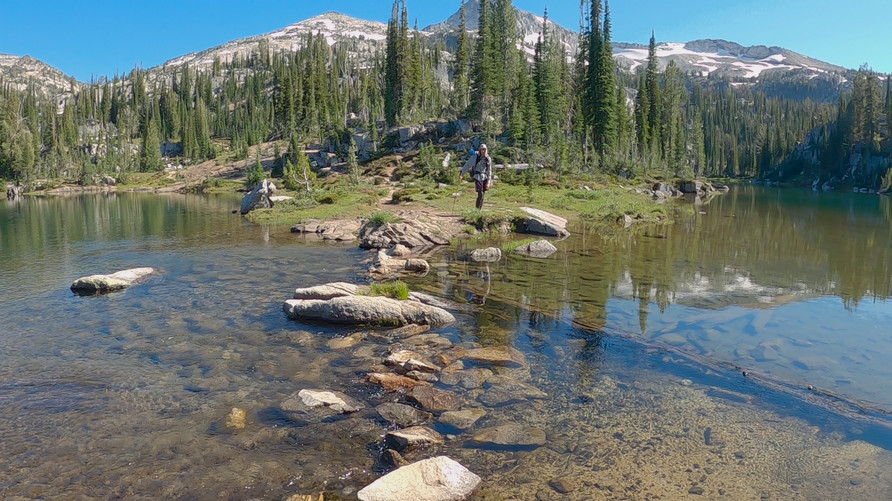
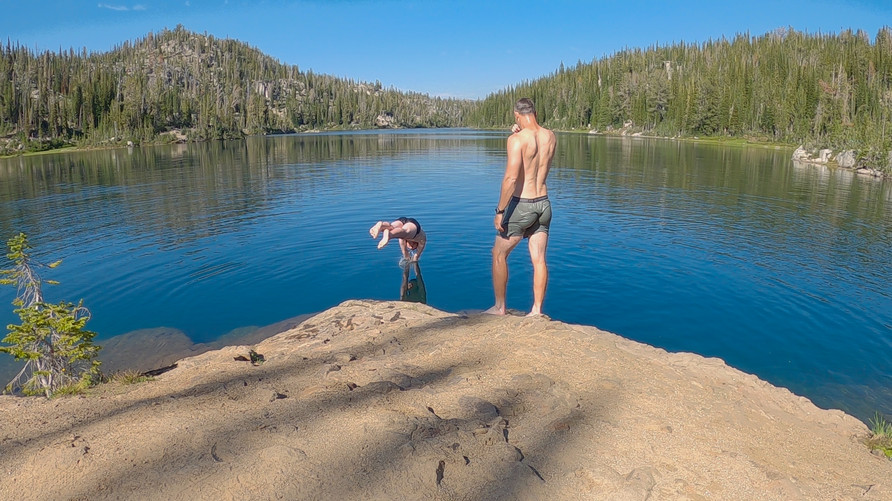
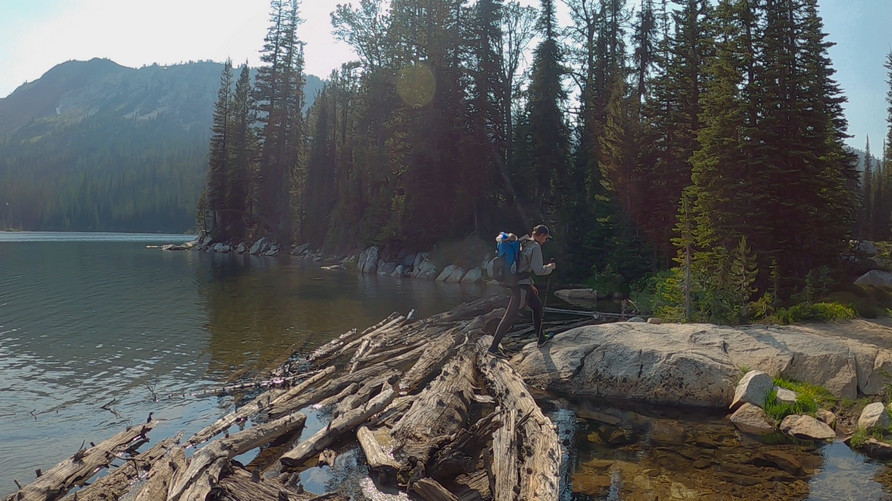
We hopped rocks to cross the inlet stream leading into Moccasin Lake. On the other wise, we found a nice spot along the lake with some rocks at the edge of a deep section of water. Perfect place to stop for a swim! We jumped in the water and enjoyed the brisk refreshment that comes from a dip in a freezing alpine lake.
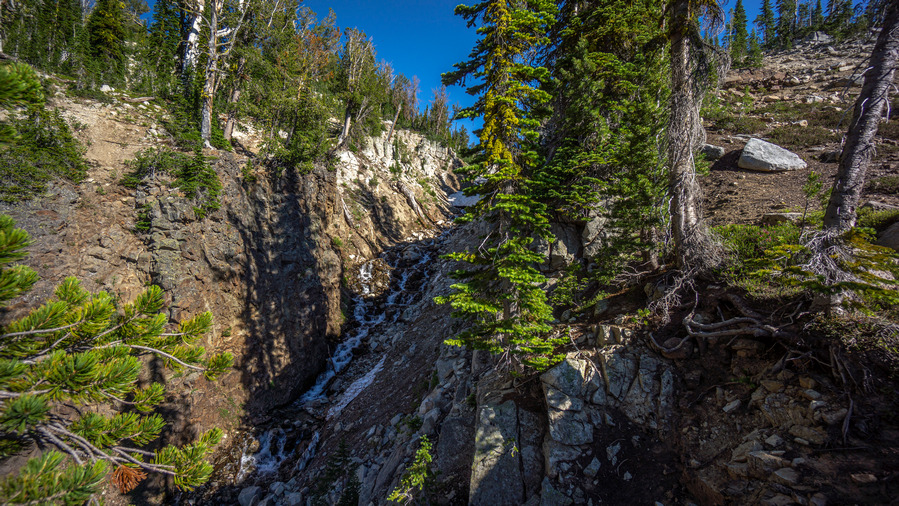
The trail begins climbing up to Glacier Pass steeply now along a deep ravine. There are patches of snow still lingering and a stream of water flowing downhill.
Above the ravine, the views open up and Glacier Pass is in sight. The Eagle Cap peak begins to come into sight, just barely, over the ridge. Also in sight now along the ridgeline is Glacier Peak, and this one is much more prominent looking from this angle than Eagle Cap itself.
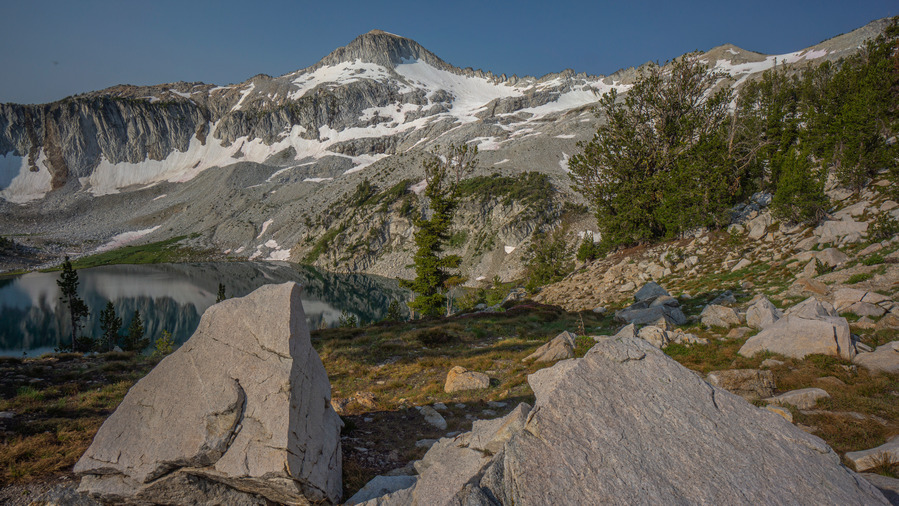
The view from the top of Glacier Pass initially isn’t that great. That is, until you drop down slightly from the pass, and Glacier Lake comes into view. Wow! This basin was pretty stunning. Glacier Peak provides an impressive backdrop behind the distant waters of Glacier Lake. There are multiple small islands in the lake, with a few pines trees growing on them. This reminded me of the Sawtooths in Idaho, while the mountains themselves were reminiscent of the Sierras. In other words, excellent views.
As we dropped lower in elevation from Glacier Pass, we could get a decent view of the lake from above and scope out potential campsite locations. We settled on a spot, and noticed a curious scene playing out just 40 yards away… a mountain goat kicking up a ton of dirt as he digs and rolls around. He’s probably just as annoyed with the mosquitoes as we are.
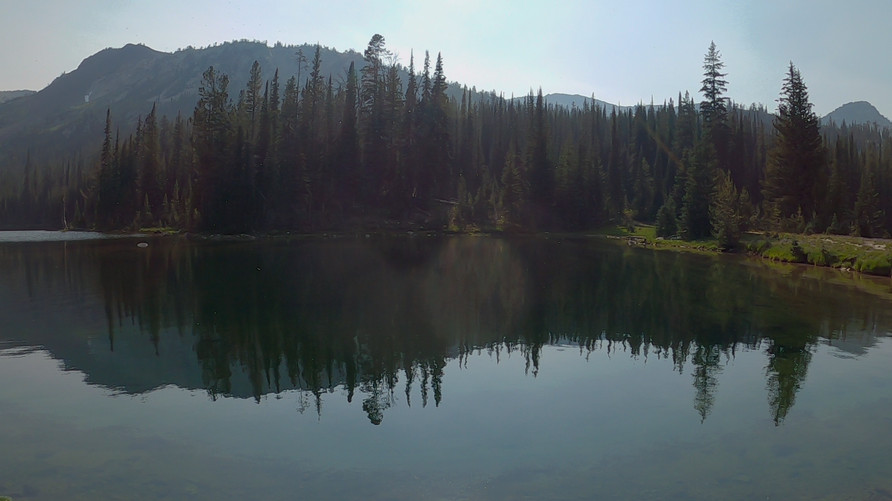
We find a spot for our tents and eat dinner, swatting mosquitoes the entire time. It was a challenge not to eat any of the mosquitoes too, there were so many swarming my face. Besides that, we enjoyed an outstanding view of Glacier Peak with a nice reflection on Glacier Lake as the sun set.
Soon enough, we retreated to our tents, where we could be safe from the bugs. That’s always a great feeling, the moment you are able to lie down after a long day of hiking and breathe that first sigh of relief as your head hits the air mattress. About 18 miles on the day today. Tomorrow, we summit Eagle Cap peak.
Day 2 – July 10th – Eagle Cap Peak, Horton pass, Frazier Pass, Minam River, Minam Lake
Miles Hiked – 10
The sunrise over Glacier Lake was a great way to start the morning. We enjoyed the same beautiful reflection of Glacier Peak over the water as we witnessed for last night’s sunset. We ate breakfast by the water and filtered our water for the morning. Sam and I had just hiked a awesome 81 mile route across Dinosaur National Monument last week, where water was often an issue (except when we rafted the Green River for 6 miles!). So all this water in the Wallowa Mountains was a luxury to us.
Today we will climb Eagle Cap peak, the second highest peak in the Wallowa Mountains. The standard route to summit Eagle Cap is along the northwest ridgeline, where there is a trail to the summit. However, we wanted to hit Glacier Lake, and so we’ll approach from the east slope below the saddle directly south of Eagle Cap.
From camp we studied the mountainside in the upper basin and compared that to the route we have planned up it to Eagle Cap. We choose a line a begin working our way around the steep slopes above the northwest side of Glacier Lake. It’s steep and rocky, but we make it across. The reflection on Glacier Lake, and the color of the water, was incredible form this angle.
After traversing the steep scree slope, we meet the slopes of Eagle Cap’s east face. The terrain flattens briefly, and there’s a small green meadow with colorful wildflowers. A small stream trickle through from the patches of snow lingering higher up the ridgeline.
Now it’s a 900ft climb to the top of the ridgeline. Some mountains might be solid boulder fields now at this elevation, but here the boulders are thin enough that we are also walking in-between patches of soil. This made the going a little easier.
Yesterday we noticed a bit of forest fire smoke rolling in, but the skies were predominantly blue. Today though, the smoke is winning. And it’s really starting to build up. Bummer, because we want that distant summit view.
Towards the top of the climb, we encounter snow patches. Fortunately they weren’t incredibly steep, and we picked our line up. These snow patches are like mine fields though. Sam did punch through and posthole a couple of times, but I lucked out. We spotted a couple of Big Horn Sheep going up to the pass themselves, above us.
At the top of the crest below Eagle Cap, the terrain becomes a very manageable walk. Not only because the boulders have mostly given way to a mostly dirt landscape, but because we’ve also stumbled upon a game trail leading up to the summit. It’s also possible that this is a social trail, perhaps from others taking a similar approach as we did from the east slopes. However, we did not see any other evidence of some sort of route up to the crest along the way… no cairns, no faint paths, nothing.
It’s a 350ft climb up the game trail now to the summit. An easy walk. Excellent views along the ridgeline to the south, towards Glacier Peak.
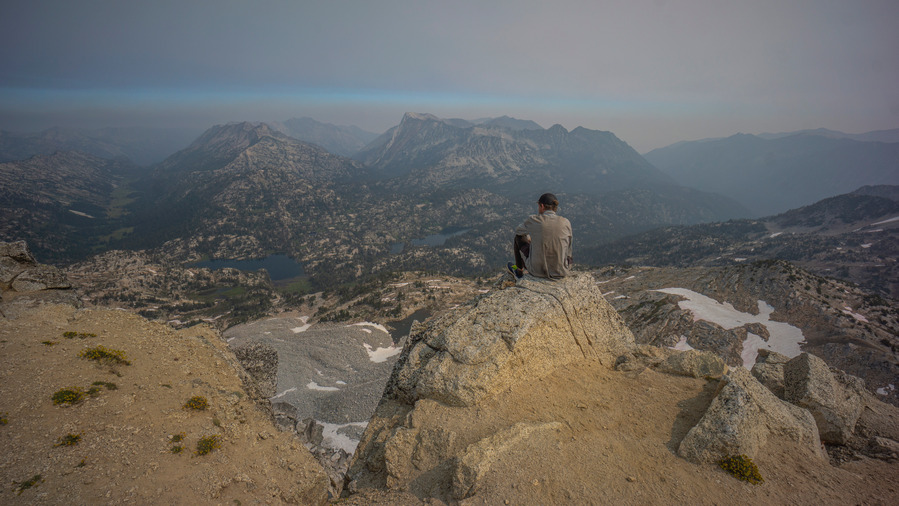
The summit of Eagle Cap (9,577′) is broad and flat, but with a big drop off on the north face. The view overlooking the Eagle Cap Wilderness to the north is massive. We spent some time here soaking up the summit views, despite the thick forest fire smoke limiting the distance.
As soon as we began our decent down the northeast slope of Eagle Cap, we picked up on a trail. It was a steep descent down a series of switchbacks, but an easy trail to follow nonetheless. We passed a few people hiking up to the summit.
The trail we follow now will take us to Horton pass. We enjoy excellent views here as well, and we’re very much enjoying what the Wallowa Mountains have to offer thus far. Some really excellent high mountain scenery here.
At Horton Pass, we take the trail leading west/south down East Fork Eagle Creek. A series of switchbacks lead down from the summit and seem to go on for a while. The trail is rougher here though, it’s rocky and there is a tiny stream occasionally flowing through it.
At around 7,660′, we reach a small but beautiful meadow. East Fork Eagle Creek flows through it, and we stop here to filter some water. It’s a beautiful spot, lush and green, lots of colorful wildflowers.
We continue downhill along the trail, which now is a bit more of a solid path. The hiking is easier now and we’re finding the walk to be quite enjoyable. It’s another heavily forest valley filled with healthy pines. I have grown accustomed to the beetle kill in the Rockies, but that seems to be much less of an issue here.
We leave the trail around the 7,425′ mark and begin contouring around the mountainside over to Frazier Pass. This will save us 2 miles and 900ft of elevation loss/gain, but we’ll have to traverse some steep slopes. We cross a creek and enter what looks to be easy-going grassy slopes. However, the grass hides a multitude of rocks to trip over and twist an ankle. Some sections of the slope were quite steep, but we could have easily dropped downhill to cope. We just didn’t want to lose any elevation.
Eventually we regained the trail leading up to Frazier Pass. It’s patchy pine forest here, and the path leads up a dusty ravine. The steepest section is right before the top.
Frazier Pass itself didn’t really offer a view, there were just too many trees. We began the descent down the west side of Frazier Pass. The trail here is really dusty, with that finer dirt that gets over everything and into your shoes so easily. The forest is thick here, and more downed trees than pretty much anywhere else we’ve been so far in the Wallowas. For a moment, I felt like I was back on the CDT. Still, the blowdowns had been cleared from the trial mostly, and wasn’t an issue.
At the bottom of the descent we reach Minam River. This is the upper reaches of the river, though, and it’s pretty small here. We hop rocks across and enter a big, green valley with many wildflowers.
The hike along Minam River just north of Frazier Pass was excellent. At first, the view of the valley is simply “pleasant”. However, as we progressed up the valley towards Minam Lake, the scenery became incredible. What an amazing valley to walk through. Peak 8543′ is the high point along the ridge, which rises sharply nearly 2000′ from the valley floor. There are many colorful wildflowers here as well.
The trail below Minam Lake passes through trees, and obscures the view. That is, until the trees break and we get our first view of Minam Lake. It’s nice, but nothing like Glacier Lake or Mirror Lake. Minam Lake is at 7373′ elevation, and although some lakes at this elevation are quite impressive, this really isn’t one of them. The backdrop of the mountains are less impressive, heavily forested and more rolling hills than the imposing mountain peaks and rock faces we like to see surrounding an alpine lake.
One interesting feature of Minam Lake is that it basically sits on top of a saddle separating two valleys. The south side of the lake drains out and forms Minam River, while the north side drains out and forms Lostine River. It’s a strange feeling to hike up a valley, get to this lake at the top, and descend down another river valley. Typically, these high lakes are nestled in the upper basins, and only flow into ONE valley.
The hike around the east shore of Minam Lake mostly stays away from the shoreline, and slightly elevated. We’re looking for a place to camp now, but we’re really not seeing much.
We hike down to the southern end of the lake, and the views are better. We find a nice campsite along the lake, with good protection from the trees. This will do.
We had a few hours of sunlight left today, and enjoyed our time along the lake. We soak our feet in the water and soak up the views. The sunlight fades and another great day in the Wallowa Mountains is behind us.
Day 3 – July 11th – Minam Lake, Lostine River
Miles Hiked – 11
After leaving camp, we cross a network of braided streams below Minam Lake’s outlet. It’s clear animals like this area, too. There were many tracks and piles of scat here. We could hear animals moving around near the lake last night, too. We have seen no signs of bear though along our hike in the Wallowa Mountains, which always seems to be the question a hiker is asked.
We’re now hiking along Lostine Creek as we leave Minam Lake. The valley is deep, and it seems to take forever for the sun rays to reach us. The forest fire smoke hasn’t built up yet for the day, and bluebird skies prevail. The upper section of Lostine River was nice, before it drops down into the forest.
The trail enters a thick forest, drops 400ft and Copper Creek pours into Lostine River. Many streams will pour into the Lostine as we drop down lower into the valley. We watch the river grow as the trail descends. It’s a 2200′ descent for us. and it’s a real knee buster to begin the day like this.
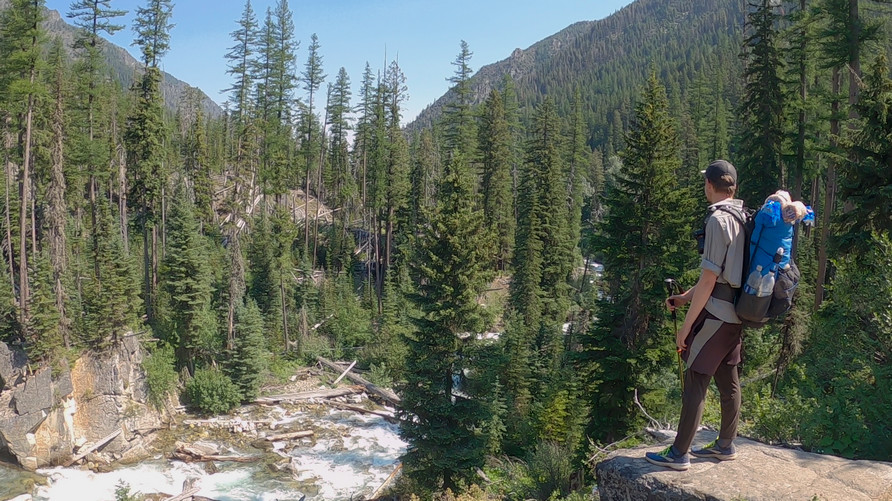
Lostine River continues to grow in size, and with the steep grades, is now whitewater. The roar of the river is nice to hear. Big pines, stray rays of sunlight finding their way down to the forest floor. It’s a really pleasant walk.
We reach Two Pan Trailhead, which has plenty of cars parked here. We really didn’t see that many people though, both along Lostine River/Minam Lake and in general throughout our Eagle Caps Wilderness hike. We kept walking down hill, passing Shady Campground, French Camp Picnic Area, before getting a hitch near the Lillyville Picnic Area.
When we reached WHY 82 in the small town of Lostine, our ride was going north, and we need to go south. So, we stuck out our thumbs again and within 15 minutes, got our ride. She was a local on the way into Joseph to get groceries, but ended up driving us all the way up to the Wallowa Lake trailhead, where my van is parked.
The Wallowa Mountains were awesome. I was very impressed with the scenery here. Despite the trails being good, it’s hard hiking. There is a lot of elevation gain needed to see the high country here. Otherwise, it’s all valley walks, which is still pretty nice. I would love to return to the Wallowa Mountains, and do a longer backpacking trip in the Eagle Caps Wilderness. Someday!
Seven Devils Mountains, Idaho – He Devil Summit Hike (July 2021)
Seven Devils Mountains, Idaho – He Devil Summit Loop Hike
Watch the He Devil Summit Hike Video On Youtube
- Hike Location – Seven Devils Mountains, Idaho – Hells Canyon Wilderness
- Land Administration – Hells Canyon National Recreation Area, managed by the Wallowa-Whitman National Forest
- Hike Type – Loop
- Fees & Permits – No fees or permits needed
- Trailhead – Windy Saddle
- Length Of Time Hiked – 1 day
- Miles Hiked – 15.56
- Route Difficulty – 7.5
- Scenic Beauty – 8
- Solitude – 8
Video: He Devil Summit Loop Hike – Seven Devils Mountains, ID
Pre-Hike Planning Notes
There are no fees or permits required to hike in the Seven Devils Mountains. The road up to Windy Saddle is doable by car, but it’s a bumpy ride in places with a lot of washboard roads. There are a lot of steep inclines, your vehicle will be working hard to get up here. There is a FREE campground a half mile from the Windy Saddle Trailhead called the Seven Devils Campground. This is a great place to stay the night before your hike, if doing a day hike, or perhaps the night after finishing your hike. There is no water up here. There are pit toilets at the campground and the trailhead.
He Devil Summit Hike Maps
Here’s the caltopo map of my He Devil Summit Loop Hike:
Download GPX file for the He Devil Summit Loop Hike
He Devil Summit Hike – July 15th, 2021
Miles Hiked – 15.56
Elevation Gain – 5300′
Route Hiked – Loop hike from Windy Saddle to He Devil Summit and back
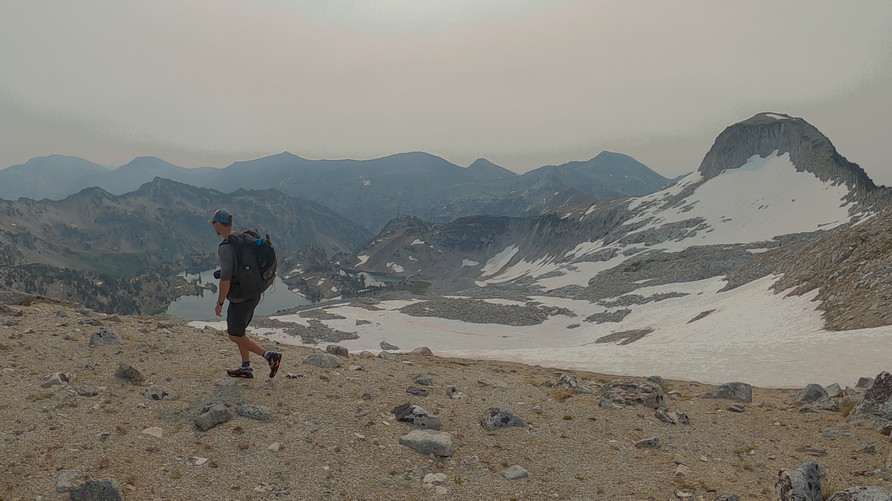
My buddy Sam and I slept in the Seven Devils Campground last night in my camper van, about a half mile from the Windy Saddle Trailhead. This made it easy to get an early start on today’s hike, a loop that bags the summit of He Devil, the highest point in the Seven Devils Mountains of Idaho at 9,393′. We’re on the east side of Hells Canyon, the deepest gorge in the US, within the Hells Canyon National Recreation area and the Hells Canyon Wilderness. We had a much longer hike planned for this area, but because of the thick forest fire smoke and high temperatures, we’re cutting this adventure short, and just doing a day hike to the summit of He Devil.
There were maybe 4 other vehicles parked at the Windy Saddle trailhead this morning. We started walking just as the sun crested one of the hills above the saddle. Through the thick forest fire smoke, it was an orange ball of fire. Pretty cool looking, but also pretty sad that we won’t get the distant views we were hoping for here.
The trail begins by dropping in elevation from the trailhead and traversing a massive area of dead trees. The trail was clear, thankfully, but this area just looked dead and barren.
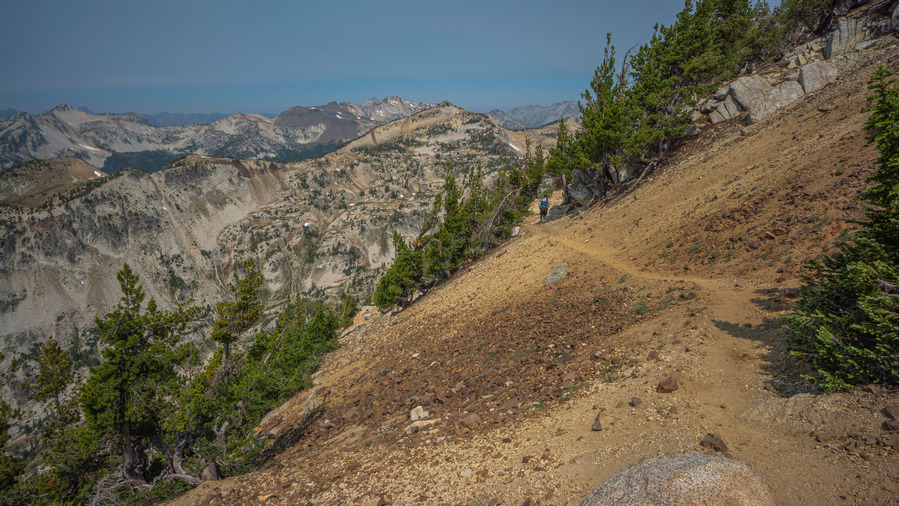
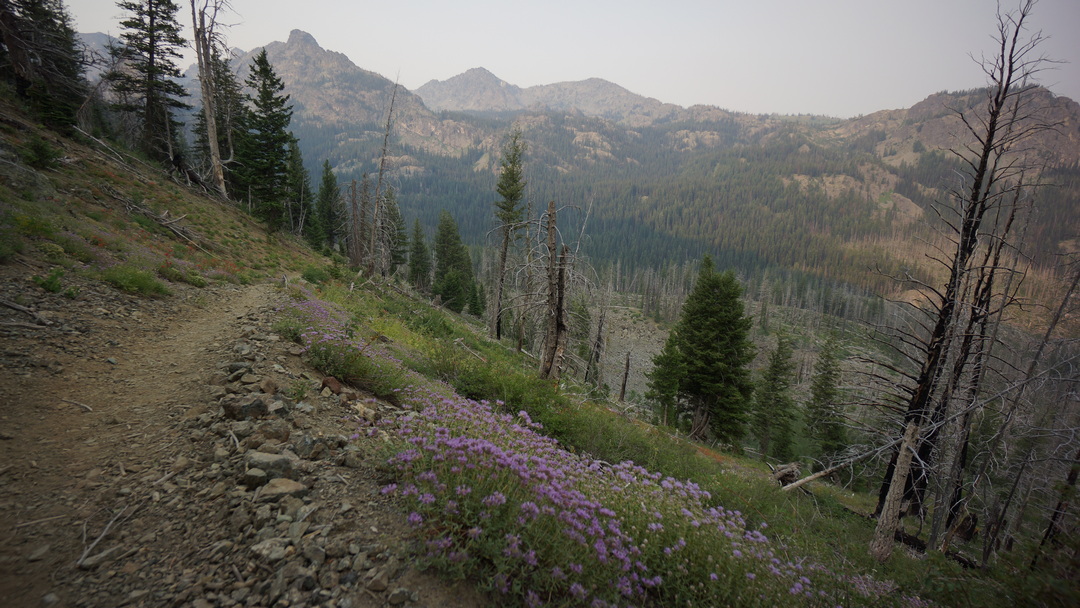
After dropping to 7,200′, the the trail quickly begins to climb up in elevation now, traversing a ridge facing northeast. We’ll climb to 8,000′ as we round the corner of a ridge. Our first big views towards Hells Canyon would have been here, but the thick forest fire smoke obscured them. There are some nice purple wildflowers up here along the trail, especially prospering in some of the old burn areas.
Next we drop in elevation again, from 8,000′ to roughly 6,600′ as we drop down into the canyon with West Fork Sheep Creek. Switchbacks at the top make quick work of the biggest descent. Soon enough, we trade mountain views for the cover of the forest. Here, things are green and lush, thriving, unlike the valley we started our hike in.
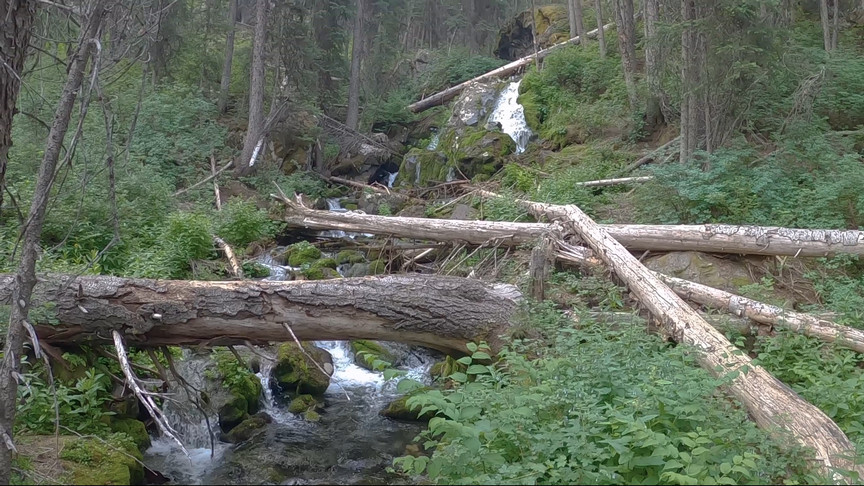
West Fork Sheep Creek was a solid flowing body of water, with some small cascades. Very nice, very pleasant. Then we climbed out of the forest again, and our mountain views returned. This was some pretty solid high mountain scenery, especially considering the surrounding area of Hells Canyon which doesn’t really have anything else like this nearby.
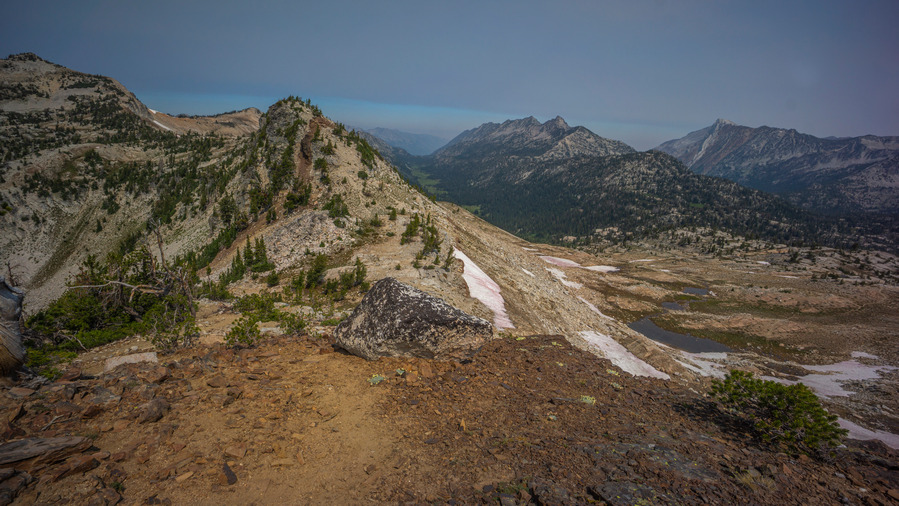
The trail leads us up and out of West Fork Sheep Creek and leads us to a pass between Dry Diggins Ridge and Lily Pad Lake. It’s pretty flat here at the moment, with a great view of the hazy mountains in the distance. There’s lot of water here now, and the route will pass by 5 small lakes on the way up.
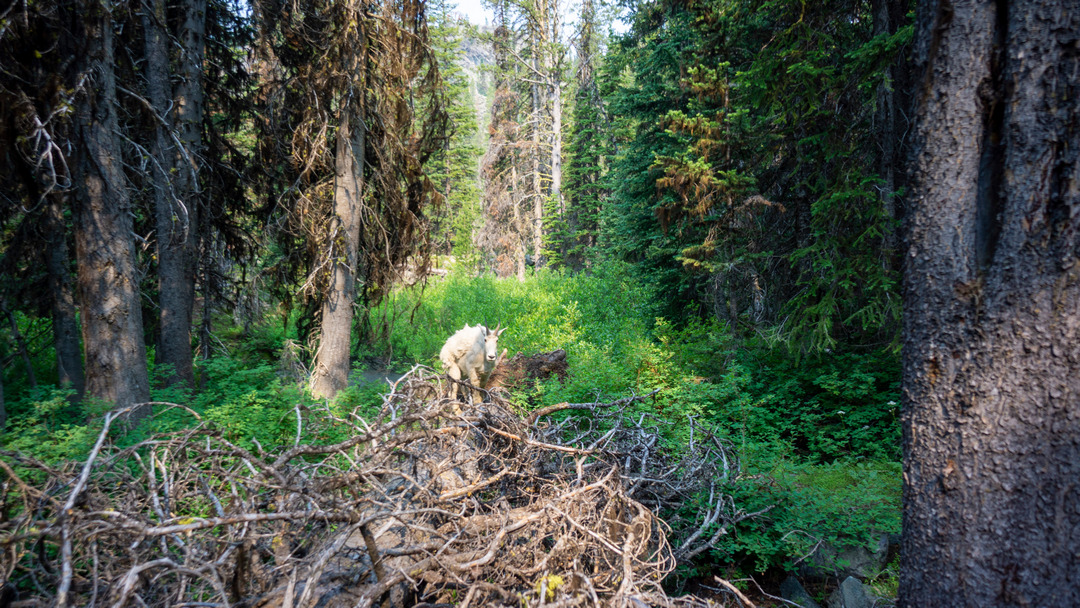
While hiking through another patch of forest, in between Lily Pad Lake and Basin Lake, we spotted a Mountain Goat alongside the trail. He was pretty chill, just doing his own thing. Always cool to see.
Now the trail continues to climb uphill around Shelf Lake, and then passes Gem Lake. The trail stays a distance away from both lakes, though, staying elevated above them. Good trail, good views.
The trail climbs above Rock Island Lake, again with no real view of the lake. Soon though, we leave the trail and begin our hike off-trail through a boulder field to continue our route up to the summit of He Devil.
Next we worked our way out into a large boulder field in order to reach the ridgeline. The route wasn’t too bad, just slow and tedious.
I should have stopped to fill up on water at one of the creeks we passed farther back, but I didn’t. I figured I’d gone past the last liquid water source, and I turned to a snow bank for water now. I stopped to fill up two 1 liter bottles with snow, and will let them melt as I carry them.
There was one steep section to climb before gaining the ridgeline. From here, it’s a straight shot up to He Devil. There’s sometimes a path to follow, but also, it’s occasionally a bit of a scramble up the boulders. The views are as good as they can be with the smoke.
It was a good hike along the ridgeline. The route is not super well defined, but easy enough to figure out on your own. It was mostly a fun walk up. The final approach to then summit block required a short bit of scrambling to reach, with no exposure.
The views form the summit of He Devil were awesome, even with the forest fire smoke. It’s an impressive ridgeline, with a view of the other 6 “devils”. It’s just the kind of ridgeline you want to find your self on top of. However, because of the smoke, we had practically no view of Hells Canyon, the deepest gorge in the US. I could see the outline of the Oregon side of Hells Canyon in the distance, but just barely. I wondered how the view would be, on a clear day. At it’s deepest point, Hells Canyon is 7,993′ deep. That’s a pretty serious landform, just the kind you’d want to overlook from a peak like this.
The hike down from the summit was pretty quick and easy. Just a return hike down the same ridgeline for now.
When we dropped down from the ridgeline, we took a slightly different route on the way down than we did on the way up. We made it down a section of steep and loose boulders and reached a snowfield. Sam and I had been talking about our skiing abilities, hat is, the ability to slide down the snow on your shoes, like skiing. I’m pretty decent at this, and made my run a couple hundred feet down hill with no poles, and didn’t fall. Sam bit it after a few feet, and glissaded the rest of the way down. Good times.
After a tedious walk through the lower section of boulders below He Devil, we reached a more suitable hiking terrain of soil, green grasses and small rocks. We find ourselves on a saddle, which we crest for our first close view of Sheep Lake.
We picked up on a hiking trail again as we descended down to Sheep Lake. Now we have good trail and outstanding views. Once down at the lake, it was the obvious place for a break. I drank some of my snow melt water here, which was freezing cold. I also filtered some water from the lake, which was a much more tolerable drinking temperature.
Next we traversed the south shores of Sheep Lake, below She Devil. There’s a short section of boulders here, otherwise it’s a nice grassy walk. The shoreline wraps around to another smaller lake, an off-shoot of Sheep Lake. Nice views here too. This would make an excellent place to camp, if we were staying the night. But we aren’t, so it’s back to the van.
Now we are looking for a trail that could connect Sheep Lake to Mirror Lake. From the other side of Sheep Lake, it doesn’t look like it would be a good route, too steep. From up close, it looks very steep too, but we started to see a weakness in the mountainside that could allow a path to hike up. USFS and USGS maps don’t show a trail here, but OpenStreet maps does. Interesting. We thought we could see a very faint path to follow as we hiked up the steep slopes, so it was a good sign. Additionally, there was indeed a narrow ledge, more or less, that allowed for easy passage compared to the surrounding terrain. Things are looking good.
At one point, we had to squeeze through two rocks, a space barely big enough to fit with a backpack on. Past this, there was more steep terrain, but it’s all been manageable. This route has really worked out. This is way more direct, shaving off several miles of hiking versus the way we started the hike this morning. It’s a different route and it’s scenic, so its a win-win.
Mirror Lake
After cresting the pass, Mirror Lake came into sight. This was a really nice lake, and well hidden from the Seven Devils Campground, but just a few hundred feet away. For now, a steep descent stand in the way. There was some slippin’ and slidin’, but we both made it down in one piece.
We made it down off the steep slopes and hiked over to Mirror Lake to enjoy one last view of this fine alpine lake. I didn’t expect much out of this lake, because it was so close to the Seven Devils Campground and honestly, because it was tucked away in an otherwise ugly spot, with all the dead trees and such. This was a really nice surprise and a nice way to end our He Devil summit loop hike. From here, it’s about 1/2 mile back to the Windy Saddle trailhead where we parked.
Ruby Mountains, NV: High Route Hike Lamoille Canyon to Seitz Canyon
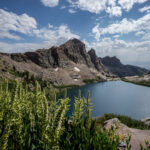
Ruby Mountains, NV – High Route Hike Lamoille Canyon to Seitz Canyon
- Hike Location – Ruby Mountains, Nevada – Ruby Mountains Wilderness
- Land Administration – Humboldt National Forest
- Hike Type – Point to Point
- Fees & Permits – No fees or permits needed
- Start Trailhead – Roads End
- End Trailhead – Powerhouse
- Length Of Time Hiked – 14.5 hours
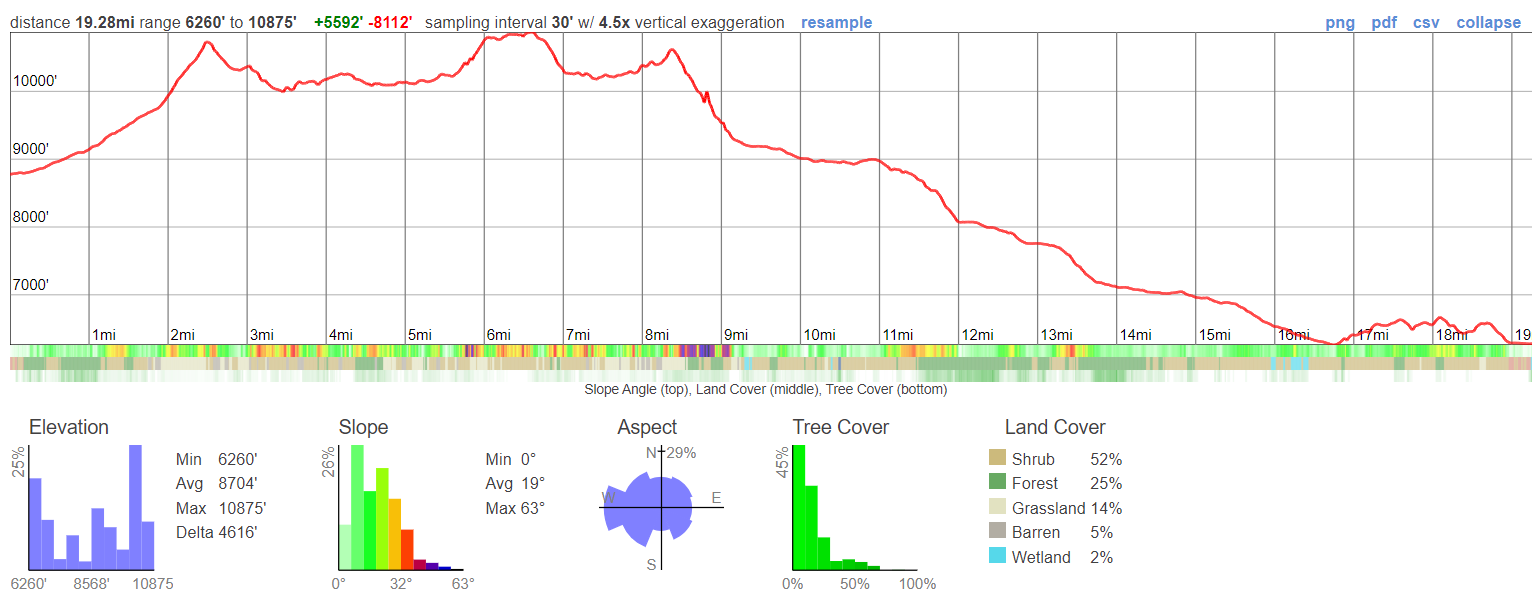
- Miles Hiked – 19.28
- Route Difficulty – 8
- Scenic Beauty – 9
- Solitude – 9
Video: Ruby Mountains, NV – High Route Hike Lamoille Canyon to Seitz Canyon
Ruby Mountains Hike Maps
Here’s the caltopo map of the Lamoille to Seitz Canyon High Route Hike:
Download GPX file for the Lamoille to Seitz Canyon High Route Hike
Pre-Hike Planning Notes
There are no fees or permits required to hike in the Ruby Mountains. Thomas Canyon and Terraces Campgrounds are available in Lamoille Canyon to camp the night before/after your hike, or simply pull off the road and camp in the National Forest land. You should also be able to camp in a van/camper at the trailhead for one night, there was nobody there to check or bother us. Spring Creek is the nearest anything, and 30 minutes away is Elko which is a big town for Nevada.
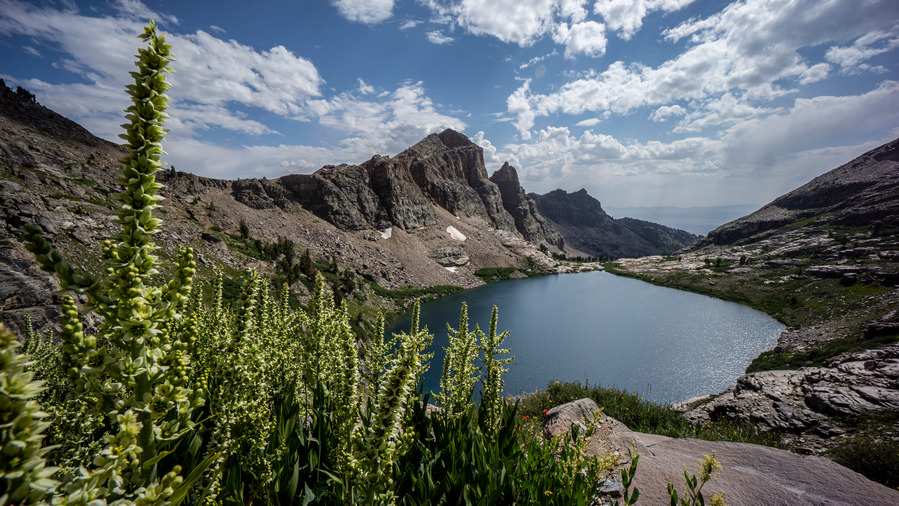
This hike is a route that I wanted to do on my 2020 Basin and Range Trail thru hike, but wasn’t able to fit in, logistically. My route along section 6 of the BRT ended at Roads End Trailhead in upper Lamoille Canyon. The route we will hike here is a route that connects upper Lamoille Canyon with Seitz Canyon, leading to the Powerhouse Trailhead in lower Lamoille Canyon. This route should be very scenic, and will offer a spectacular finish to an already great section of the BRT. The Ruby Crest Trail was nice, but I have a feeling this will be nicer.
This route is almost entirely off-trail. There were only a few sections of this route, like in Seitz Canyon, where a trail is marked on the map. On the ground though, it barely existed. Just a fading trail that hasn’t seen maintenance in decades. In other words, most of this route is off-trail, and there is some bushwhacking involved… mostly in Seitz Canyon. With that said, it’s an awesome route that is challenging, rewarding and gets you off the beaten path in the Rubies. The Ruby Crest Trail gets most of the traffic in the Rubies, but there are many other great spots here, such as Echo Lake.
This hike can be done a long day hike, but it would be best to split this hike up into two days, camping at Echo Lake. There are multiple excellent campsites along Echo Lake.
Three final things:
- Beware of the private land at the entrance to Seitz Canyon. That’s why the route goes along the hillside at the end to reach Powerhouse Trailhead. There is an active ranch here with a few homes.
- This hike can be done as a day hike, but it may take all day, as it did for us. Make sure to bring a headlamp, just in case. We wish we did…
- Water is abundant, you won’t hike more than a few miles without it.
July 17th, 2021 – Ruby Mountains, NV High Route Hike Lamoille Canyon to Seitz Canyon
Miles Hiked – 19.28
Elevation Gain – 5,592′
My friends Sam and Ken (2020 CDT thru hikers) will join me for this hike. Last night, we slept off the road in National Forest Land near Camp Lamoille at the entrance to Right Fork Lamoille Creek Canyon. Descent spot, good views of Lamoille Canyon especially at sunset.
In the morning, We drove Ken’s Explorer down to the Powerhouse Trailhead in lower Lamoille Canyon, then drove my van up to Roads End Trailhead in upper Lamoille Canyon. We’ll walk back to Ken’s Explorer today, and then he’ll drive me back up to Roads End to get my van.
We left the trailhead around 8am following a trail up Lamoille Canyon. Soon enough, we realized this one was taking us up to Dollar Lake instead of Lamoille Lake. We began hiking off-trail sooner than anticipated, and headed for a horse trail that runs higher up the hillside in the canyon. I know this, because that’s the route I hiked down from Liberty Pass last year on my BRT thru hike.
The off-trail stuff here was mostly our fault for not taking the horse trail in the first place. I should have known better. Now, we spent some time walking through tall bushes and grasses, thankfully not crazy thick.
We hit the horse trail and followed that a ways uphill. We stopped for a quick break at the spot where we leave the horse trail and begin out hike uphill to our off-trail pass below Snow Lake Peak, leading over to Thomas Canyon.
Sam had just flown to the US from England a few weeks ago, and had bought some cheapo Walmart shirt to hike in for the summer. It was a long sleeved, collared shirt, the kind your cheap dad might wear when he’s forced to dress up. Ok, me too. I joked with Sam about this, and the need for a tie to complete the ensemble. After all, it looked like he was here for a business interview. Well, from the waist up, anyways.
The route up to the pass was steep and had us winded, but it was an easy walk. No bushwhacking, no huge extended boulder fields, it was mostly just a steep incline.
At the top of the pass, we enjoyed great views down into Lamoille Canyon and Thomas Canyon. To the south was Snow Lake Peak. The Snow Lake Peak was eroding was very obvious, and we joked that the Forest Service needed to come out here and “repair” these crumbling mountains. “A few more years and we won’t even have a Snow Lake Mountain”. Ha!
We stopped for a break on the pass, soaked in the excellent views and scouted our next move. The plan was to stay high up on the ridgeline and contour around the mountainside towards Mt Fitzgerald. It looked kinda steep though, and we contemplated taking a route a bit lower, meaning more elevation gain and climbing.
The descent form the pass into Thomas Canyon was steep, but short. Below the pass, a green and grassy patch of land with water flowing through it. A nice hike here.
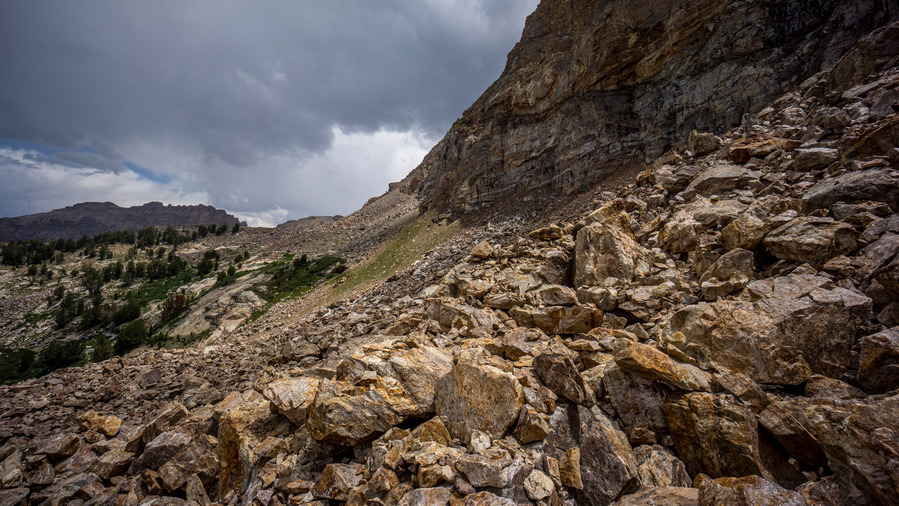
Next we climbed back up in elevation some to reach our desired contouring line. This was intermittently hard/easy. We’d be climbing up steep, loose rock and boulders one minute, then walking short sections of flat, easy going terrain. All with great views of Thomas Canyon, though.
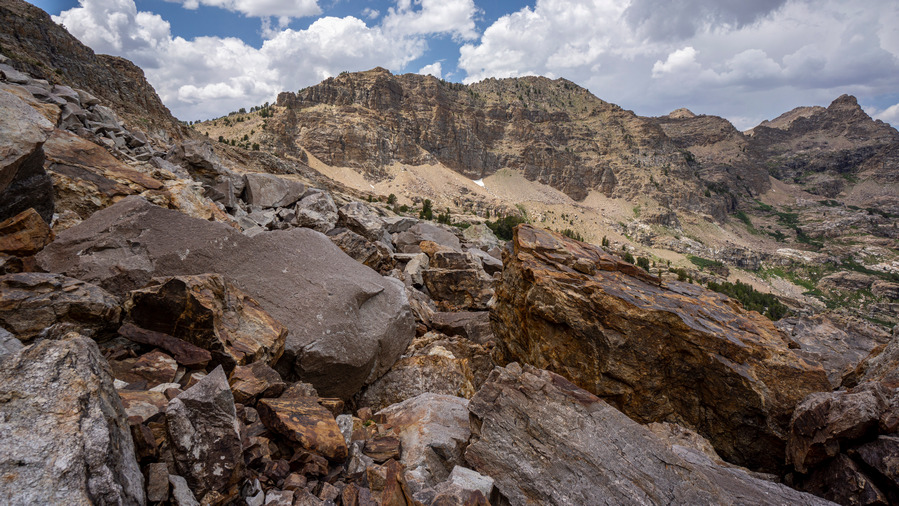
When we rounded the northwest-facing ridge before Mt Fitzgerald, we were met with an entire mountainside filled with boulders. Not what I like to see, but Sam loves the stuff. It was a big view though over Thomas Canyon. It was very green down below, but we were well above that, in the boulders.
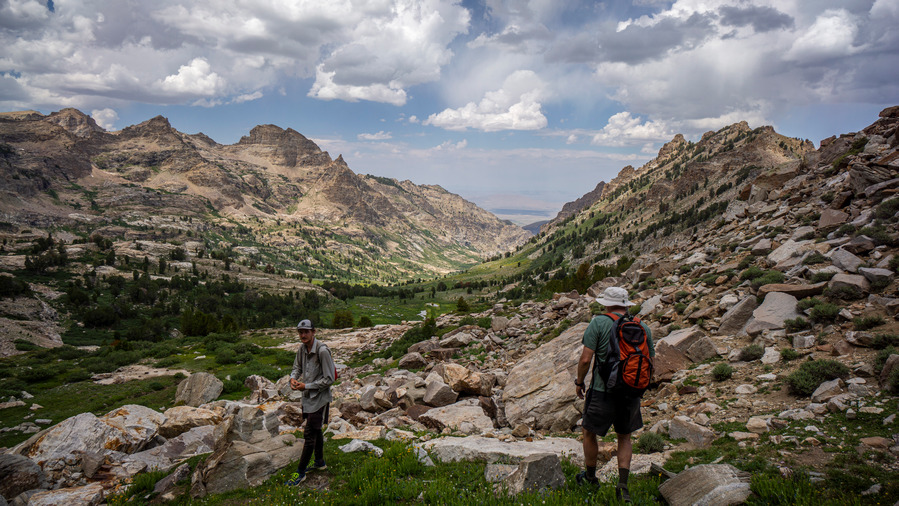
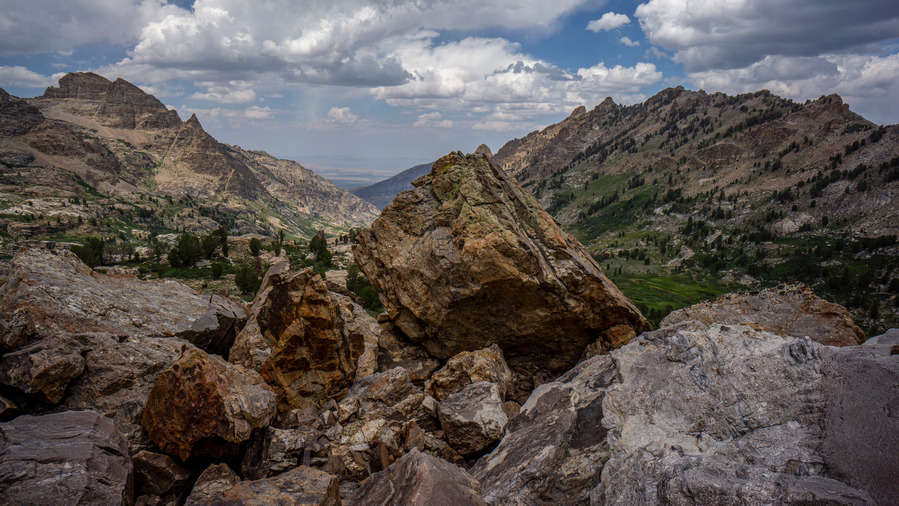
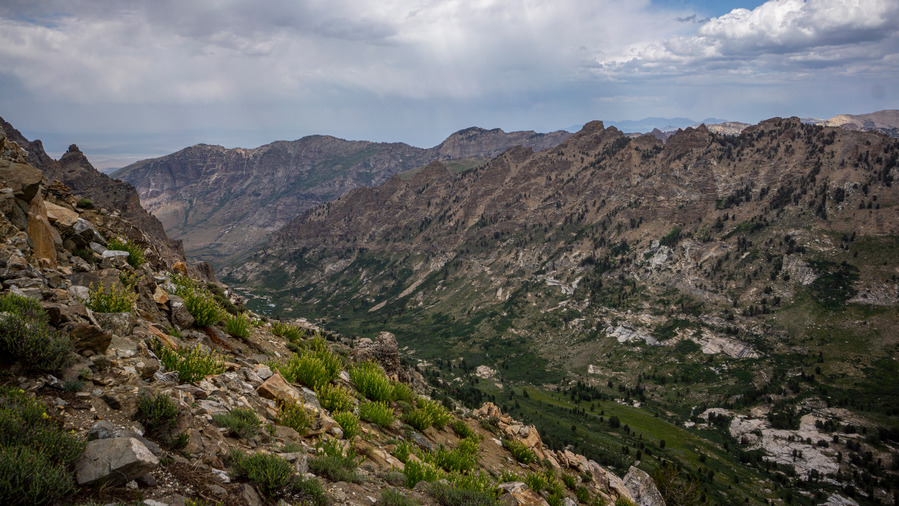
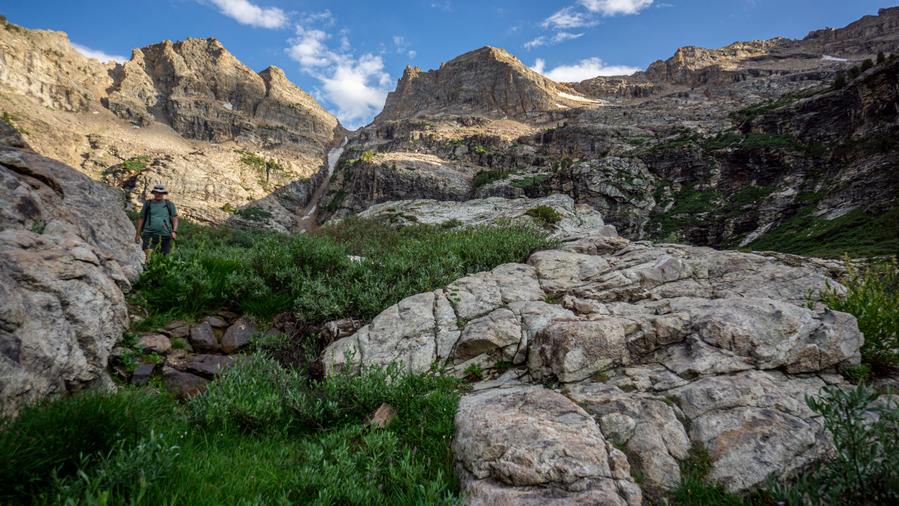
The mountain scenery here was very impressive. The hiking here is more akin to a Sierra High Route or Wind River Range High Route. We are surrounded by towering mountain peaks and rock faces, in a sea of boulders. Slow going, but worth it.
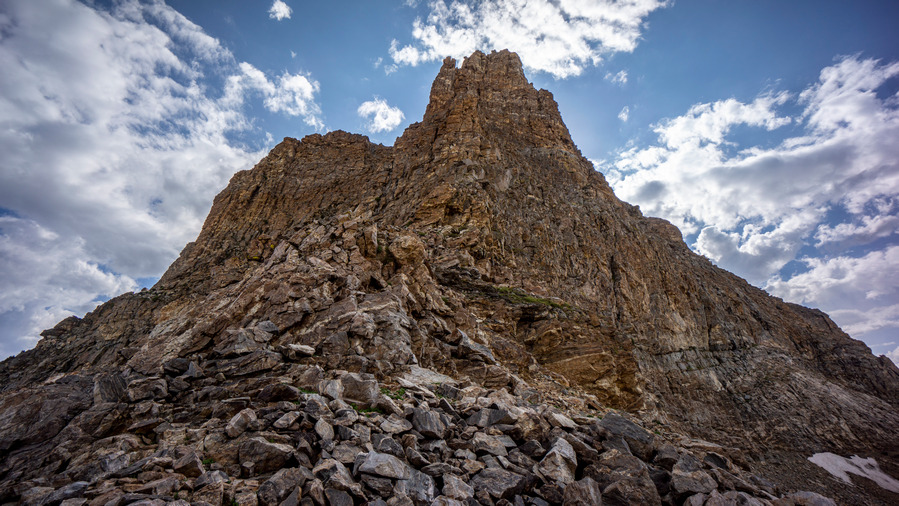
Directly below Mt Fitzgerald was an imposing place to be. The peak towered above us, as we worked our line around the base of it. Even through the boulder fields along the slopes, we routinely cross trickles of water and small streams. There is no shortage of water here.
After Mt Fitzgerald, we went up and over a ridgeline separating Thomas Canyon with Right Fork Lamoille Canyon. The same excellent scenery extends into this canyon as well. Superb views here.
I came across a pile of a few boulders that had some minerals that caught my eye. I’ve been seeing a lot of large books of mica around, but that was it until now. Here though, in upper Thomas Canyon below Mt Fitzgerald, I found garnets. They were embedded in the host rock though, and I couldn’t do much with them without tools to extract them. Still, a cool find. Fun fact, the early explorers who first passed through the Rubies named them the Ruby Mountains because they thought these garnets were actually rubies. And now, I can see why.
Right Fork Lamoille Canyon continued to impress us the entire route around its upper slopes. We have been walking mostly on boulders for quite some time now, though, and it’s tiring.
Eventually, we reached a saddle in between peaks 10,528′ and 10,882′, at the top of Right Fork Lamoille Canyon. The wind was really picking up now. We followed the ridgeline towards No Echo Knob.
Along the way up to the ridgeline, we enjoyed excellent views of the Ruby Mountains. There were some sheer cliffs to stand at the edge of overlooking Right Fork Lamoille Canyon. It looked like the potential for rain now, although nothing directly nearby threatening us at the moment.
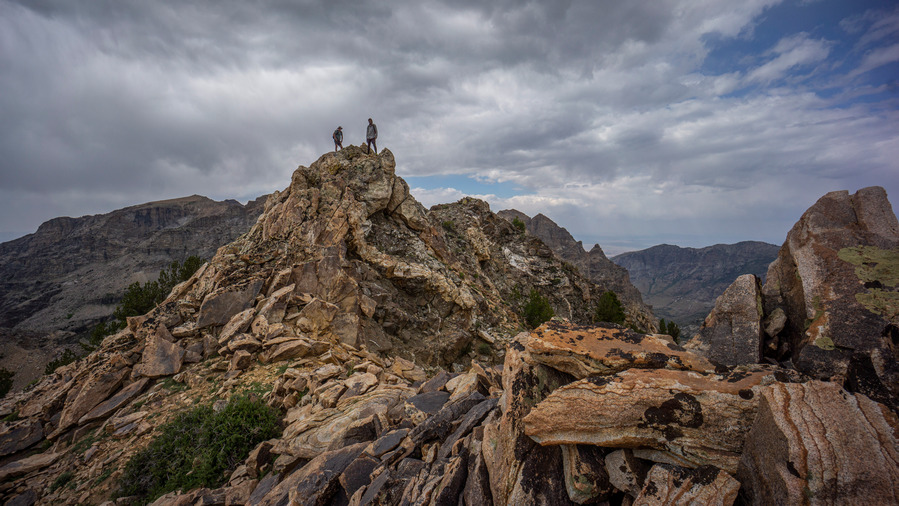
At the top of the ridge leading to No Echo Knob was perhaps some of the best distant views of the day. It was our most proper ridgewalk of the day, as well. The views were just stunning in every direction. A truly magical place.
We summited No Echo Knob, high point of the ridge. It was here that Sam, hiking for the first time in Nevada, realized the hidden gem that he’d stumbled upon. “Why is it that so few people visit this place”, he wondered. Nevermind why, we have it to ourselves today.
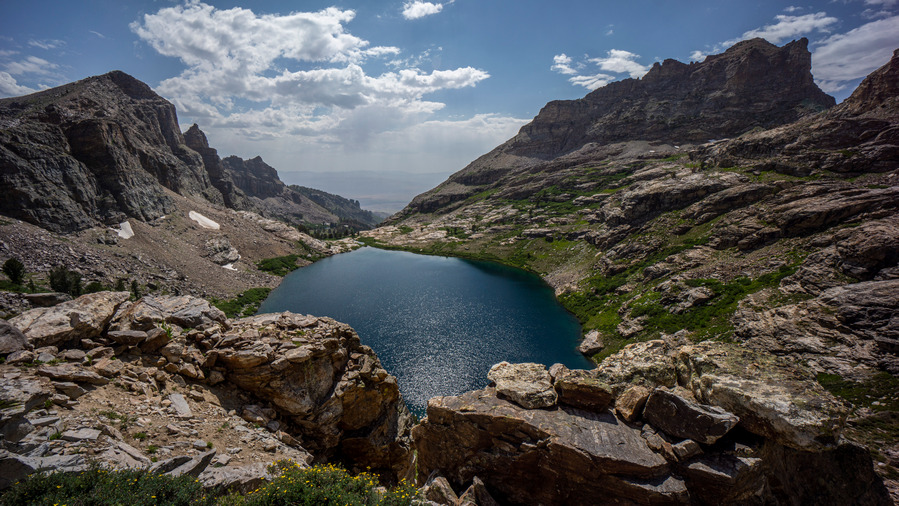
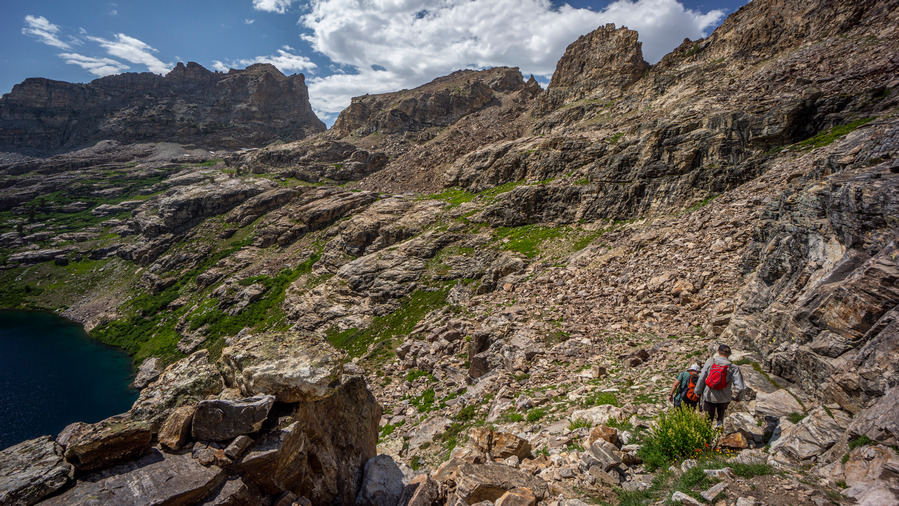
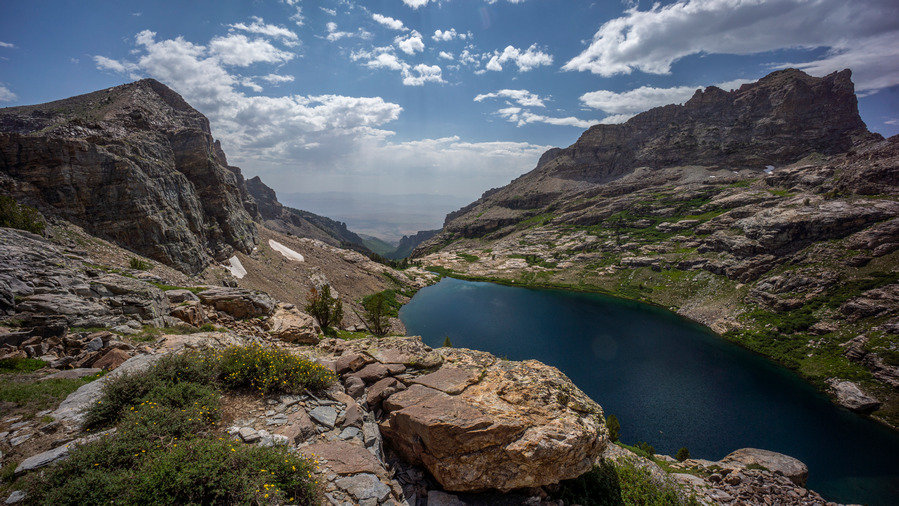
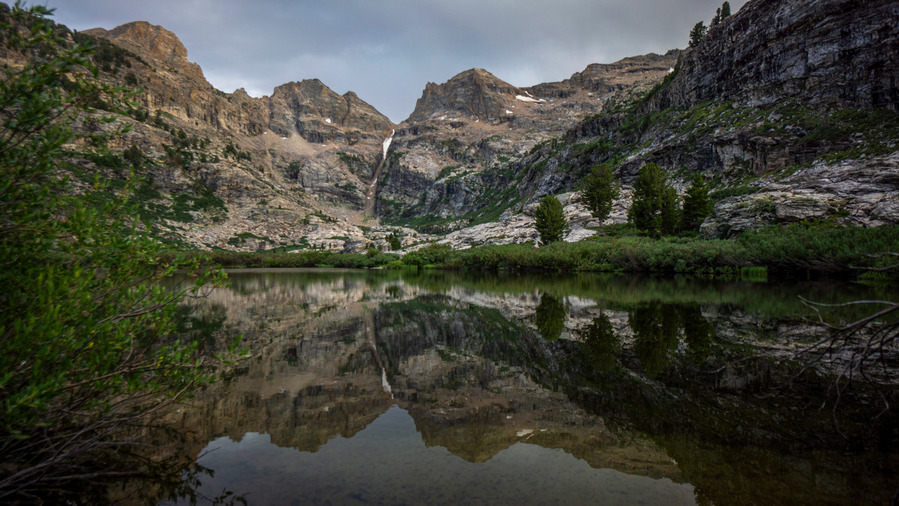
The descent form No Echo Knob to Echo Lake was outstanding. Echo Lake is hard to ignore; it’s surrounded by a tall, steep cirque of mountains, and the lake itself is a deep blue color. It’s large and looks to be deep. It certainly commands your attention, and respect.
Our original plan was to drop down to the lake to traverse around it’s east shore, but from our elevated position, we saw a better route. We’ll stay higher above the shoreline, and contour around the lake. This way, we minimize our total elevation gain traversing around it. There looks to be a route we can follow, but who knows. Let’s try it!
The entire hike around Echo Lake was stunning. The views were constantly changing, with seemingly better and better angles and lighting. The hike itself wasn’t too hard. There was no real path to follow, but it was easy to pick from numerous lines that traverse the east side of the lake.
The views from the extreme east side of Echo Lake were probably the most impressive to me. Here, the lake looks the biggest, and one has a great view down Echo Canyon. Lining Echo Canyon is Mt Silliman, peak 11,330, and Echo Box Peak. These peaks, and the ridgelines leading up to them, form huge, towering walls above Echo Lake, making this the beautiful place that it is.
We stopped along a small creek for a break. There was a great camp spot here, overlooking Echo Lake. If only we were camping!
After the break, we continued traversing around Echo Lake. Of course, we had to stop and test the echo properties of Echo Canyon at some point. The echo is indeed impressive! We also took the time to test out our skiing skills on some of the snow slopes. I made a successful run down a hundred feet or so, which is always fun to do in shoes.
After contouring around Echo Lake, it was time to head up to a pass below Mt Silliman. From here, it was a climb of about 350′ to the top. It was a very manageable climb up boulders, and we made quick work of this one.
At the top of the pass, we had our first view into Seitz Canyon. Nice, but the north face of Echo Box Peak on the Echo Canyon side was more impressive.
Now for the route down into Seitz Canyon. Our plan was to contour around the north face of Mt Silliman and work our way down a diagonal line Seitz Lake below, avoiding the steep and narrow Seitz Canyon route which is more direct. I thought it would be best to avoid Seitz Canyon when planning this route from home, based on the slope angle shading/steepness of the grade, but now that we’re here, it does indeed look doable. Sam, Ken and I discussed our options, and we settled on the direct route down Seitz Canyon.
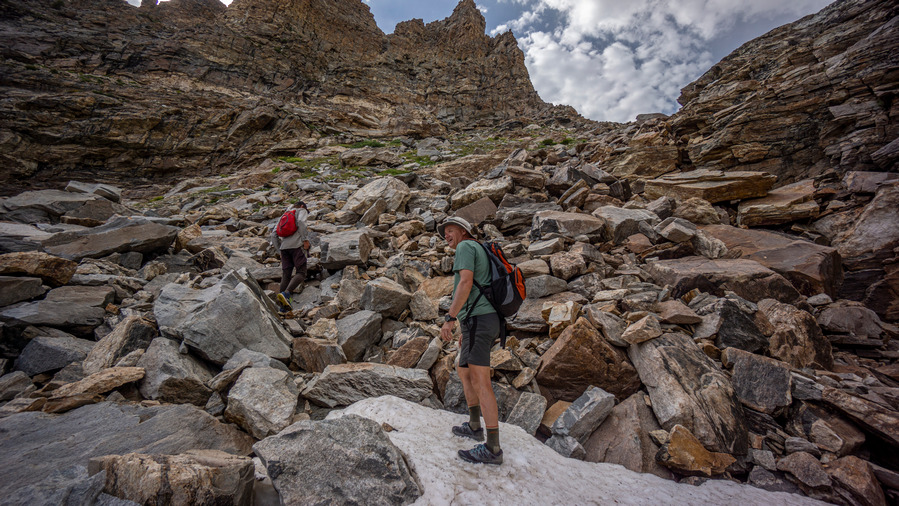
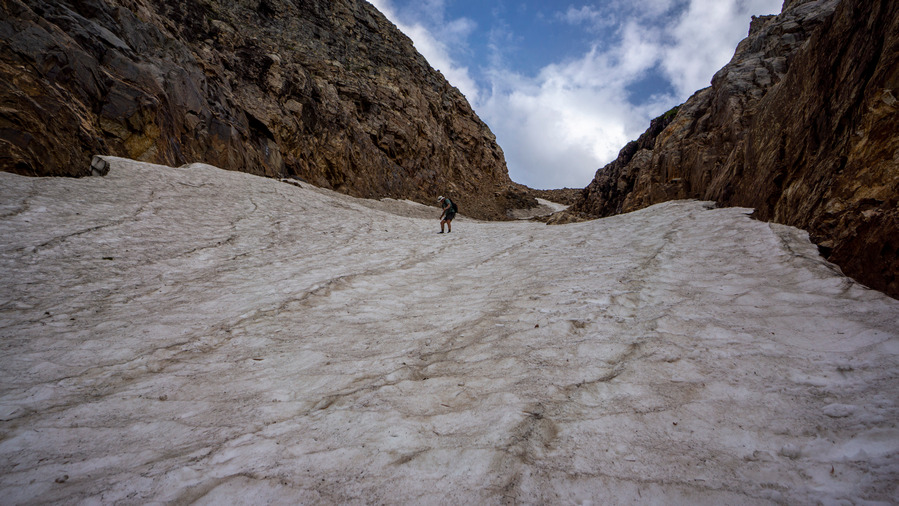
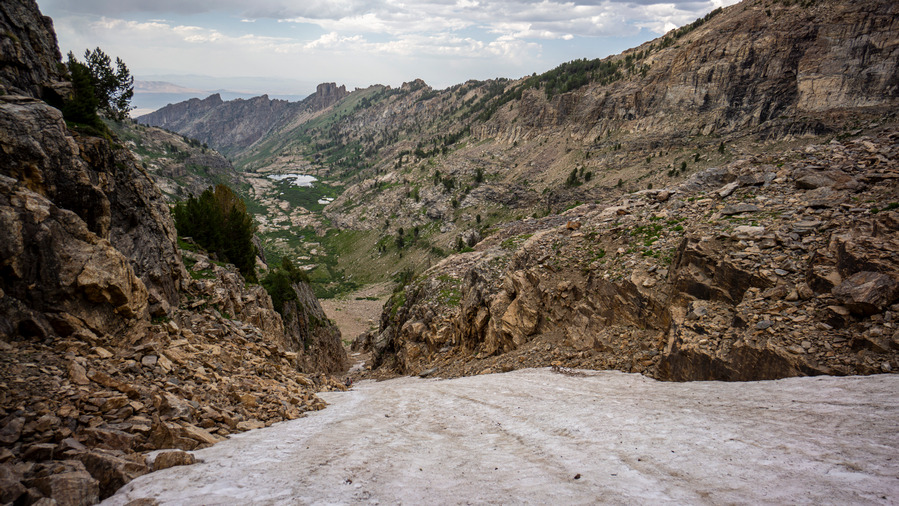
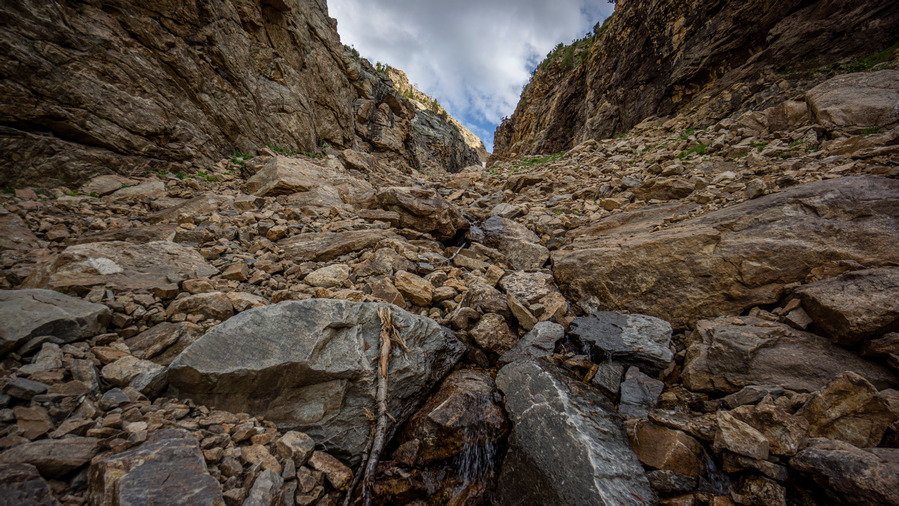
So from the top of the pass, it’s 1400ft down this steep, narrow chute filled with snow, ice and boulders. We traversed a sketchy section of loose boulders just to get down to the snow field in the center of the canyon. Past the boulders, we take our first footsteps in the snow. The slope angle is steep, seemingly close to 45 at times. Sam went first, kicking steps on his way down. I went next, and Ken at the top.
The snow was mostly soft enough to kick steps in. Ken and I had the advantage of using Sam’s steps to walk down into, without expending as much energy as Sam. However, it was still slow and tedious. I took out a trekking pole for the first time today, almost never using them anymore, except to support my tent. But here, a trekking pole was great to have. I used my upper hand to balance myself in the snow as I hiked down, which makes your hand quite cold soon enough. So then, I’d switch sides, putting my opposite leg first as the leading leg, giving my other hand a chance to warm up again. Yeah, didn’t think of bringing gloves for this hike. Nor micro spikes or ice axe, but having them here would have been nice.
No way around it, it was slow going down Seitz Canyon. Descending the snow field was enough to get your heart rate up a bit, but also not feel overly worried about the dangers of falling. Maybe that’s just my confidence in the snow. Either way, this slope was not glissade-able… safely.
There were two sets of snow fields in the chute. The upper one was the steepest. There was a short section of boulders separating the two snow fields, and then it was on to descend the lower one. Sam was below and hollered up that it was icier than above. Ken, having hiked with Sam on the CDT in 2020, joked that Sam doesn’t kick great steps anyways. It was fun to see the dynamic between these two, it was the first time I hiked with them together.
Past the second snow field, we were roughly halfway down the chute. It’s all steep boulders here now, and I wondered which I would rather have; the boulders, or the snow. I say, the snow.
We took a break near the bottom of Seitz Canyon, and I ate a snack. I hadn’t eaten in several hours, and really needed the boost. I was indeed feeling better now. We exited Seitz Canyon on a bit of a high, looking back at the increasingly crazier looking chute we had descended. I let out a loud scream into the canyon, which had an incredible echo to it with a delay of a few seconds.
As we covered distance downhill now and entered a flat, open valley above Seitz Lake, we entered a new phase of the hike… bushwhacking. There will be a lot of it in Seitz Canyon, unfortunately. The upper section of the canyon is thick and wet. The views looking back were outstanding, though!
The bushwhacking continued to Seitz Lake. There really wasn’t any good access to Seitz Lake, surprisingly. The shoreline was thick with vegetation. The view sure was nice looking across the lake and up the canyon, though. We assumed the trail would become more obvious downhill from here, but that was wishful thinking.
Below the lake, we continued to be fooled into thinking we had stumbled on the trail every time we came across the slightest hint of a beaten path. However, the setting sun created an extremely pleasant sunset this evening. We had a few sprinkles briefly, but the cloud cover provided the backdrop for those oranges and reds.
We came across a good sized waterfall around the 8200′ mark as we continued to hunt for the trail. We’re right on it according to the map, but we see nothing 95% of the time. It’s a steep descent down the hillside in thick brush. We reach the creek below and stumble upon a ribbon on a tree. You can tell the forest has been cleared out a litter wider in places, but that it’s overgrown for decades without maintenance.
The trail fades in and out and we continue to doubt our ability to stay on whatever the trail is supposed to be. We continue to surprise ourselves though, and routinely see signs that we are on the right path, even if the path is now gone. We saw more ribbons on the trees, scattered randomly along the way, but it’s still a bushwhack.
We hit a creek bed that we followed for a while, which was dry. However, it was full of tress, plants and debris that made this an obstacle course.
Losing light now, Ken stumbles in the thick brush and falls. He’s alright, but a symbol of how were are all feeling… tired. After a helping hand, he’s up and at it again.
Day turns into night as we continue hiking down the canyon. Sam and I have our phones for light, and Ken also has a headlamp. So, one headlamp for the 3 of us. We hit a slightly better path lower down in the canyon, then some type of 4×4 road.
Now we reach the lower reaches of Seitz Canyon, or Rabbit Canyon as the map now marks it here. This is where the private property begins. Following the road out into the valley means walking through private property. There is a ranch here too, and the road goes right behind a couple of homes. So, to avoid them you must contour around the hills above the private property. Fortunately, in the lower reaches of the canyon here, it’s not thick and green, it’s drier and more barren. Open and easier to walk. Still, it’s dark now.
Pick your poison here… walk the hillsides in the dark or drop down to the private property after passing by the homes and walk a nice road out to Lamoille Canyon. I won’t tell you what to do. Just be aware of the property lines, is all. Use the caltopo app and turn on the public lands layer.
We reached Lamoille Canyon sometime around 10:30pm, having hiked a solid two hours in the dark. That’s a 14.5 hour day of hiking for us. It was a very dark night, too. We could barely see Ken’s Explorer until we where right up on it at the Powerhouse Trailhead.
Ken drove us up to the Roads End Trailhead, and we slept in our vehicles for the night. What a killer hike!!
Lamoille to Seitz Canyon Route Verified As New Leg of the Basin and Range Trail
The route we hiked today was challenging, but repeatable. It was not technical nor was there any real exposure. There is plenty of water, excellent camping and outstanding views. Plan to bushwhack Seitz Canyon, though.
So, I am happy to report that the hike we did today will become the new “standard route” for the Basin and Range Trail to end Section 6. The alternate route would be to hike down Lamoille Canyon, or simply hitch down. The route we hiked today was easily equal to the scenery along the Ruby Crest Trail, if not greater. And not only greater scenery, but far more rewarding. Anyone can hike the well-manicured Ruby Crest Trail, but the off-trail stuff we did today provides a greater adventure in my book. The standard BRT route will still hit the Ruby Crest Trail in it’s entirety (except the final mile or two to Roads end trailhead in upper Lamoille Canyon), and so this new route will only enhance the Basin and Range Trail hiking experience.
Glacier National Park 95 Mile Hike (Sep 2019) – Wateron Lakes CDT Finish
6 day, 95 Mile Hike in Glacier National Park – Glacier Highline Trail (Modified Route)
In 2018 I thru hiked the Continental Divide Trail, and the last section (NOBO) goes through Glacier National Park on the Glacier Highline Trail. It’s one of the best sections of trail on the entire CDT, and a fitting way to end a 3000 mile hike. However, it was the end of September when I reached East Glacier, and heavy snow in the high mountains forced me to bail down to the road and walk the highway to the border of Canada, finishing at the Port of Piegan. Yuk! I still completed the CDT, but not at the monument at Waterton Lakes. This was a bit crushing to end my 5.5 month hike in such a way. So, this year I came back out to Glacier to hike the Highline Trail again, and get the finish I missed last year at Wateron. This is my second chance at a true CDT finish. This is my redemption!
Check out my CDT finish video for the backstory:
Unfortunately we couldn’t get permits for the exact Glacier Highline Trail route. Instead, we started at Cut Bank (already did most of everything south of here anyways last year on the CDT up to Old Man Lake), hiked north to Many Glacier, then had to detour from the Highline Trail by going through the Ptarmigan Tunnel. From here we follow Cosley Lake to Stoney Indian Pass and into Waterton. Finally, some closure to such a long and grand journey!


