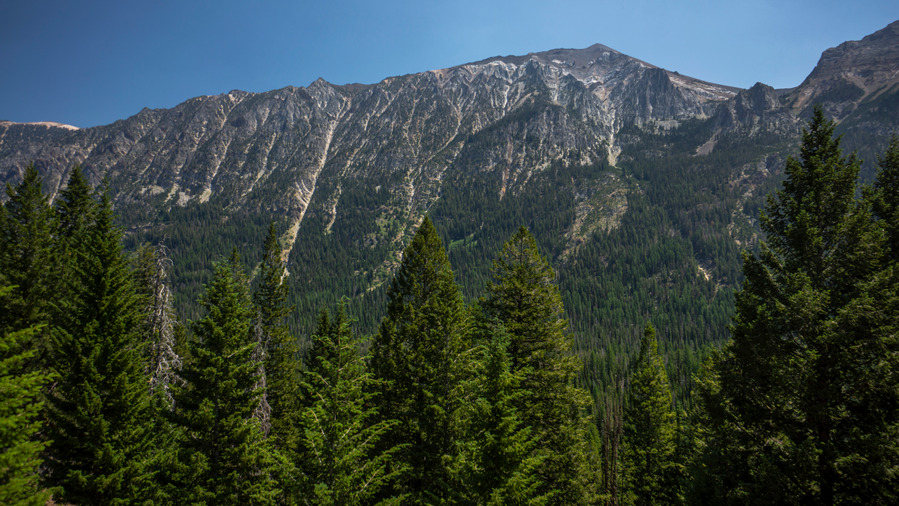
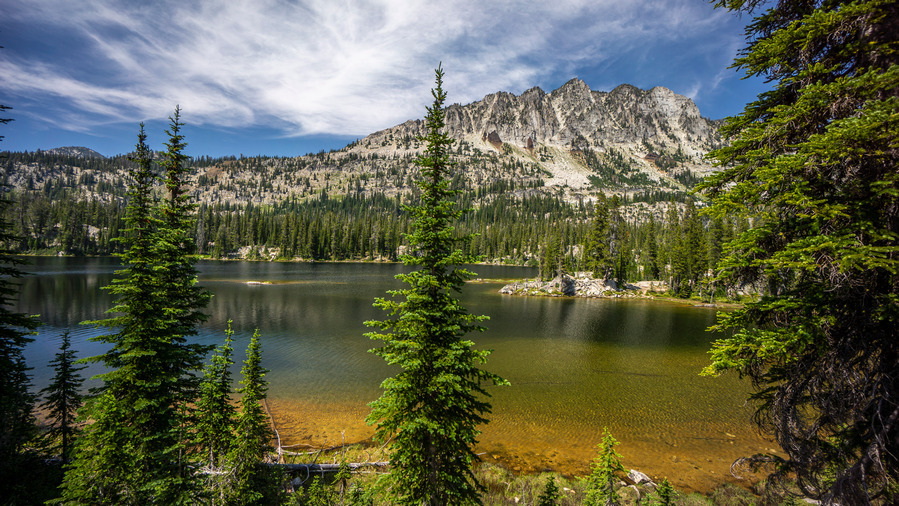
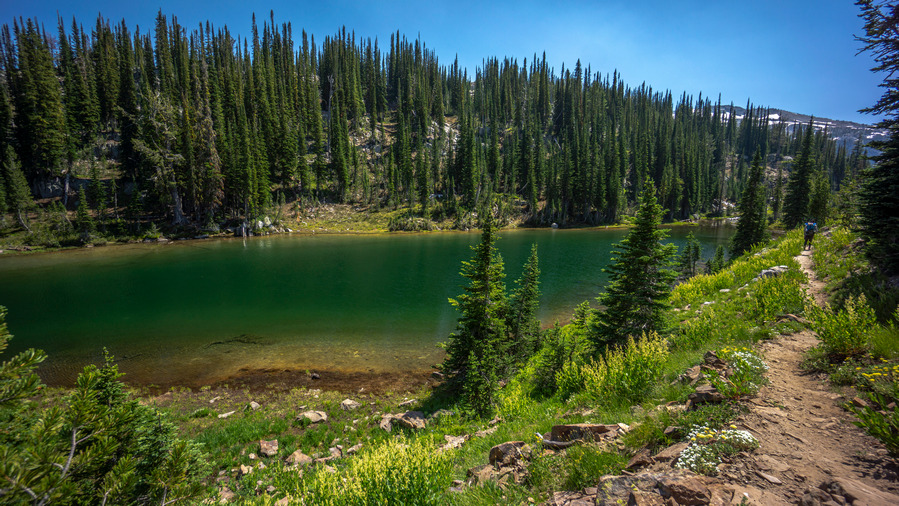
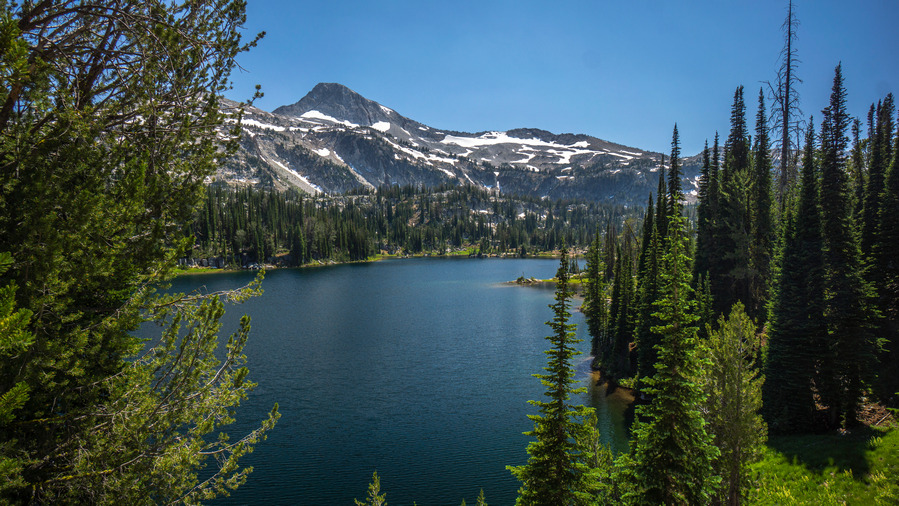
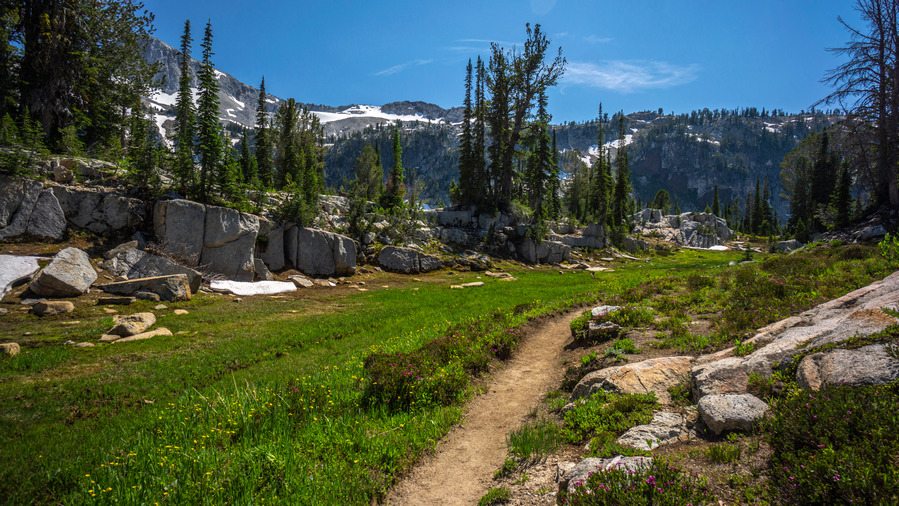
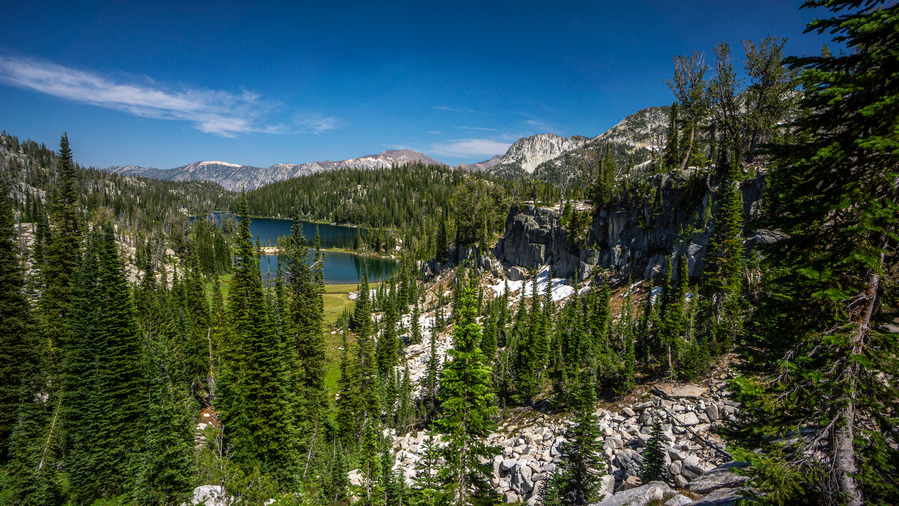
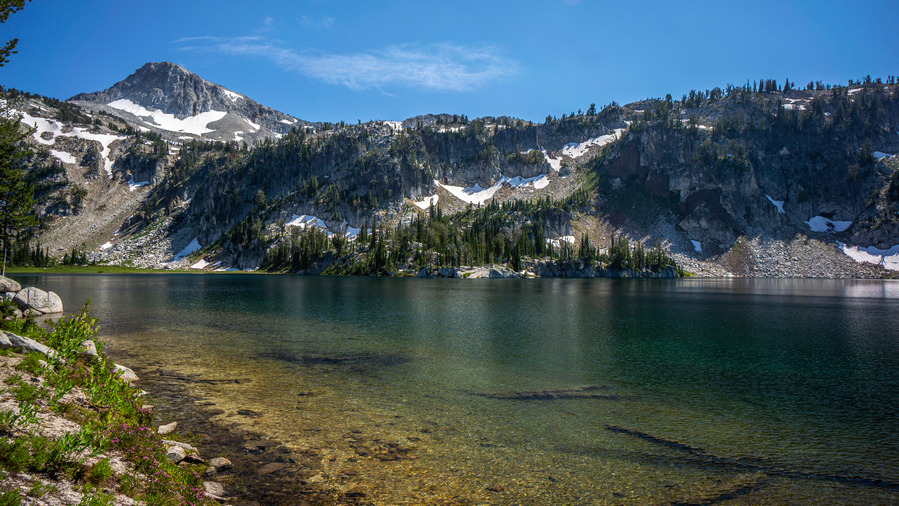
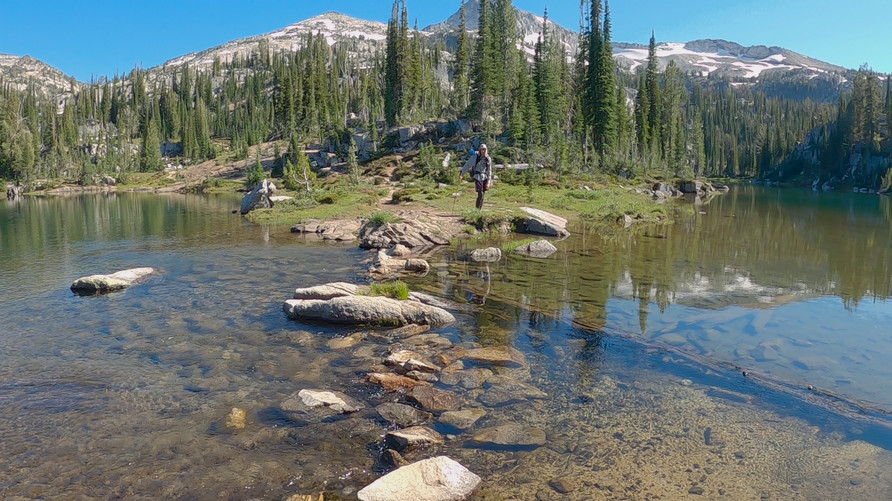
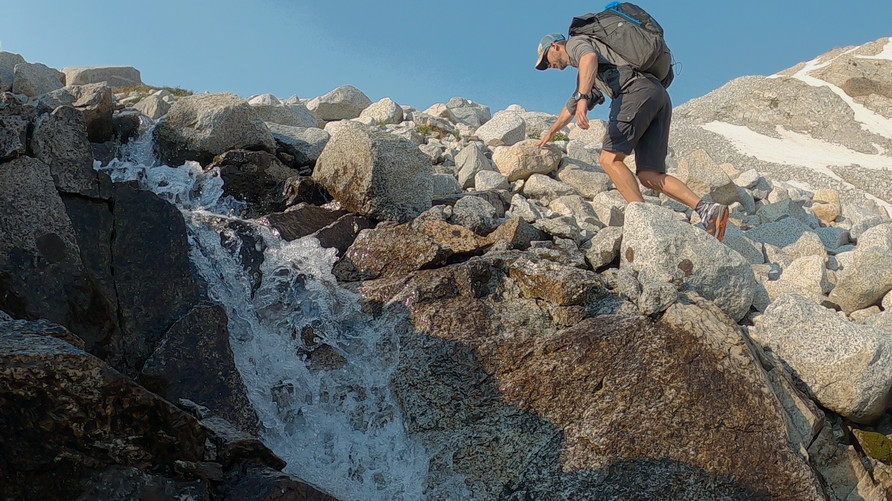
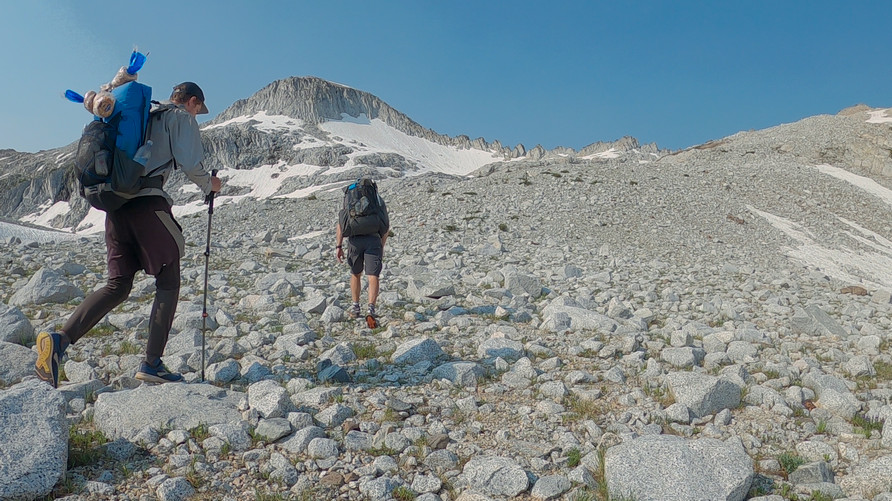
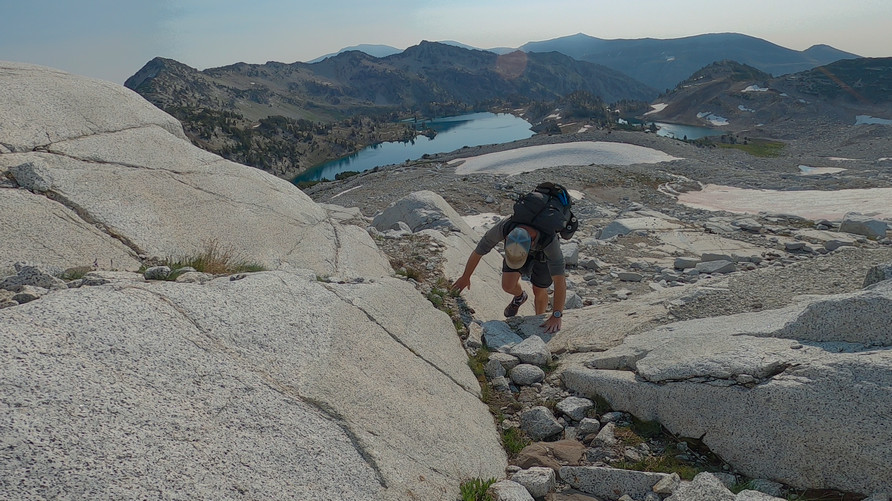
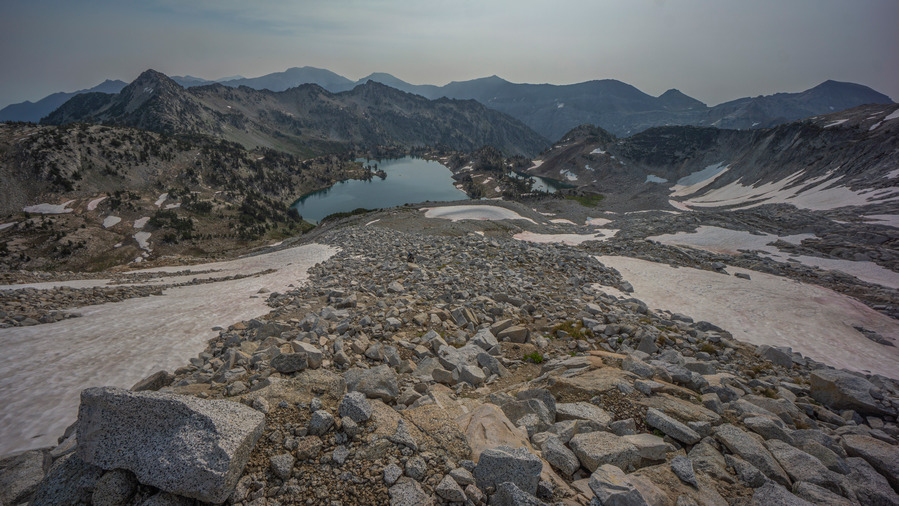
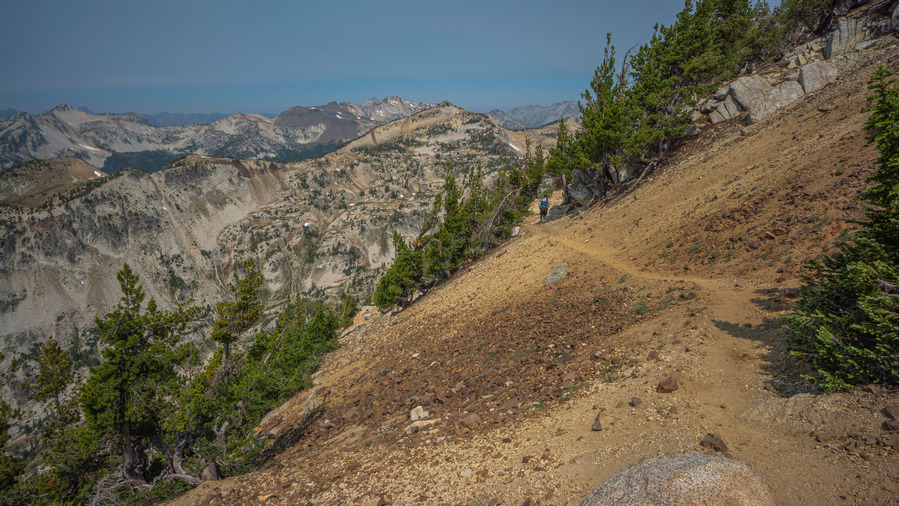
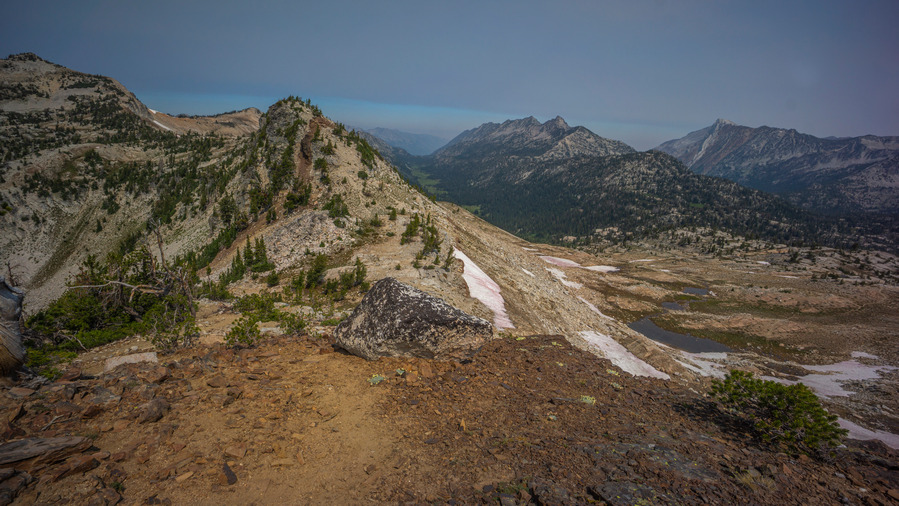
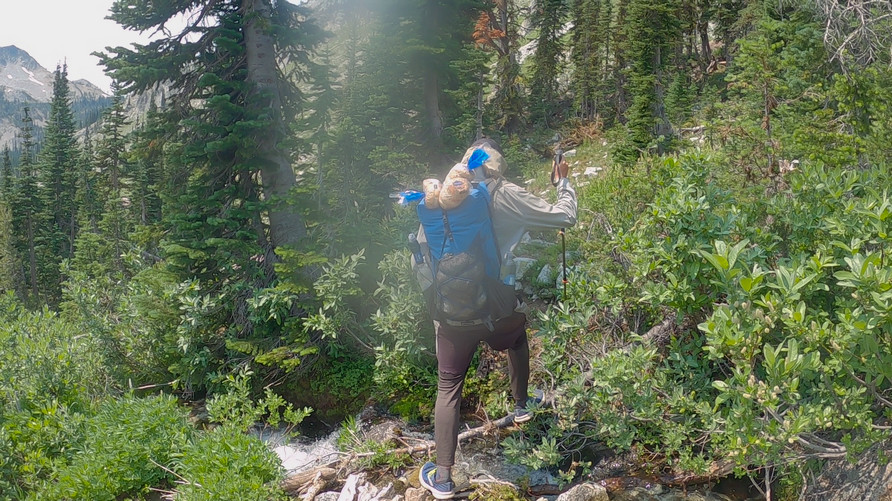
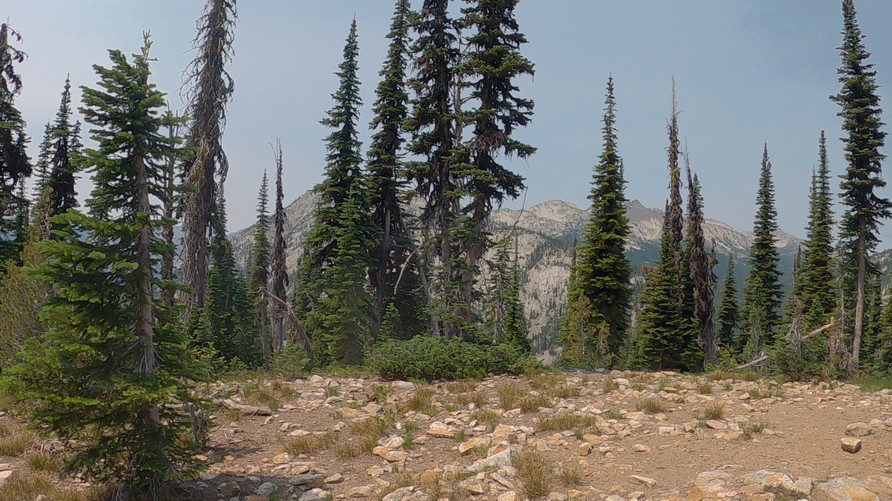
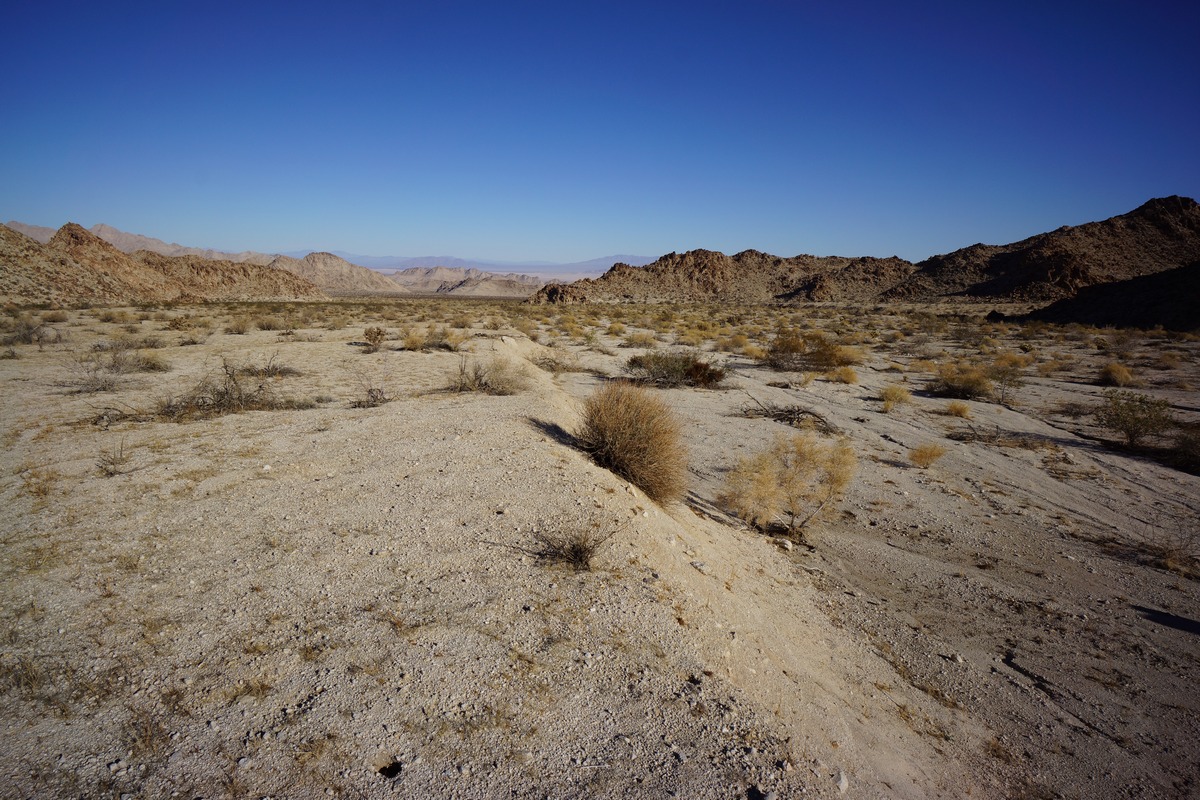
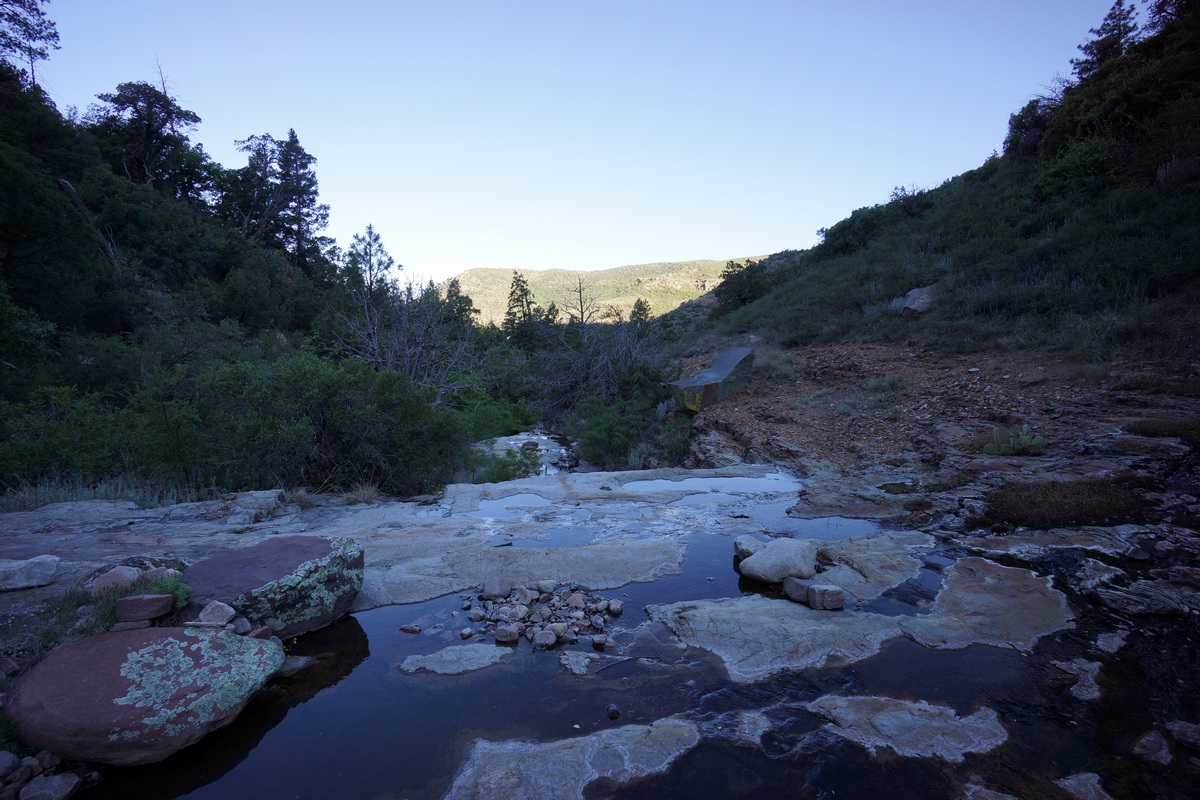
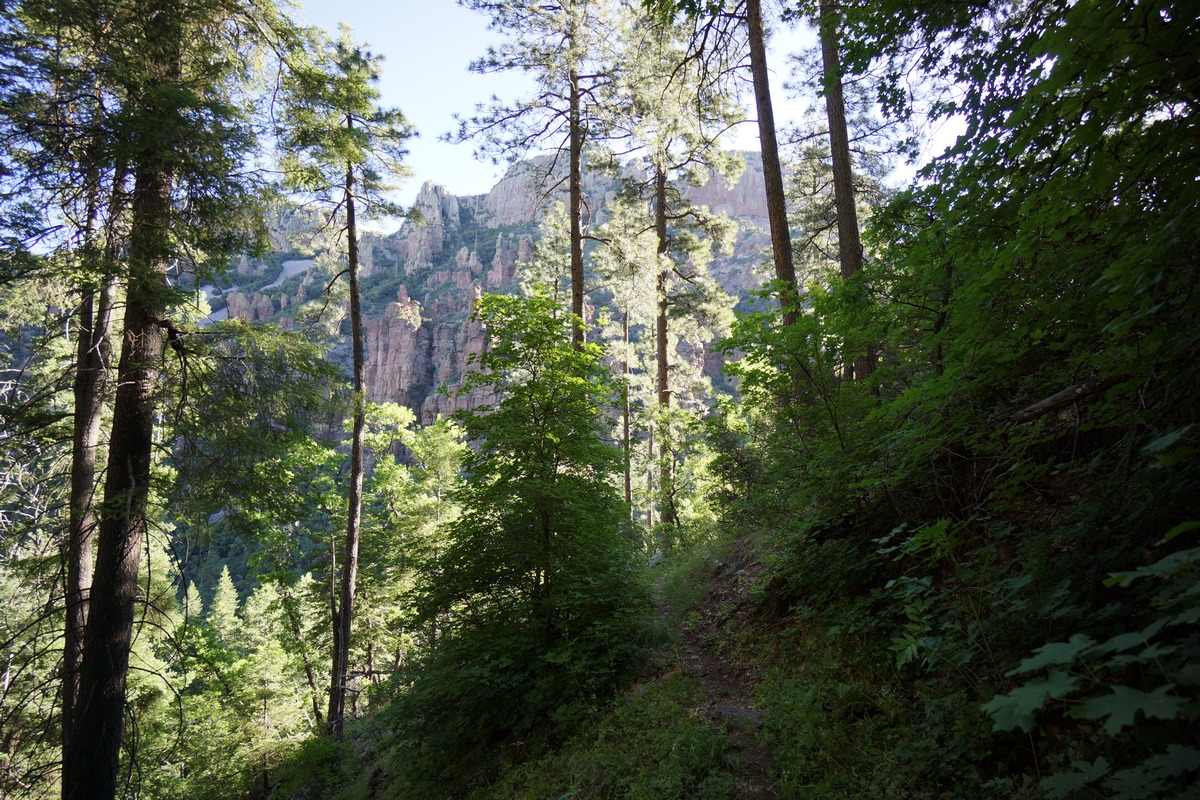
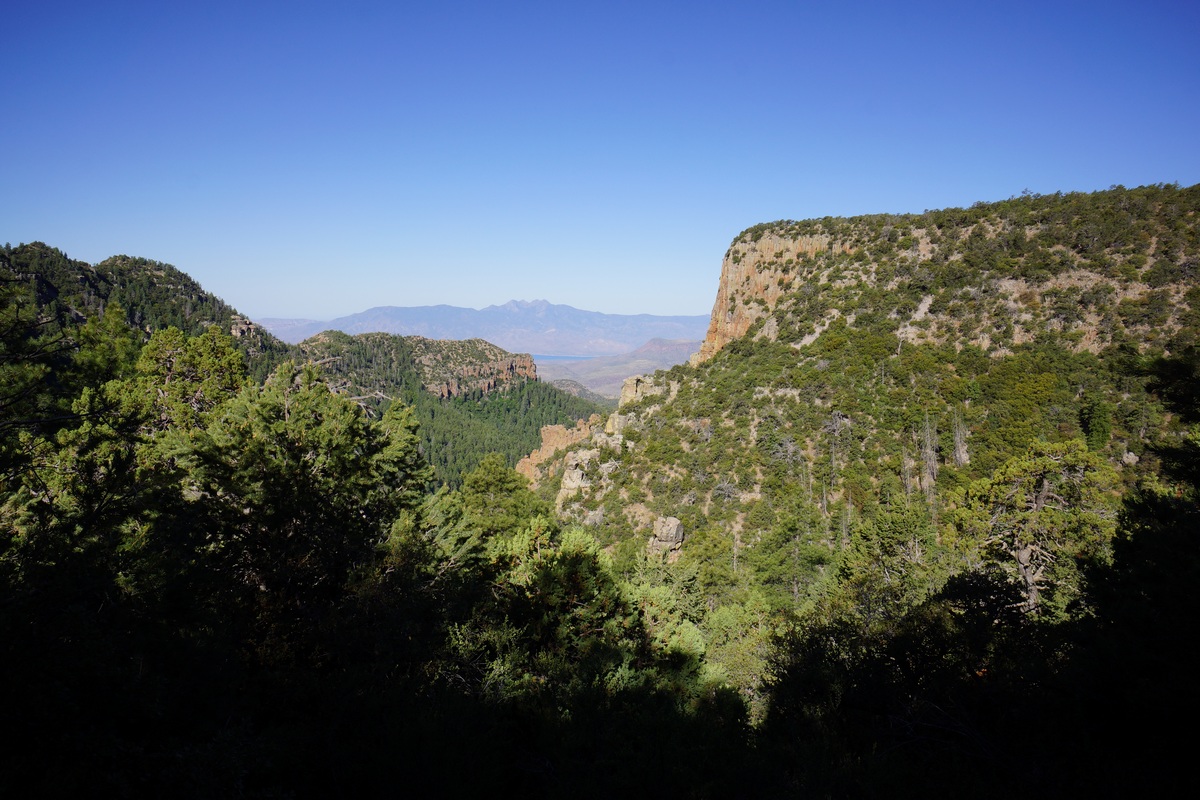
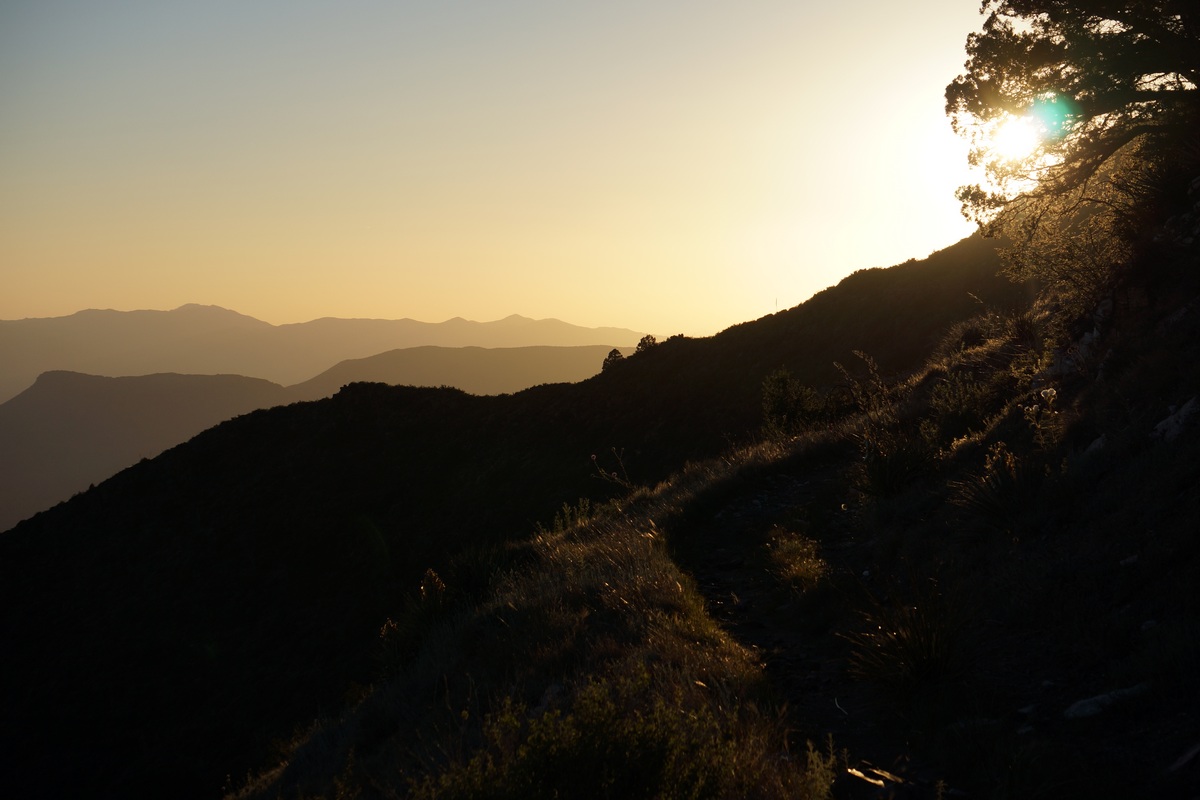
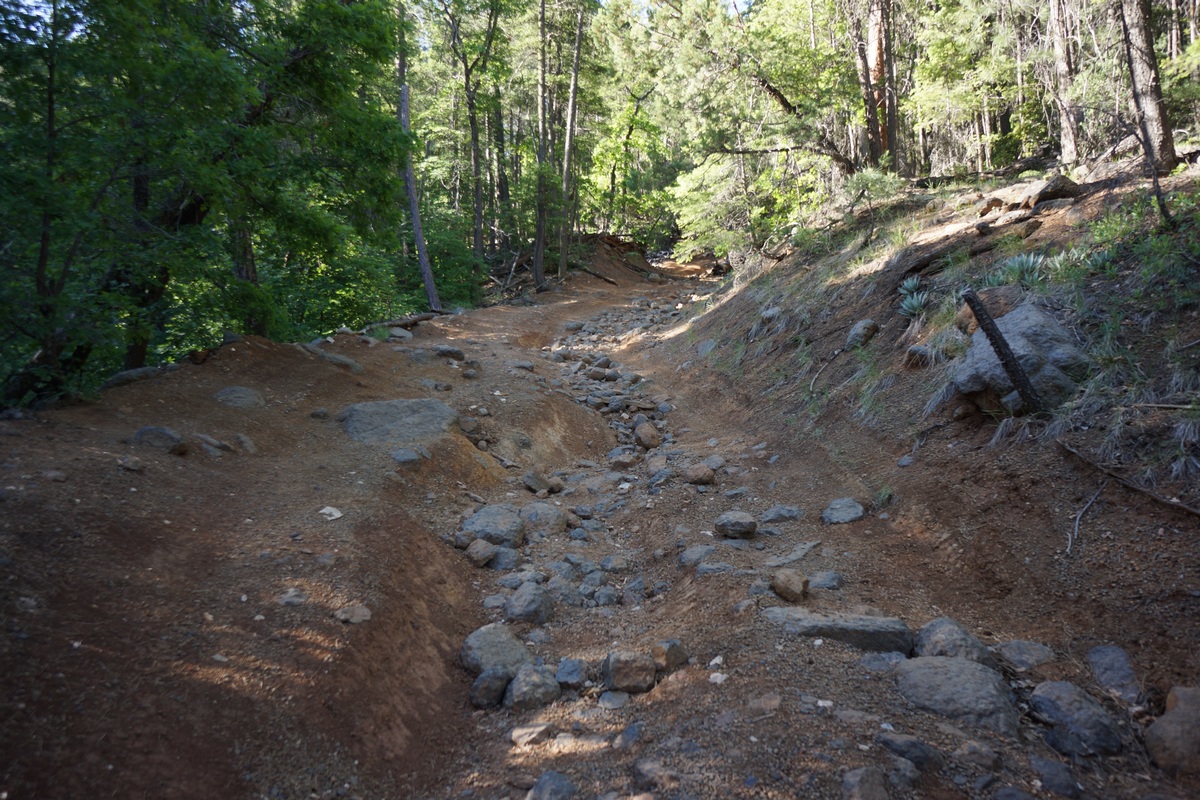
Wallowa Mountains, OR – Eagle Cap Wilderness 3 Day Hike

Wallowa Mountains, Oregon – Eagle Cap Wilderness 3 Day, 40 Mile Hike
- Hike Location – Wallowa Mountains – Eagle Cap Wilderness
- Land Administration – Wallowa National Forest
- Hike Type – Point to Point
- Fees & Permits – No fees or permits needed
- Start Trailhead – Wallowa Lake
- End Trailhead – Two Pan
- Length Of Time Hiked – 3 days
- Miles Hiked – 39
- Route Difficulty – 7.5
- Scenic Beauty – 8.5
- Solitude – 8
Maps
Here’s the caltopo map of the 3 Day Eagle Cap Wilderness Hike:
Elevation gain/loss chart for the 3 day Wallowa Mountains hike: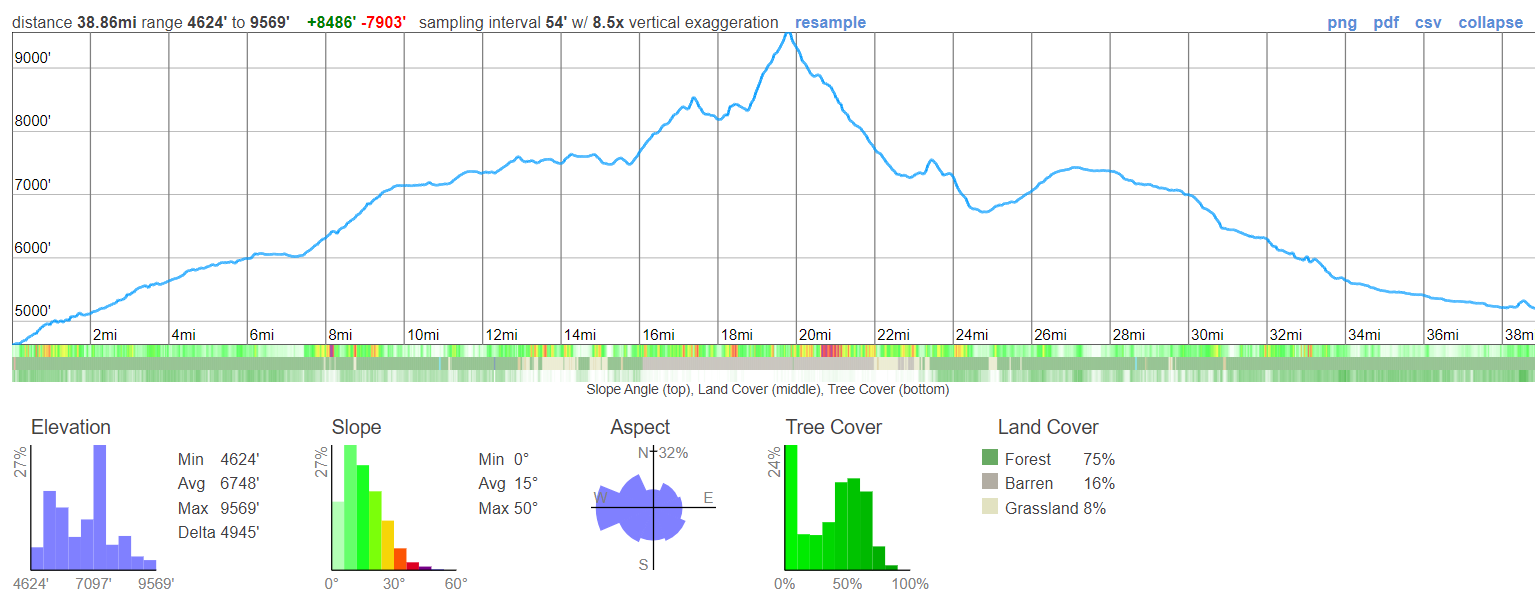
Video: Wallowa Mountains, Oregon – Eagle Cap Wilderness 3 Day PNW Hike
Pre-Hike Planning Notes
If you are driving a long ways to the Wallowa Mountains for your hike, you may want to camp near the trailhead to get an early start the next day. There are plenty of paid campsites at Wallowa Lake State Park and in the variety of campgrounds in the area, but The Wallowa Mountains, outside of Joseph and Enterprise, do not offer much for those looking to do any boondocking or dispersed camping on public land. We drove up Hurricane Creek, the drainage west of Wallowa Lake, and found a few crappy spots alongside the road suitable for an overnight stay in the camper van. Tent camping would be harder here.
Joseph and Enterprise, the two gateway towns to the Wallowa Lake area, are very touristy. The Market Place grocery store offers a decent selection, probably enough for most hikers to pick up 3 days worth of food. However, if you are in doubt, get your food at a larger grocery store on your way.
There is plenty of parking at the Wallowa Lake trailhead. Nearly all of the license plates were Oregon or Washington, which ought to tell you what a hidden gem this place. It’s an out-of-the way place, but worth the drive.
We hiked this route in mid July. The snow had almost entirely melted out, and the mosquitoes were terrible. A mosquito head net would be a good thing to have, and perhaps bug spray.
The system of hiking trails in the Wallowa Mountains are very good. There are trails leading up just about every valley and over every saddle, so there should be little need for off-trail bushwhacking here. Besides that, the trails seem to be pretty well maintained. We encountered very few blow downs.
The Wallowa Mountains are not very well suited for any kind of continuous ridgewalking, or high routes. Instead, the Wallowas are a series of deep valleys separating segments of high country with huge climbs. As much as I wanted to put together a more dedicated high route here, it just wasn’t possible without climbs of 7,000ft daily. The valleys are pretty incredible here, though!
After your hike, there are showers at the Wallowa Lake State Park campground. They are for campers only, but it’s a busy park and you will likely go unnoticed.
Wallowa Mountains/Eagle Cap Wilderness 3 Day Backpacking Trip (July 2021)
Day 1 – July 9th – West Fork Wallowa River, Lake Basin, Mirror Lake, Glacier Lake
Miles Hiked – 18
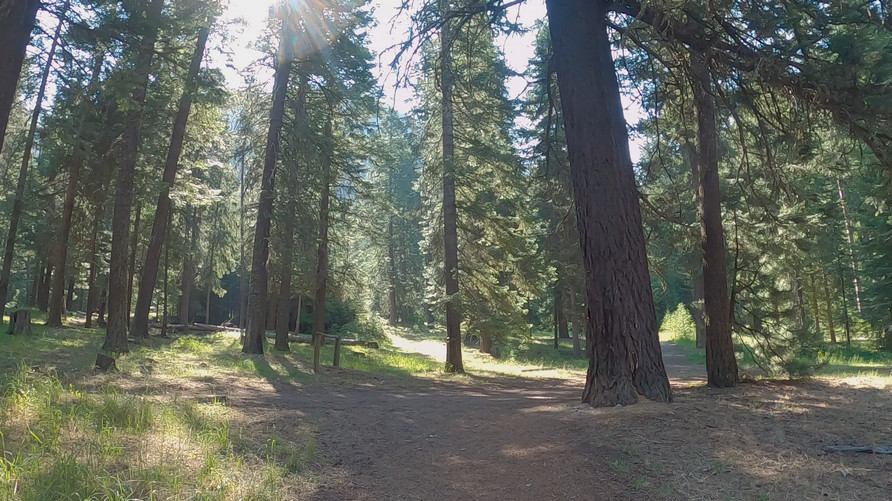
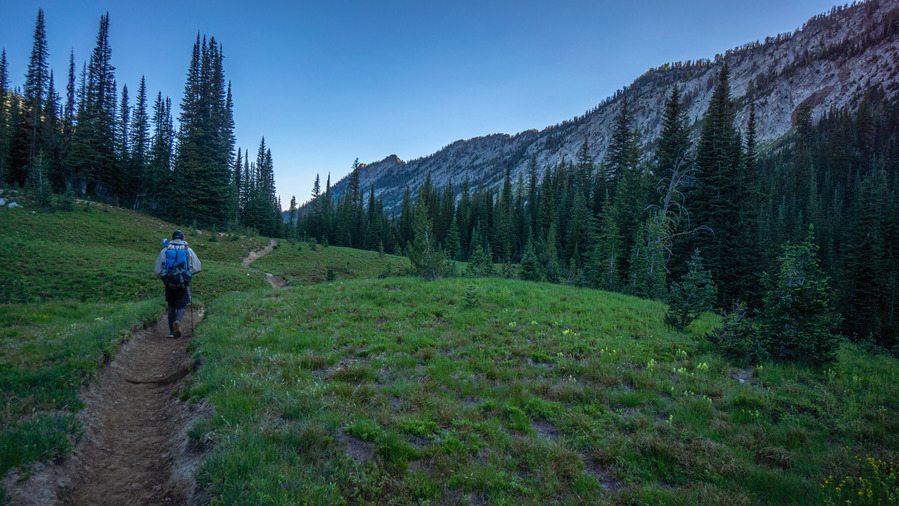
Sam and I left the Wallowa Lake trailhead sometime after 8am. Right away, huge pines towered above us and quickly caught our attention. The trail is wide and well beaten here as it begins a continuous climb uphill along West Fork Wallowa River.
We passed several groups of people in the first few miles. There were a lot of cars at the trailhead, but often times, the majority of these people are only hiking a few miles. We encountered a group of horseback riders, and and couple of guys who look like they had quite an adventure… one guy had blown out his show, the sole was gone. He had rigged it up with some tape the best he could, but it didn’t look like a fun walk.
The roar of the driver grows louder when we near it. Soon we get our first view of the water, and a view up the canyon. I saw a mink running across the trail, which was a cool thing to see. I’ve only seen a couple of other mink in my life. It could also have been a pine marten, but after comparing the two animals after the hike, I think it was a mink.
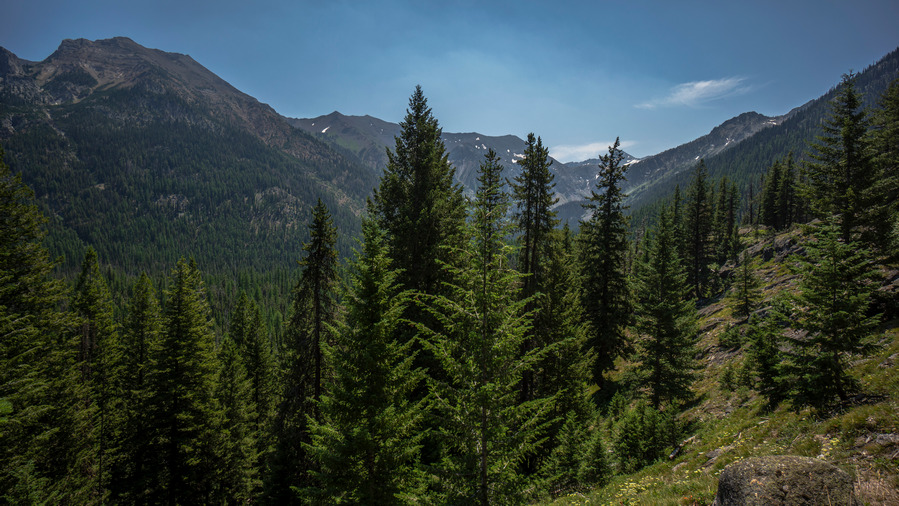
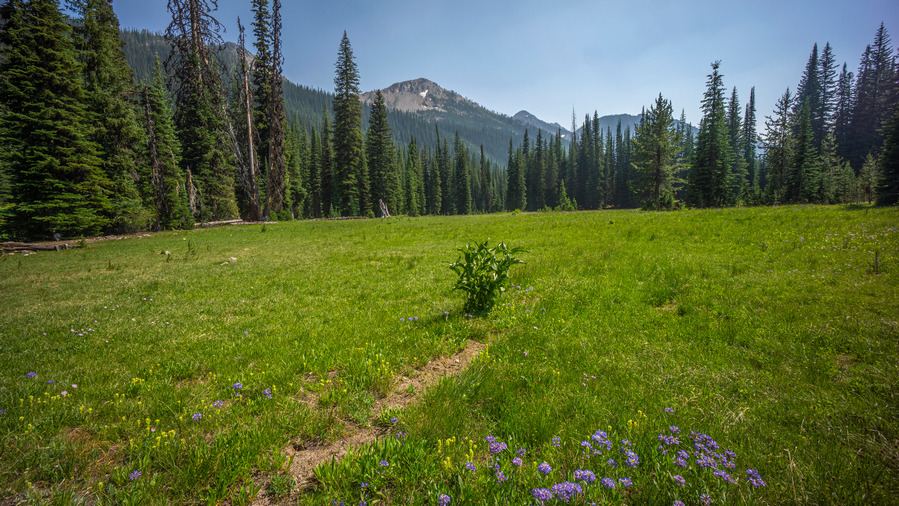
At Sixmile Meadow is where the scenery really starts to get good. Across this big green meadow, the high country began to show itself. We begin to notice how green and lush our surrounding are. The mountains are steep, and heavily forested. No beetle kill here, just a healthy green wonderland.
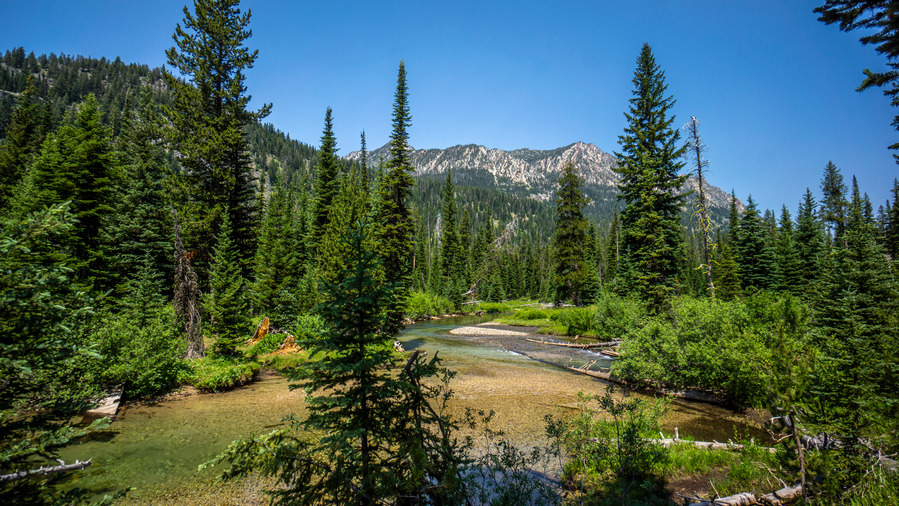
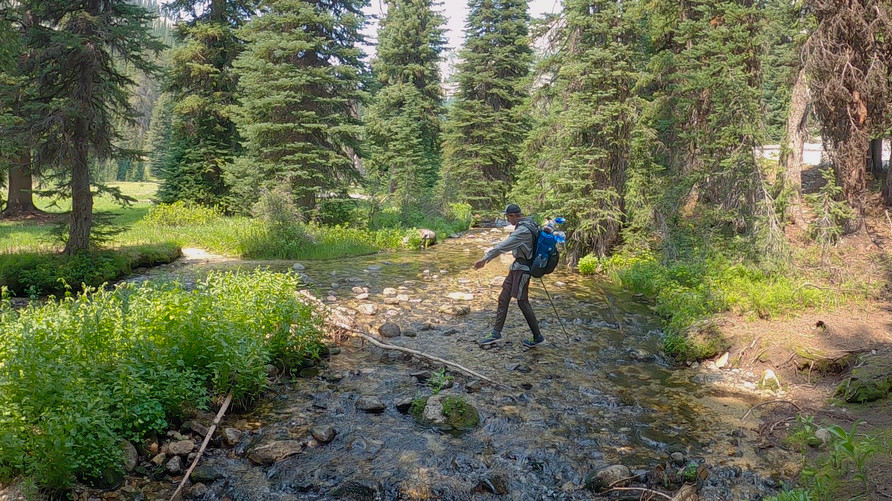
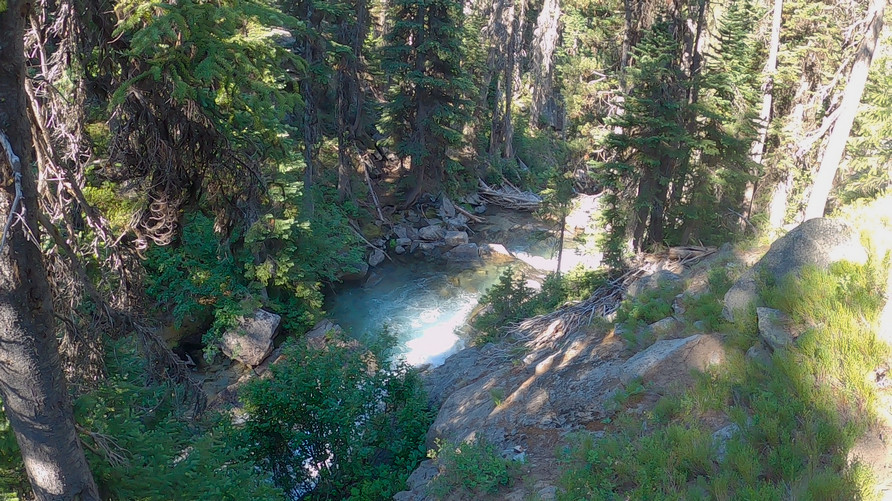
We hike across Sixmile Meadow and cross West Fork Wallowa River. Here, it’s only a foot deep. A beautiful scene, too. The water is a deep turquoise blue with outstanding clarity. The river here reminded me of a past hike in Glacier National Park.
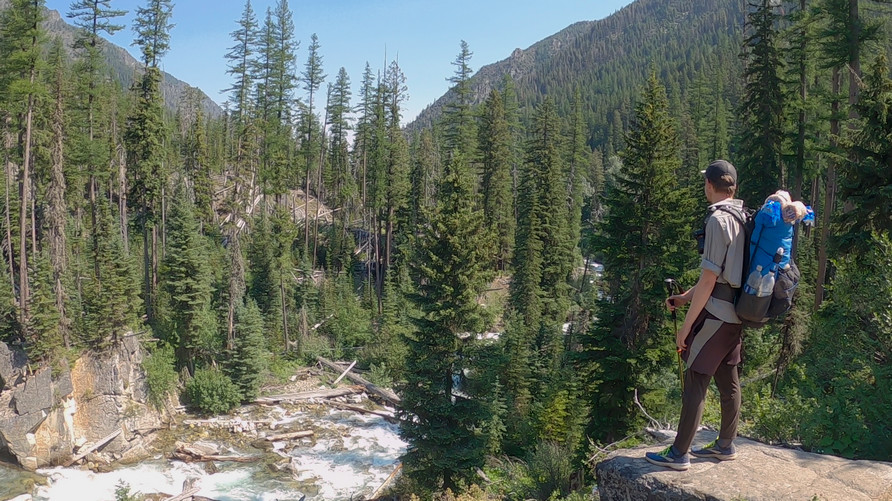
Next the trail begins to ascend towards Lake Basin. The views open up now as we gain elevation. A sea of healthy green pines cover the entire basin, up to the treeline.
After an 1100ft climb up to the Lake Basin, we find ourselves on a flat shelf with a view of Horseshoe Lake. Very nice. The trail follows the shoreline, offering great views of this beautiful lake.
The next segment of hiking is an enjoyable one. We hike by Lee Lake, and then Douglas Lake. The trail alternates between segments of flat ground and climbing 200ft or so. Good trail, good views.
The trail then follows the shores of Moccasin Lake as it continues up higher into Lake Basin. The crest of the Wallowa Range is now in sight, it’s peaks and ridgelines capped in patches of snow. The upper Moccasin Lake area was really beautiful!
We decided to take a short detour to check out Mirror Lake, since we are so close to it. Good views looking back down on Moccasin Lake from the saddle above Mirror Lake.
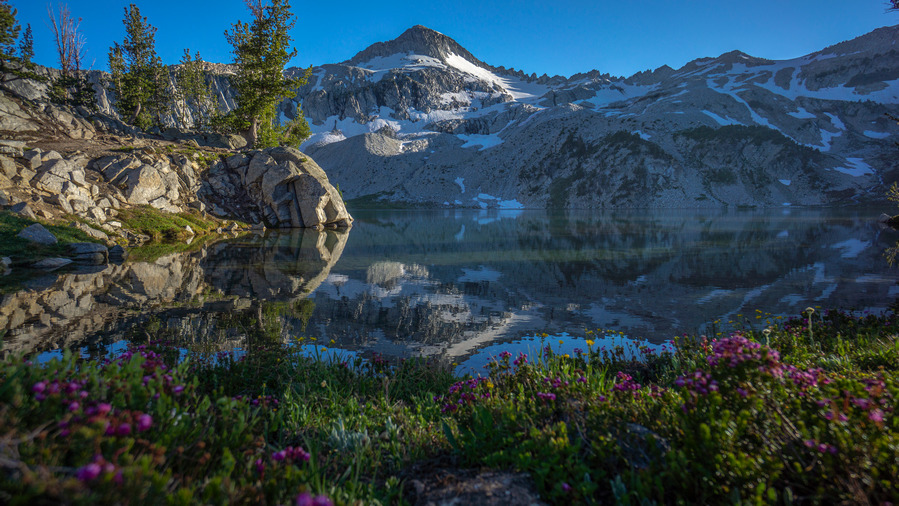
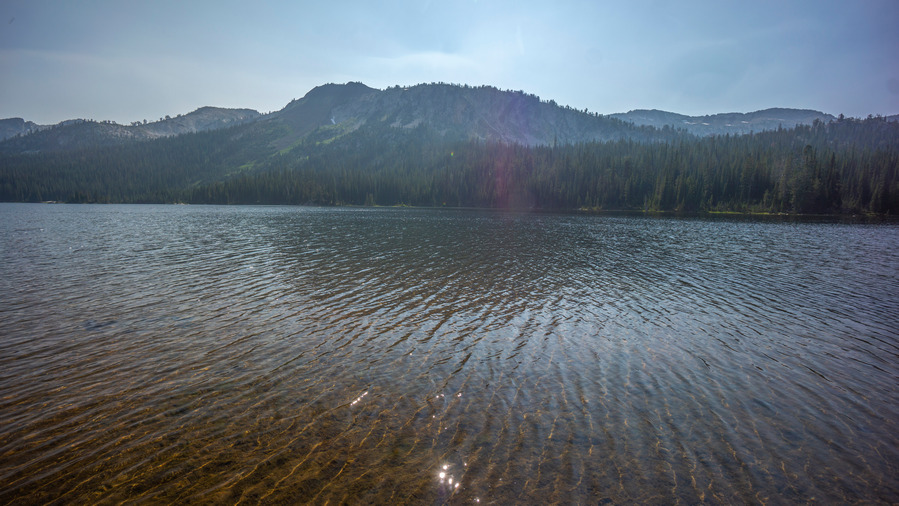
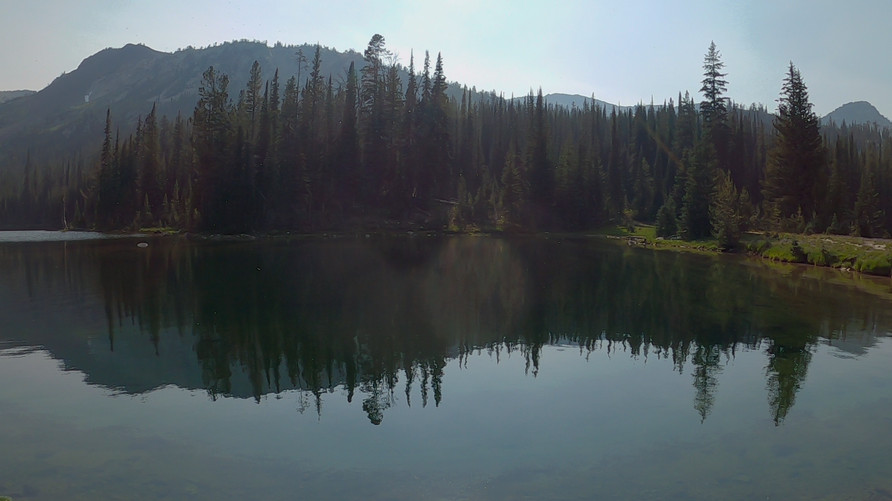
Mirror Lake was definitely worth the side trip. This is a top notch alpine lake with outstanding scenery. The north face of Eagle Cap peak, which we’ll summit tomorrow, provides the perfect backdrop. Indeed, this will make a fine lunch spot.
Our lunch spot along Mirror Lake was a great place to stop, for the scenery, but perhaps the worst place we’ve been so far along our hike for bugs. The mosquitoes were thick here, and we could hardly eat a snack without also eating mosquitoes. I put on my rain gear for long sleeve protection while we ate, but really, it was one of those times where you’re just constantly swatting at the air in front of your face, just to keep the bugs at bay. Slack for a few seconds, and they’re on you again. Bastards.
We left Mirror Lake and hiked back downhill to Moccasin Lake, where we take a trail that will lead us to Glacier Pass. I really enjoyed this area here.
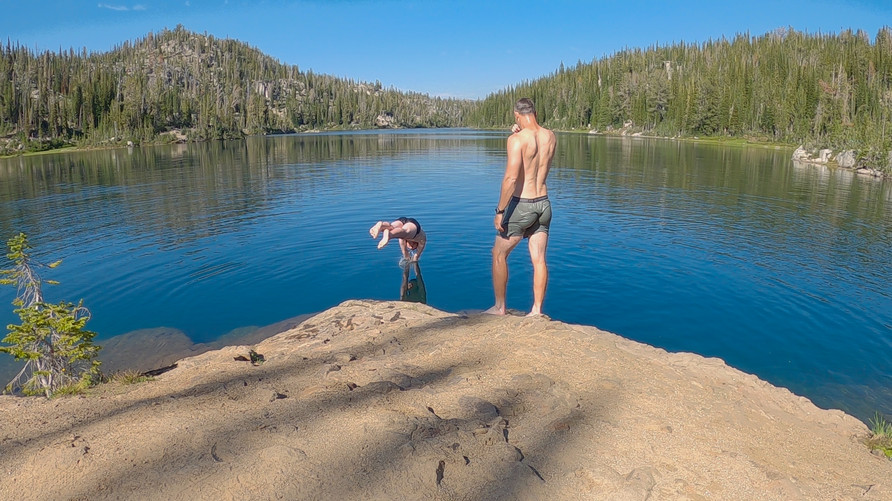
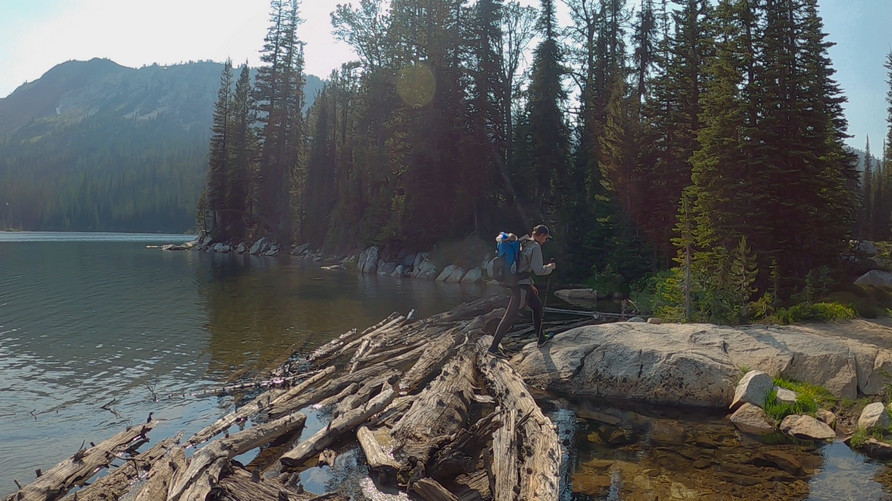
We hopped rocks to cross the inlet stream leading into Moccasin Lake. On the other wise, we found a nice spot along the lake with some rocks at the edge of a deep section of water. Perfect place to stop for a swim! We jumped in the water and enjoyed the brisk refreshment that comes from a dip in a freezing alpine lake.
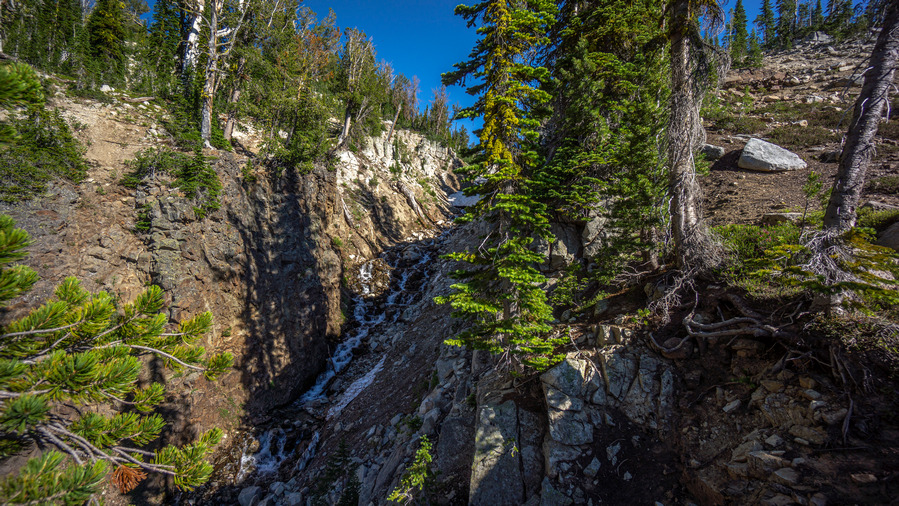
The trail begins climbing up to Glacier Pass steeply now along a deep ravine. There are patches of snow still lingering and a stream of water flowing downhill.
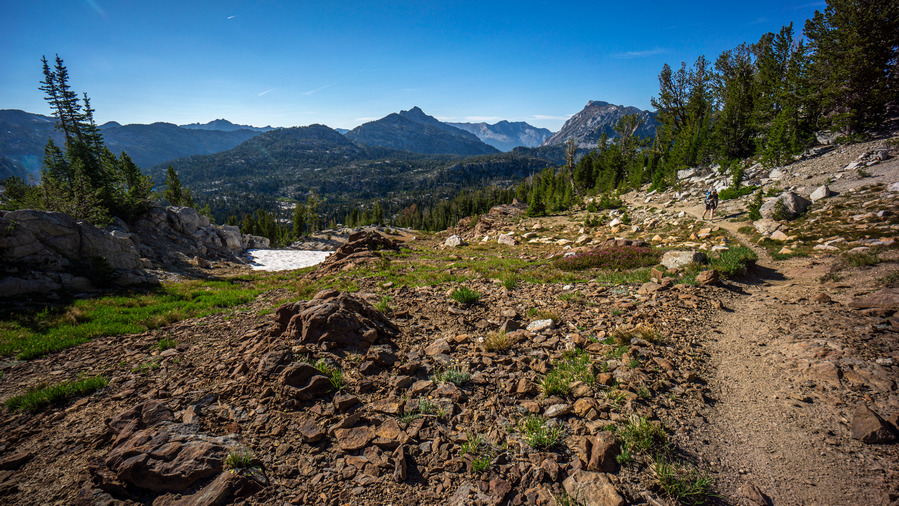
Above the ravine, the views open up and Glacier Pass is in sight. The Eagle Cap peak begins to come into sight, just barely, over the ridge. Also in sight now along the ridgeline is Glacier Peak, and this one is much more prominent looking from this angle than Eagle Cap itself.
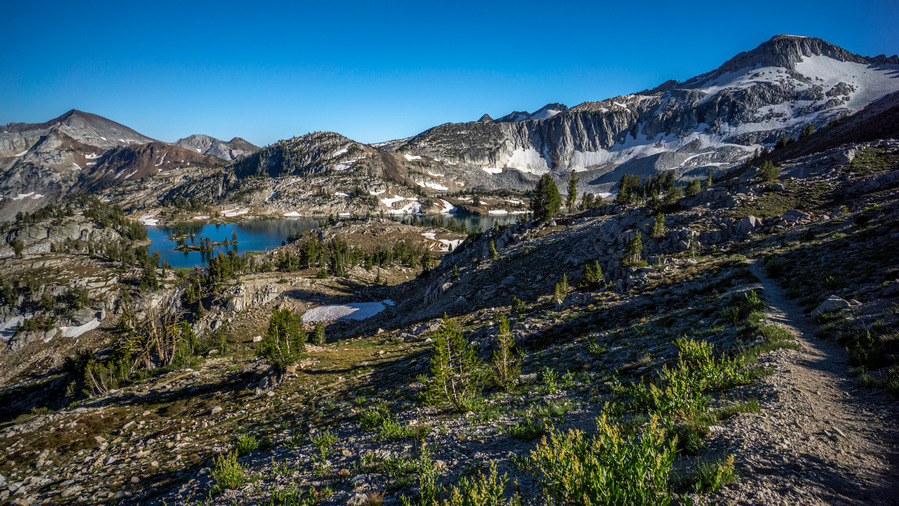
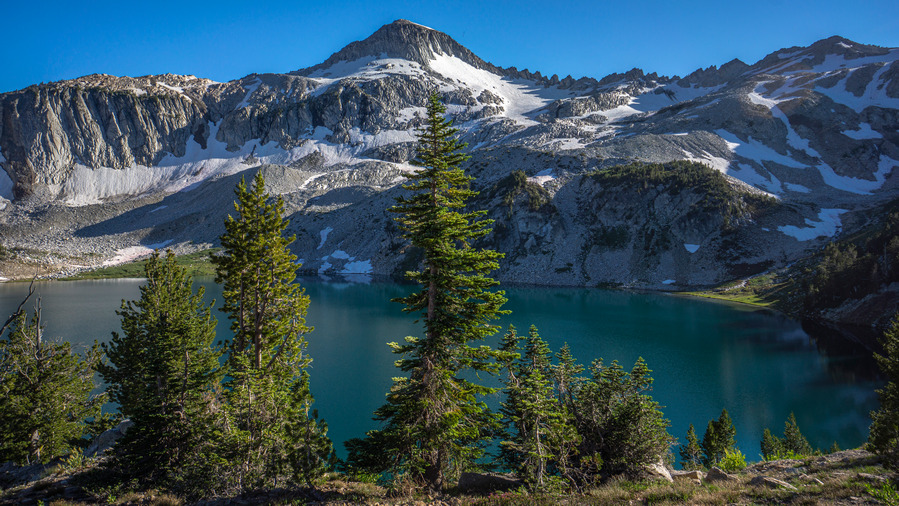
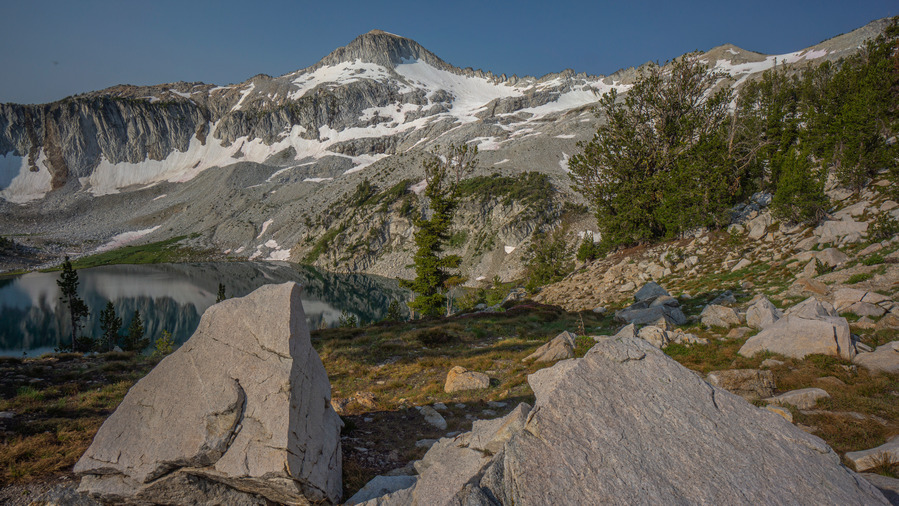
The view from the top of Glacier Pass initially isn’t that great. That is, until you drop down slightly from the pass, and Glacier Lake comes into view. Wow! This basin was pretty stunning. Glacier Peak provides an impressive backdrop behind the distant waters of Glacier Lake. There are multiple small islands in the lake, with a few pines trees growing on them. This reminded me of the Sawtooths in Idaho, while the mountains themselves were reminiscent of the Sierras. In other words, excellent views.
As we dropped lower in elevation from Glacier Pass, we could get a decent view of the lake from above and scope out potential campsite locations. We settled on a spot, and noticed a curious scene playing out just 40 yards away… a mountain goat kicking up a ton of dirt as he digs and rolls around. He’s probably just as annoyed with the mosquitoes as we are.
We find a spot for our tents and eat dinner, swatting mosquitoes the entire time. It was a challenge not to eat any of the mosquitoes too, there were so many swarming my face. Besides that, we enjoyed an outstanding view of Glacier Peak with a nice reflection on Glacier Lake as the sun set.
Soon enough, we retreated to our tents, where we could be safe from the bugs. That’s always a great feeling, the moment you are able to lie down after a long day of hiking and breathe that first sigh of relief as your head hits the air mattress. About 18 miles on the day today. Tomorrow, we summit Eagle Cap peak.
Day 2 – July 10th – Eagle Cap Peak, Horton pass, Frazier Pass, Minam River, Minam Lake
Miles Hiked – 10
The sunrise over Glacier Lake was a great way to start the morning. We enjoyed the same beautiful reflection of Glacier Peak over the water as we witnessed for last night’s sunset. We ate breakfast by the water and filtered our water for the morning. Sam and I had just hiked a awesome 81 mile route across Dinosaur National Monument last week, where water was often an issue (except when we rafted the Green River for 6 miles!). So all this water in the Wallowa Mountains was a luxury to us.
Today we will climb Eagle Cap peak, the second highest peak in the Wallowa Mountains. The standard route to summit Eagle Cap is along the northwest ridgeline, where there is a trail to the summit. However, we wanted to hit Glacier Lake, and so we’ll approach from the east slope below the saddle directly south of Eagle Cap.
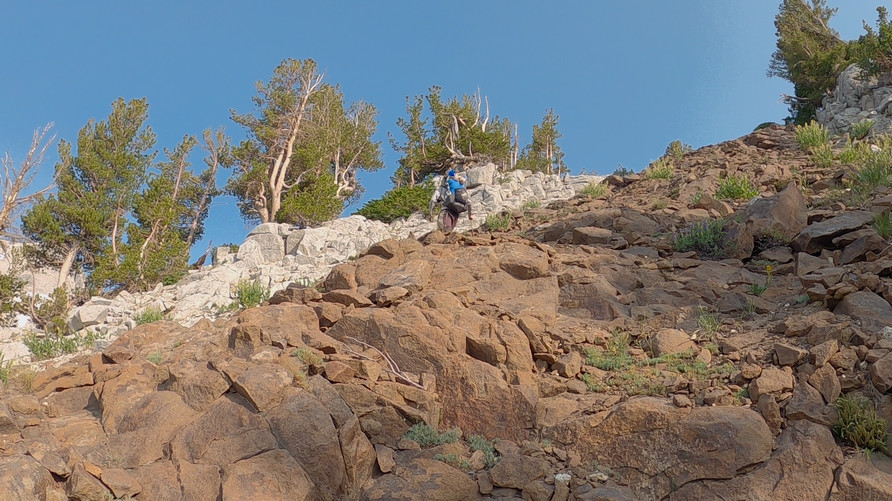
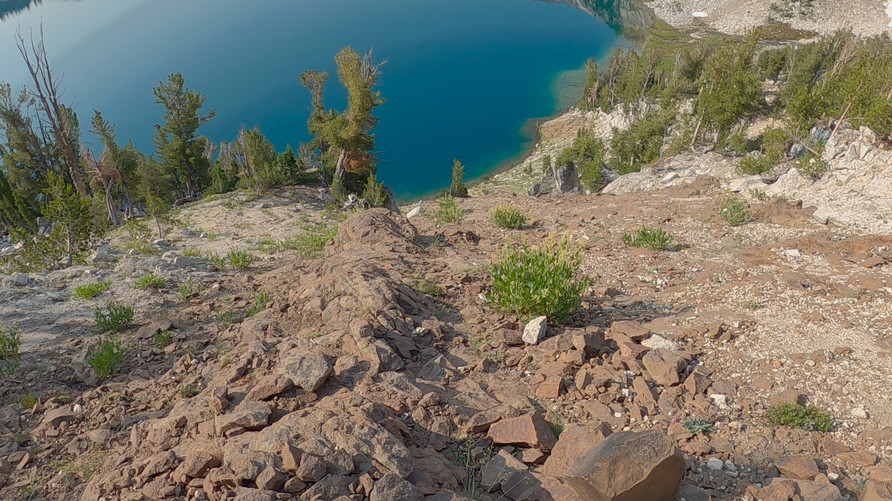
From camp we studied the mountainside in the upper basin and compared that to the route we have planned up it to Eagle Cap. We choose a line a begin working our way around the steep slopes above the northwest side of Glacier Lake. It’s steep and rocky, but we make it across. The reflection on Glacier Lake, and the color of the water, was incredible form this angle.
After traversing the steep scree slope, we meet the slopes of Eagle Cap’s east face. The terrain flattens briefly, and there’s a small green meadow with colorful wildflowers. A small stream trickle through from the patches of snow lingering higher up the ridgeline.
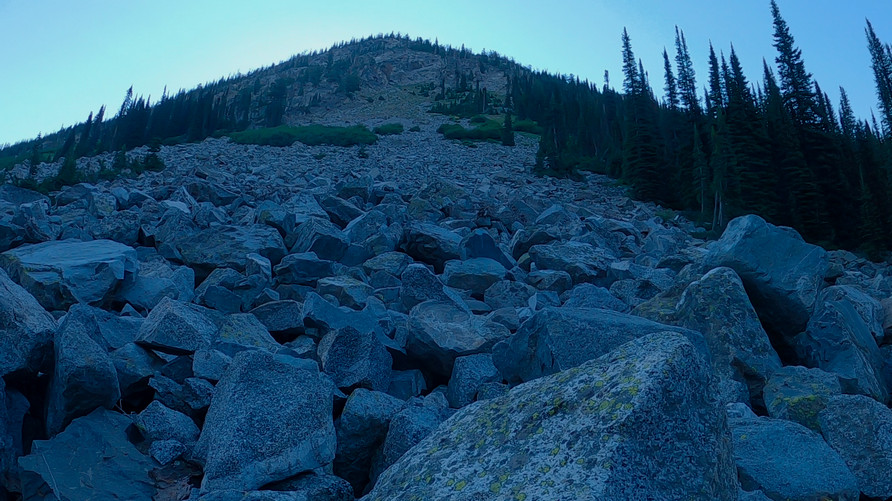
Now it’s a 900ft climb to the top of the ridgeline. Some mountains might be solid boulder fields now at this elevation, but here the boulders are thin enough that we are also walking in-between patches of soil. This made the going a little easier.
Yesterday we noticed a bit of forest fire smoke rolling in, but the skies were predominantly blue. Today though, the smoke is winning. And it’s really starting to build up. Bummer, because we want that distant summit view.
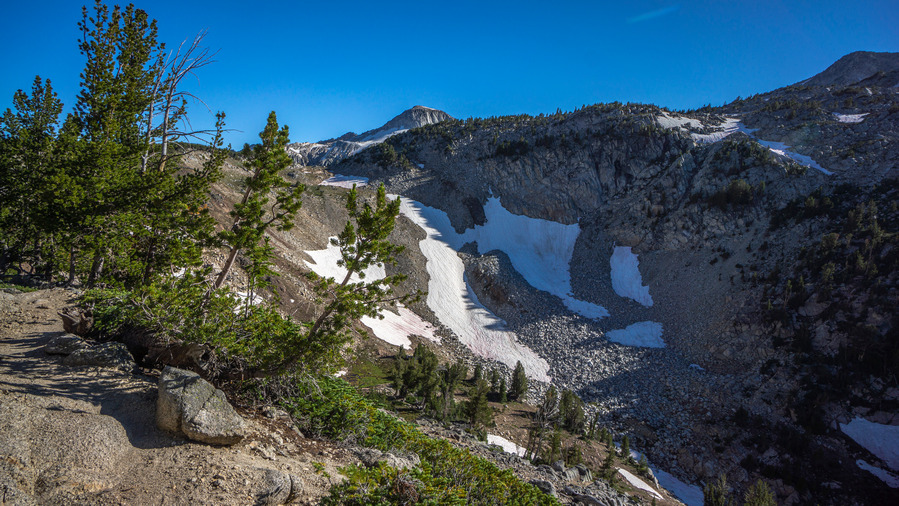
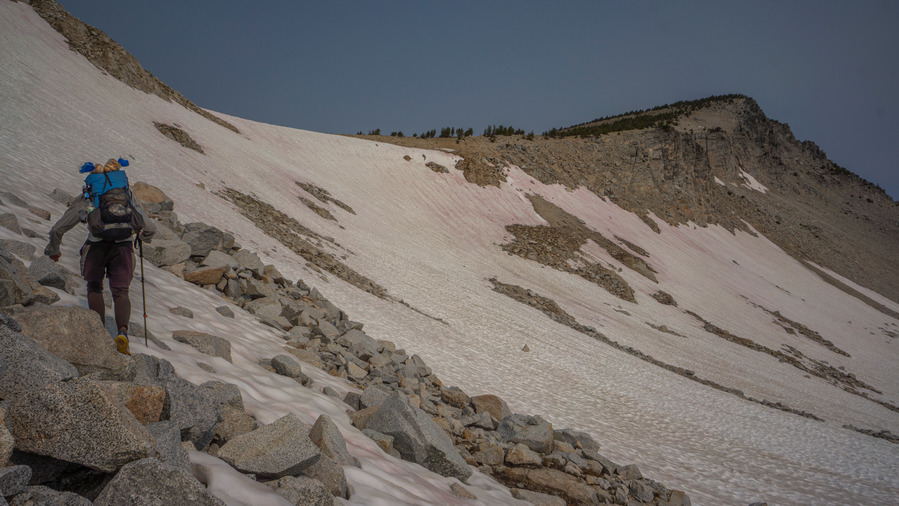
Towards the top of the climb, we encounter snow patches. Fortunately they weren’t incredibly steep, and we picked our line up. These snow patches are like mine fields though. Sam did punch through and posthole a couple of times, but I lucked out. We spotted a couple of Big Horn Sheep going up to the pass themselves, above us.
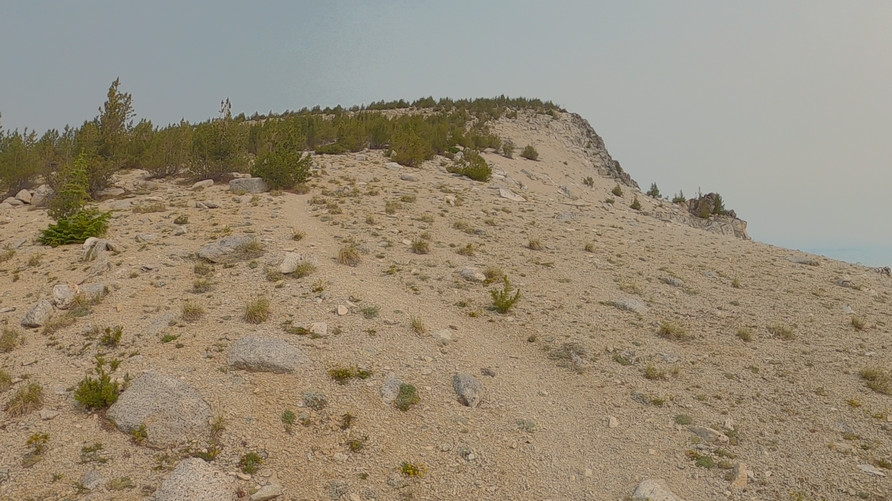
At the top of the crest below Eagle Cap, the terrain becomes a very manageable walk. Not only because the boulders have mostly given way to a mostly dirt landscape, but because we’ve also stumbled upon a game trail leading up to the summit. It’s also possible that this is a social trail, perhaps from others taking a similar approach as we did from the east slopes. However, we did not see any other evidence of some sort of route up to the crest along the way… no cairns, no faint paths, nothing.
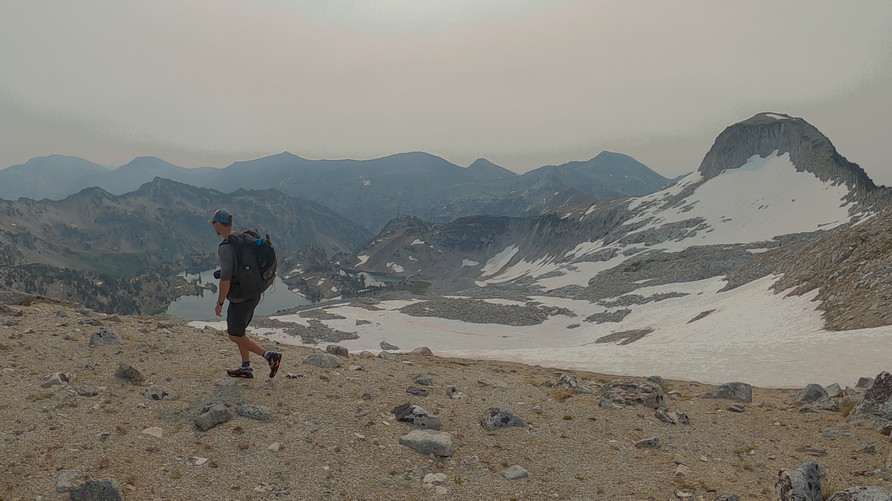
It’s a 350ft climb up the game trail now to the summit. An easy walk. Excellent views along the ridgeline to the south, towards Glacier Peak.
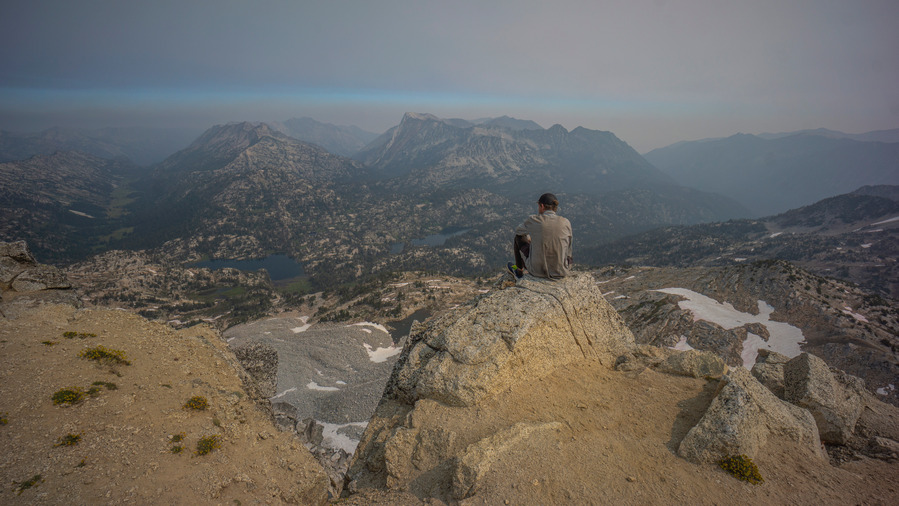
The summit of Eagle Cap (9,577′) is broad and flat, but with a big drop off on the north face. The view overlooking the Eagle Cap Wilderness to the north is massive. We spent some time here soaking up the summit views, despite the thick forest fire smoke limiting the distance.
As soon as we began our decent down the northeast slope of Eagle Cap, we picked up on a trail. It was a steep descent down a series of switchbacks, but an easy trail to follow nonetheless. We passed a few people hiking up to the summit.
The trail we follow now will take us to Horton pass. We enjoy excellent views here as well, and we’re very much enjoying what the Wallowa Mountains have to offer thus far. Some really excellent high mountain scenery here.
At Horton Pass, we take the trail leading west/south down East Fork Eagle Creek. A series of switchbacks lead down from the summit and seem to go on for a while. The trail is rougher here though, it’s rocky and there is a tiny stream occasionally flowing through it.
At around 7,660′, we reach a small but beautiful meadow. East Fork Eagle Creek flows through it, and we stop here to filter some water. It’s a beautiful spot, lush and green, lots of colorful wildflowers.
We continue downhill along the trail, which now is a bit more of a solid path. The hiking is easier now and we’re finding the walk to be quite enjoyable. It’s another heavily forest valley filled with healthy pines. I have grown accustomed to the beetle kill in the Rockies, but that seems to be much less of an issue here.
We leave the trail around the 7,425′ mark and begin contouring around the mountainside over to Frazier Pass. This will save us 2 miles and 900ft of elevation loss/gain, but we’ll have to traverse some steep slopes. We cross a creek and enter what looks to be easy-going grassy slopes. However, the grass hides a multitude of rocks to trip over and twist an ankle. Some sections of the slope were quite steep, but we could have easily dropped downhill to cope. We just didn’t want to lose any elevation.
Eventually we regained the trail leading up to Frazier Pass. It’s patchy pine forest here, and the path leads up a dusty ravine. The steepest section is right before the top.
Frazier Pass itself didn’t really offer a view, there were just too many trees. We began the descent down the west side of Frazier Pass. The trail here is really dusty, with that finer dirt that gets over everything and into your shoes so easily. The forest is thick here, and more downed trees than pretty much anywhere else we’ve been so far in the Wallowas. For a moment, I felt like I was back on the CDT. Still, the blowdowns had been cleared from the trial mostly, and wasn’t an issue.
At the bottom of the descent we reach Minam River. This is the upper reaches of the river, though, and it’s pretty small here. We hop rocks across and enter a big, green valley with many wildflowers.
The hike along Minam River just north of Frazier Pass was excellent. At first, the view of the valley is simply “pleasant”. However, as we progressed up the valley towards Minam Lake, the scenery became incredible. What an amazing valley to walk through. Peak 8543′ is the high point along the ridge, which rises sharply nearly 2000′ from the valley floor. There are many colorful wildflowers here as well.
The trail below Minam Lake passes through trees, and obscures the view. That is, until the trees break and we get our first view of Minam Lake. It’s nice, but nothing like Glacier Lake or Mirror Lake. Minam Lake is at 7373′ elevation, and although some lakes at this elevation are quite impressive, this really isn’t one of them. The backdrop of the mountains are less impressive, heavily forested and more rolling hills than the imposing mountain peaks and rock faces we like to see surrounding an alpine lake.
One interesting feature of Minam Lake is that it basically sits on top of a saddle separating two valleys. The south side of the lake drains out and forms Minam River, while the north side drains out and forms Lostine River. It’s a strange feeling to hike up a valley, get to this lake at the top, and descend down another river valley. Typically, these high lakes are nestled in the upper basins, and only flow into ONE valley.
The hike around the east shore of Minam Lake mostly stays away from the shoreline, and slightly elevated. We’re looking for a place to camp now, but we’re really not seeing much.
We hike down to the southern end of the lake, and the views are better. We find a nice campsite along the lake, with good protection from the trees. This will do.
We had a few hours of sunlight left today, and enjoyed our time along the lake. We soak our feet in the water and soak up the views. The sunlight fades and another great day in the Wallowa Mountains is behind us.
Day 3 – July 11th – Minam Lake, Lostine River
Miles Hiked – 11
After leaving camp, we cross a network of braided streams below Minam Lake’s outlet. It’s clear animals like this area, too. There were many tracks and piles of scat here. We could hear animals moving around near the lake last night, too. We have seen no signs of bear though along our hike in the Wallowa Mountains, which always seems to be the question a hiker is asked.
We’re now hiking along Lostine Creek as we leave Minam Lake. The valley is deep, and it seems to take forever for the sun rays to reach us. The forest fire smoke hasn’t built up yet for the day, and bluebird skies prevail. The upper section of Lostine River was nice, before it drops down into the forest.
The trail enters a thick forest, drops 400ft and Copper Creek pours into Lostine River. Many streams will pour into the Lostine as we drop down lower into the valley. We watch the river grow as the trail descends. It’s a 2200′ descent for us. and it’s a real knee buster to begin the day like this.
Lostine River continues to grow in size, and with the steep grades, is now whitewater. The roar of the river is nice to hear. Big pines, stray rays of sunlight finding their way down to the forest floor. It’s a really pleasant walk.
We reach Two Pan Trailhead, which has plenty of cars parked here. We really didn’t see that many people though, both along Lostine River/Minam Lake and in general throughout our Eagle Caps Wilderness hike. We kept walking down hill, passing Shady Campground, French Camp Picnic Area, before getting a hitch near the Lillyville Picnic Area.
When we reached WHY 82 in the small town of Lostine, our ride was going north, and we need to go south. So, we stuck out our thumbs again and within 15 minutes, got our ride. She was a local on the way into Joseph to get groceries, but ended up driving us all the way up to the Wallowa Lake trailhead, where my van is parked.
The Wallowa Mountains were awesome. I was very impressed with the scenery here. Despite the trails being good, it’s hard hiking. There is a lot of elevation gain needed to see the high country here. Otherwise, it’s all valley walks, which is still pretty nice. I would love to return to the Wallowa Mountains, and do a longer backpacking trip in the Eagle Caps Wilderness. Someday!
Pinto Valley Wilderness, NV (LMNRA) – 3 Day 25 Mile Loop Hike March 2017
Backpacking The Pinto Valley Wilderness, Nevada (Lake Mead National Recreation Area)
View All Pinto Valley Wilderness Photos | Watch the Pinto Valley Wilderness Hike Video On Youtube
- Park Administration – National Park Service (Lake Mead National Recreation Area)
- Fees & Permits – No fees or permits to access the Pinto Valley Wilderness, but there IS a fee to enter the Lake Mead National Recreation Area (in which the Pinto Valley Wilderness is located)
- Trailhead – Northshore Summit Trail parking lot off Northshore Rd.
- Length Of Time Hiked – 3 days, 2 nights
- Miles Hiked – 25
- Route Difficulty – 6.5, except where on descent into Pinto Valley near the “choke point” on my GPS file where it’s an 8.5
- Fires Allowed – Yes, but only if you bring your own, or use driftwood below the high water line of Lake Mead (which is not nearby)
- Scenic Beauty – 9
- Solitude – 8
Pinto Valley Wilderness Pre-Hike Planning Notes
The Pinto Valley Wilderness is relatively new, only being designated a wilderness in 2002. Therefore there are not a whole lot of references to this wilderness online. Many people just refer to the area as the Lake Mead National Recreation Area, which is technically also correct since the Pinto Valley Wilderness is located within the LMNRA.
The northern boundary of the Pinto Valley Wilderness is Northshore Rd, and this is pretty much the only place to park unless you have a 4×4. Here, there are several pull-offs along the road where you can park for a day hike. But what about overnight hikes? Well, you aren’t supposed to park in the pull-offs overnight, and even that was OK with the park service, would you want to leave your car there? Probably not. For me, the only real option was parking in the Northshore Summit Trail parking lot. It’s located approximately a half mile east of mile marker 20 on Northshore Rd. The southern boundary of the wilderness is Lake Mead, the western border is Callville Wash Rd and the eastern boundary is Boathouse Cove Rd. Also not that Boathouse Cove Rd separates the Pinto Valley Wilderness (39,173 acres) from the Jimbilnan Wilderness (18,879 acres) to the east. You can access the Pinto Valley Wilderness from the east, west and southern boundaries, but by far the easiest is Northshore Rd.
Water sources in the Pinto Valley Wilderness are limited. While there are likely other water sources located in the Pinto Valley Wilderness, the two most prominent sources (from my pre-hike research) are Sandstone Spring and Cottonwood Spring. I did not make it to Sandstone Spring to check if it was flowing. I passed by Cottonwood Spring, but did not search for the source. I did see that an animal had dug down into the wash near Cottonwood Spring and there was a pool of water about 6 inches down. Neither one of these springs are reliable enough to count on as a easy water source (you might have to dig for water). Pack in all water you will need for this hike and assume you will not find any!
It does not appear that backcountry camping is very popular in the Pinto Valley Wilderness. The lack of trail heads with overnight parking, marked trails and water sources seem to indicate that most people use the area for day hikes. However, the off-trail enthusiast will find that the Pinto Valley Wilderness provides some excellent 2-3 day hikes to those willing to haul their own water.
Pinto Valley Wilderness Backpacking Maps
[sgpx gpx=”/wp-content/uploads/gpx/PintoValleyMar17RouteHiked.gpx”]Download GPX file of this hike
Here’s my caltopo map I used to plan my route:
Day 1 – Saturday March 25th, 2017
Miles Hiked – 8.26
Elevation Gain – 1228′
Route Hiked – Northshore Summit Trail parking lot to Pinto Valley near Sentinel Peak
Dan and I spent the previous day in the nearby Valley of Fire State Park, and camped in the Arch Rock campground. From here, it was about a 30 minute drive to the Northshore Summit trail head. It was cloudy this morning and was sprinkling when we were packing up our gear, but that quickly faded away. The drive along Northshore Rd was very scenic, and worthy of spending some time here by itself. However, we did not have the extra time, and drove directly to the parking lot.
When we arrived at the Northshore Summit Trail parking lot, we were the only ones there. Good sign. Yesterday, Valley of Fire State Park was packed. There’s a bathroom and garbage cans here, but that’s it. We left the parking lot around 9:30am and started walking east on Northshore Rd. While road walks are never ideal, this was the best route I could come up with that fit together a starting point, the destinations I wanted to hit and the time frame. Despite walking this paved road for 2 miles, it was beautiful country. Big views to the north, looking across Bitter Spring Valley.
After 2 miles, we reached a pull-off where another vehicle was parked. Here, we leave the road and head south towards the Pinto Ridge. We hiked up over a small ridge to start the climb up. The terrain is pretty jagged here, with lots of sharp rocks. As we climbed up the ridge, I came across a turtle shell. The turtle itself was long gone, but the shell was an interesting find. A few hundred feet farther and I saw a second shell.
Farther up the ridge, the path narrows as we reached the top of the “pass”. The vegetation was a little greener, thicker, and thornier here. Lots of wildflowers in bloom, and some of the cacti as well. There’s not much of a view form the high point, but this changes as you descend into Pinto Valley.
The descent from the top is pretty gradual at first. We could tell there was a steeper section ahead, which I anticipated. Now the views of Pinto Valley were materializing, and they were impressive. However, the immediate problem was the terrain that lies between us and the valley below. The steepness would have been enough to worry about, but of course, loose rocks and debris compounded the difficulty. The angle was such that you could grip decently walking down slowly, but only just. Any steeper and this would have been questionable. I crab crawled in a few spots after watching Dan fall a couple of times.
It took a good amount of time to safely work our way down this steep slab, only to be led to a choke point… a couple of boulders wedged between the steep, narrow canyon walls. There’s no easy way to climb down it, but there’s a route around it. Backtrack about 50 feet from the boulders and go up a ridge on your left (to the east). Here, there’s a more manageable route down and the rest of the way is less frightening.
Now down off the worst of Pinto Ridge, jumped down into one of the two washes, which merge, and headed out into the valley. It’s a whole new landscape here. In the wash we could see chunk of earth pushed upright, with a variety of layers visible. This isn’t solid rock like granite, though. It’s made up of compacted, crumbly dirt and smaller rocks.
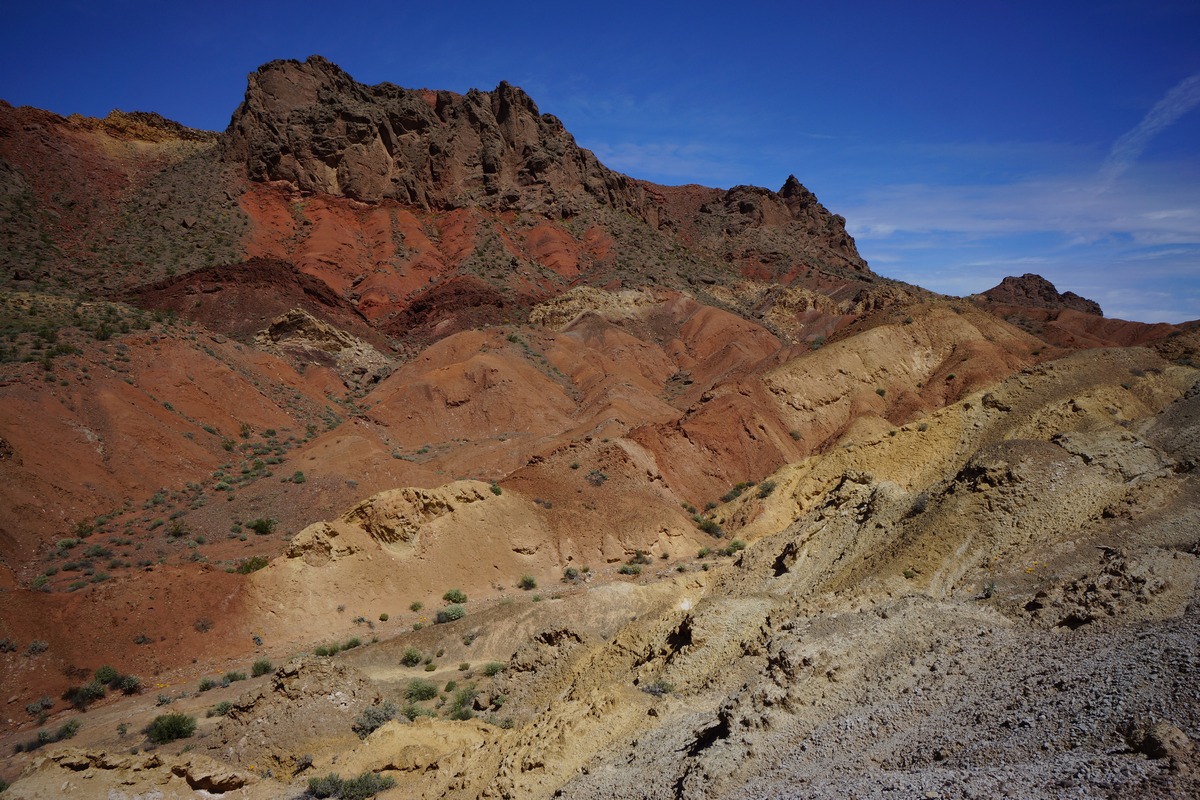
After emerging from the wash, we found ourselves in the expansive Pinto Valley. Sentinel Peak was in front of us, dominating the view with shades of orange and red. We decided to camp here, on the north side of the valley, so we could have a good view of Sentinel.
We found a couple of flati-ish spots and cleared the sharp rocks to make way for our tents. The view was great, but there’s no shade anywhere nearby. After setting up camp, we took a break for lunch. Afterwards, Dan rested while I took some pictures.
After our break, we headed over towards Sentinel in an attempt to climb to it’s summit at around 2:30pm. The path to Sentinel from our camp involved dropping down into and climbing out of several washes along the way, before finding the main wash that runs through Pinto Valley. We took this to the Base of Sentinel where the route I had planned begins. The path up to the top was not very obvious from here, so I was hoping the track I created in Caltopo, based off someone else’s route up Sentinel, was accurate.
We started climbing up Sentinel, and quickly found the most promising route to be blocked by a huge boulder. We moved farther east and started uphill here. Dan wanted to go right up the mountainside whichever place looked easiest from his point of view, while I wanted to try and stick to the GPS route I created ahead of time. We both pursued various route options but keep finding ourselves in tough spots. I ended up breaking one of my Gossamer Gear LT4 trekking poles, again. Looking back, I think I’ve broken more of these poles than I have completed hikes with them. I don’t think I can use those poles anymore, need something beefier.
The climb was a lot harder than we anticipated. While we probably could have made it to the top and back to camp if we continued, we decided that it was getting late in the afternoon and didn’t really want to be getting back right at dark or after if the route continued to be as challenging. We turned around and headed back to camp, somewhat defeated. At least there’s Hamblin Mountain tomorrow, which should have an easier route up.
While we walked back to camp in one of the washes, we saw what looked to be bobcat tracks and poop. We saw lots of similar tracks throughout our hike, but of course, never saw anything.
When we got back to camp we still had no shade. Dan set up his emergency blanket (he was using it as a footprint under his tent) as a lean-to, and we had a nice shaded spot to escape the sun for a while.
There was a TON of plane and helicopter traffic overhead in this region. Commercial planes I understand as we’re not that far from Las Vegas. The helicopter though, I don’t understand why there were so many. Throughout the day we saw a couple per hour. Right before nightfall, I saw 6 in row, flying the same flight path spaced about 1 minute apart. Maybe some sort of training exercise?
Looking to the east, the views of Sentinel and the mountains beyond were colorfully illuminated by the sun now. To the west, the distant landscape looked lush and green as the sun shined on it, although it in reality the vegetation is much more sparse up close. Dan said it looked like Jurassic Park. I watched the sun set and headed to bed shortly after.
Day 2 – Sunday March 26th, 2017
Miles Hiked – 9.88
Elevation Gain – 2173′
Route Hiked – Pinto Valley near Sentinel Peak to Pinto Valley Castle
It was a calm night with no animal sounds or high winds. The only sound I could hear was Dan snoring, as we set up our tents a little too close together. I got up around 6:30 to watch the sunrise, and tried to wake Dan. Of course, Dan continued to sleep and didn’t get up until 7:30 or later.
While Dan wrestled with the agony of leaving his tent, I sat on a small hill near camp and took some pictures. The sunrise was not very impressive from this spot though as it was so high in the sky by the time it peaked out over the top of Sentinel Peak. I was already packed and ready to go by the time the sun rose and Dan finally left his tent.
We broke camp around 8:30, following the nearest wash to the main wash running through Pinto Valley. Walking in the washes is the easiest route through Pinto Valley. This is not because the terrain outside of the washes is difficult, but because the washes are cut steeply and often deep into the surrounding earth. Hiking in and out of them gets old after a while.
Hiking the main wash was very easy. We made good time as we traveled west through Pinto Valley. We passed an outcrop of rocks and boulders that people have been signing their names on for years, dating back to the 1920s. Even though some of the writing is nearly 100 years old, it still looks brand new. Is is really that old then? Surely they would have been weathered somewhat in 100 years, right?
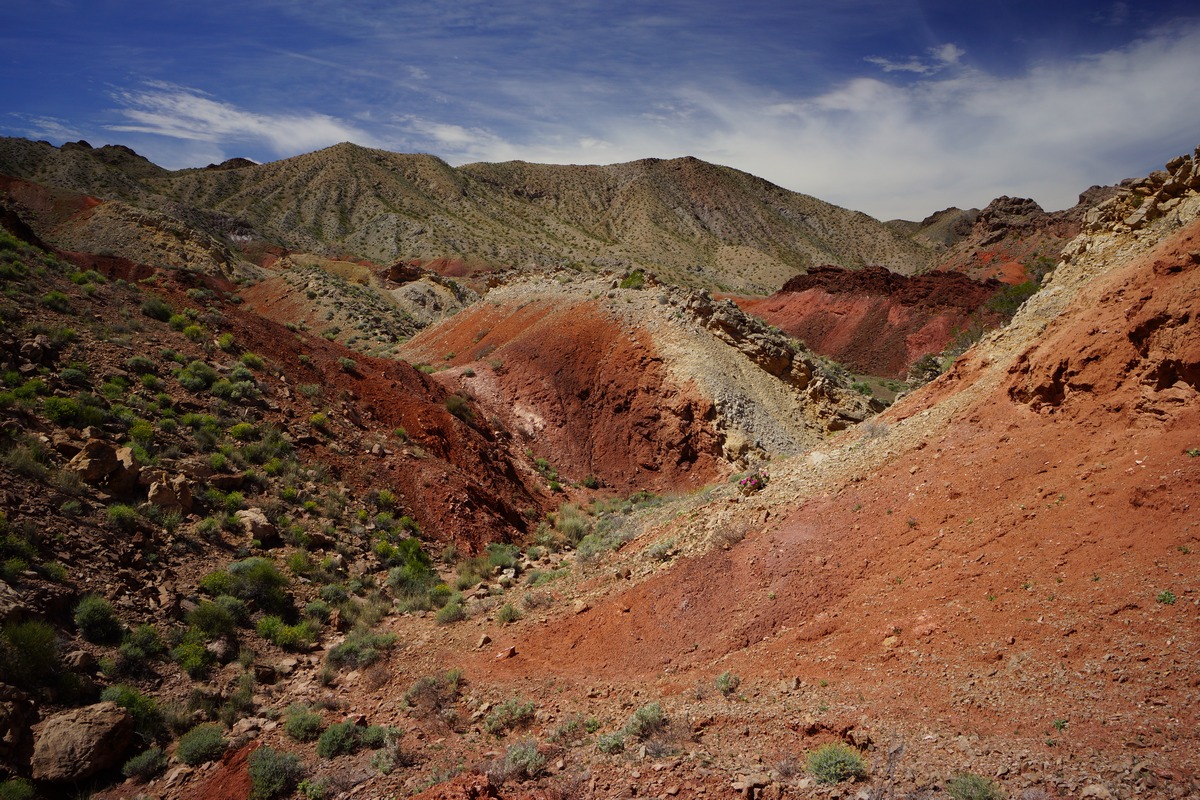
West of the rocks with writing along the main wash, we could start to see the colors of Pinto Valley Castle in the distance. Soon we left the main wash, and headed up another wash towards Pinto Valley Castle. This is a really interesting area, visually and geologically. Lots of upheaval going on, exposing many different layers of sediment. Small patches of “badlands” can be found all over here too.
Pinto Valley Castle was impressive. Erosion has shaped the walls of PVC in an unusual way, with sharp edges and symmetry. The top is made up of some lighter colored sediment, while the bottom is comprised of a contrasting red color.
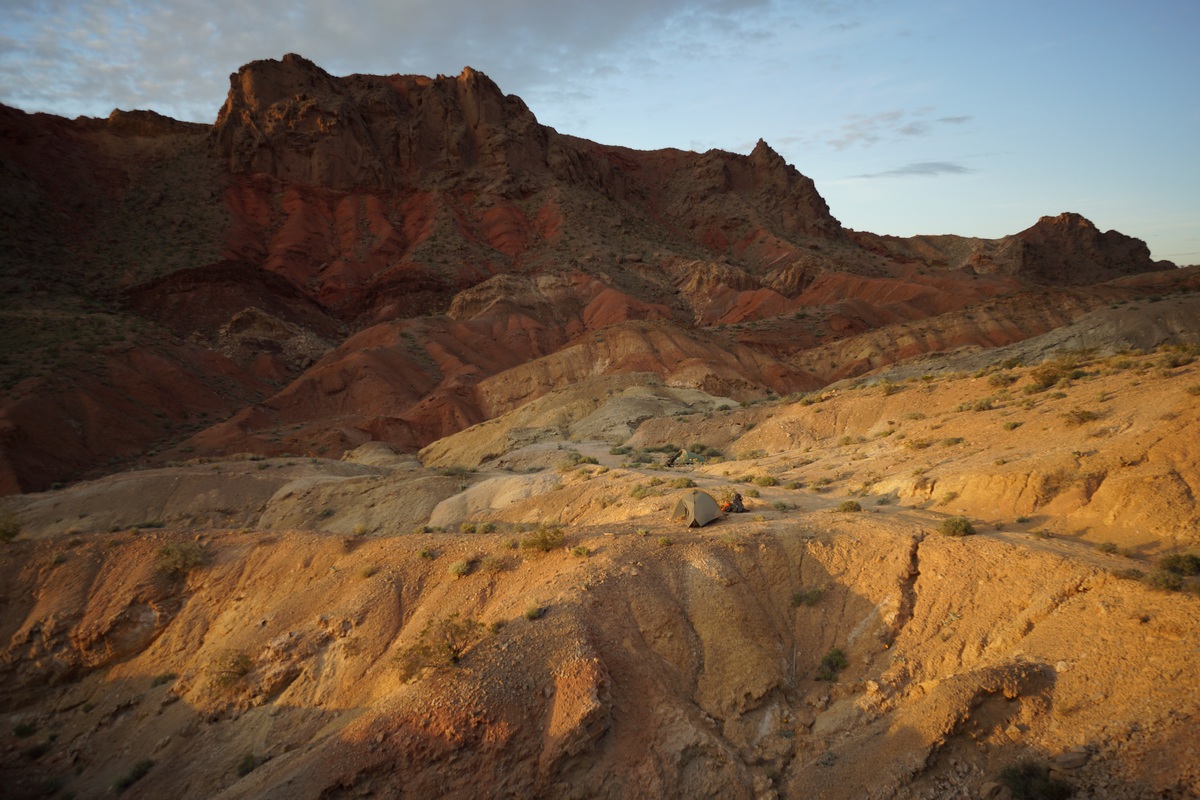
After heading general north for a while through the Pinto Valley Castle area, we abruptly turned west after passing by PVC. After hiking through a small patch of badlands, we noticed an obvious path up one of the ridges, which led us to the top of a small pass. This is the general area I wanted to camp, since it looked so colorful from the satellite maps I studied before coming out here. It certainly lived up to the hype I had in my mind. Now, we just needed to find a place to set up camp.
Coming down from the little pass, we followed an obvious path down and along the side of the high ground. This path appeared to be an old mining road or something. We followed it a short ways before find a couple of small flat areas for our tents. Excellent views, and enough space to spread out more than we did last night.
After setting up camp and eating lunch, we headed out to climb Hamblin Mountain. From camp, it appeared that there was a high and low path to take. We opted to take the high ground since we were already up here. This path led us generally where we wanted to go, but then started curving south. We backtracked a little and realized we had to go over a ridge to get to where we wanted to go. We should have taken the low ground from camp as it would have gone around this ridge, but I didn’t realize that at the time.
We followed the ridge for a while looking for a weakness. After a short but steep climb over it, we still didn’t see an obvious route to follow. We headed down hill and along the top of a very deep cut wash below. On the other side we could see a trail, but we needed to cross this wash. We found a spot to descend, and even saw a cairn in the wash. We figured we were on the right path now.
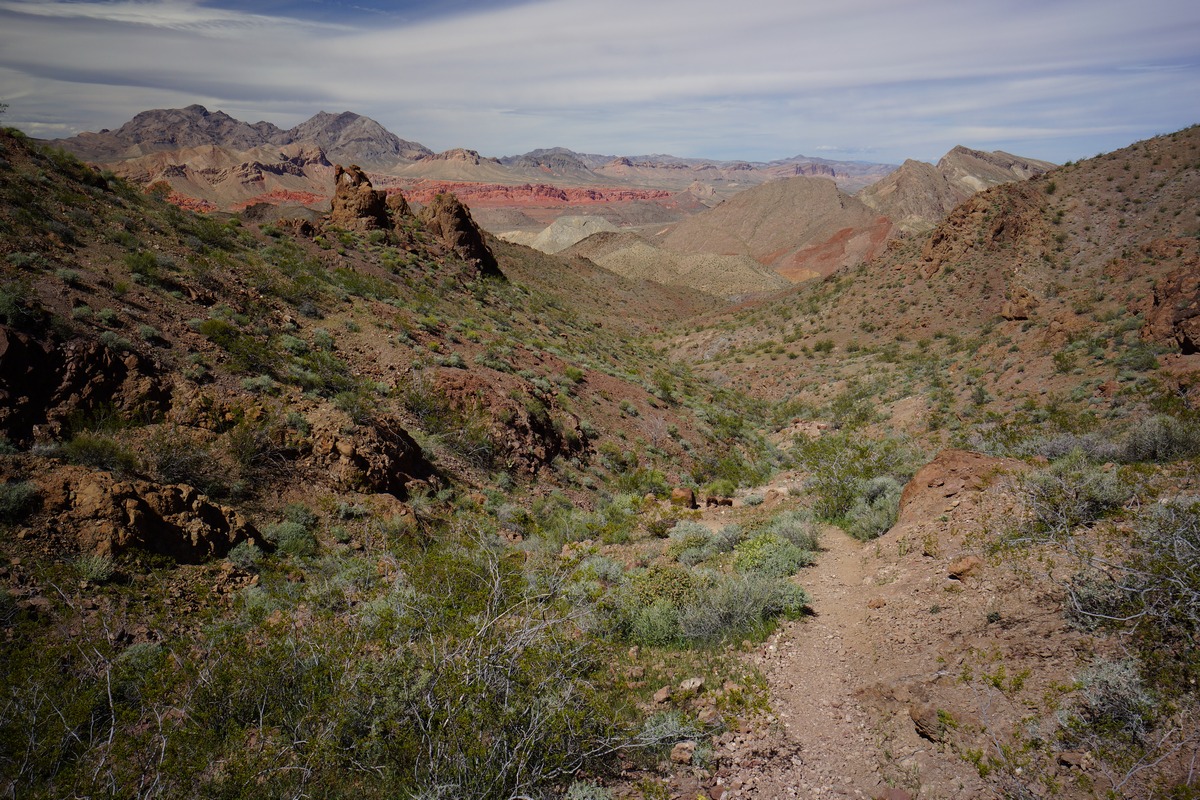
The land was changing from red washes and badlands to green, rocky mountainous terrain. We followed our new trail up a ridge and along the mountainside. The path was very narrow and barely cut into the steep slopes. Eventually this path merged with a larger one, and it was much easier to follow from here on out. We hiked a short ways before seeing a path that led down into the wash below, which looked easier and more direct than the route we took up here. We noted this and decided to go this was on the descent.
Next we encountered are first humans of the trip, a couple from Henderson, NV who a had just left the summit of Hamblin Mountain. We chatted for a few minutes and parted ways, knowing they had only been hiking 25 minutes from the top. I was really looking forward to this view!
The hike up was not technically challenging or particularly steep, but there were a few false summits. Really great views as your near the top. Not far from the summit, we passed an older couple from Colorado making their way down. The woman seemed bewildered that we had “large” backpacks on, and asked if we were camping at the top. Ha, nope. Just carrying our water, snacks, camera gear, etc.
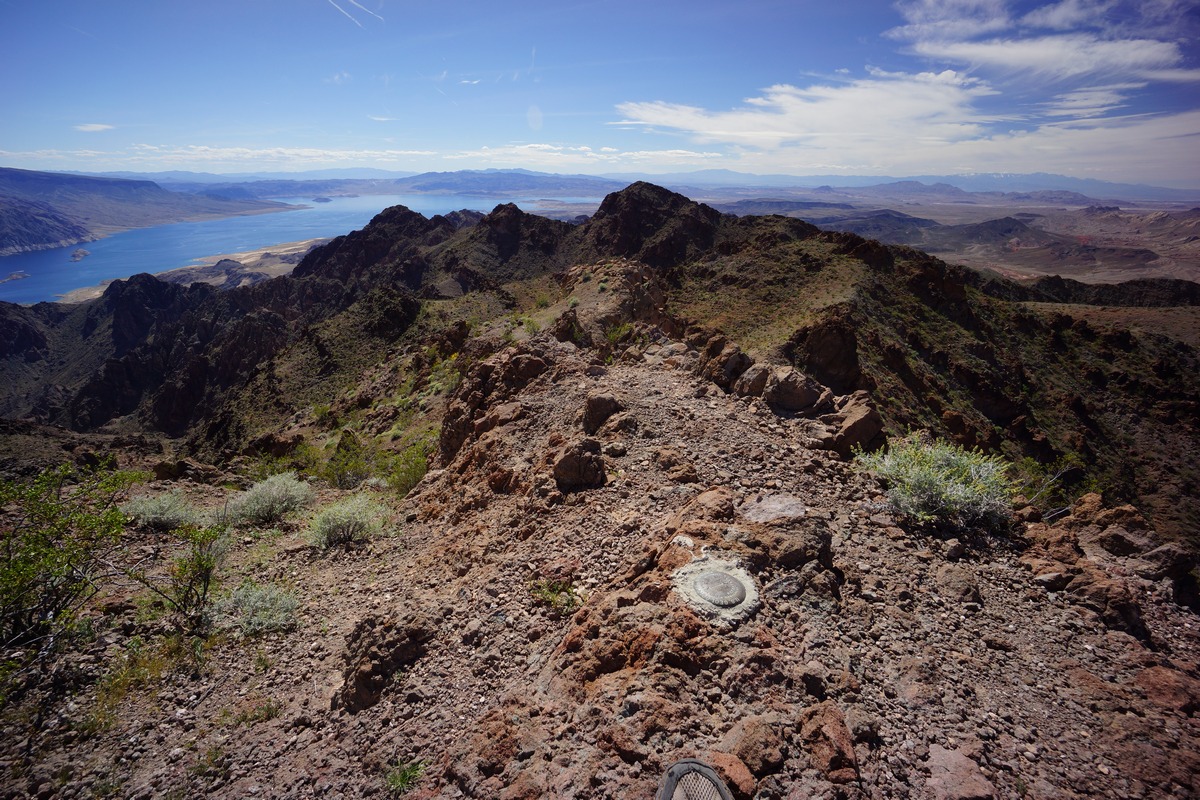
We had the summit of Hamblin Mountain to ourselves when we made it up here at 2:30. It had taken us 2 hours from camp. From the top I could see Lake Mead, Bowl of Fire, Sentinel Peak, Pinto Valley and all the other landmarks for many miles. Las Vegas lies hidden from view in a valley, but beyond that the snow-capped peaks of Mt. Charleston can been seen. Several USGS markers dot the summit as well as a summit log/register.
We stayed on the summit for about an hour taking pictures and soaking in the view. However, we were also soaking in quite a bit of sun, and with no shade, it was time to head back to camp.
Dan went ahead of me as I snapped a bunch of pictures on the way down. For some reason, I enjoyed the view better going down than up.
Before we knew it, we reached the path that leads down into the wash that we noted on the way up. We headed down here and found this route to be quite obvious, and in fact, the actual route. The first trail we found on our way up was actually an alternate route the just happened to meet up with this main trail. This was confirmed by passing the same cairn that we passed in the wash on our way up. We originally thought the cairn marked the way to the main path that we took, instead, it marks the main path which we crossed right over without realizing.
Our path in the wash was leading us directly back to camp now. We passed the junction of the old 4×4 road that passes by Cottonwood Spring and heads out to Northshore Rd. This would be the route the day hikers would have taken, parking at a pull-off along the highway. We walked past this junction and the path led us right back to camp in a very direct way, much more so than the way we took up the mountain. We made it back to camp in only 1 hour from the top of Hamblin, half the time it took to reach the top.
Back at camp, we sought out the only shade around and exploited it for a while. Having not eaten anything since noon, which was just some snacks, I devoured my bacon & cheese wrap for dinner. Dan was running lower on water than I, so I gave him a half liter. That’s about all I had left myself when I went to bed.
Dan was whooped and went to bed at 6pm. With another hour and a half of daylight left, I couldn’t do that. I found a decent spot to sit and wait for sundown. Several bats were out at dusk, and flying closely overhead too.
Day 3 – Monday March 27th, 2017
Miles Hiked – 4.99
Elevation Gain – 531′
Route Hiked – Pinto Valley Castle to Northshore Summit Trail parking lot
I woke up at 5:45 this morning. From my tent I yelled, “Hey Dan, time to get up”. To my surprise, he actually did get up without any additional prodding. That’s good, because I have a plane to catch at 12:45pm this afternoon, and we need to hike back to the car, drive back to Vegas, get some food and clean up. Originally I planned to hike an off-trail route back to the car, but worried about time, we opted to take the route the Hamblin Mountain day hikers use to get to Northshore Rd, then road walk a few miles back to the car. This would be the safest route from a time perspective.
We packed up quickly this morning and were moving by 6:30. We took the low ground this time for a direct route to the junction with the old 4×4 road, now called the Cottonwood Wash Trail.
Hiking the Cottonwood Wash trail was easy. Some spots were more narrow than others, and made you wonder how a vehicle passed through. Much of it is wider though. This road would have been in use up until 2002 or prior, when the area was designated as the Pinto Valley Wilderness.
A lone Cottonwood tree stands in the middle of the wash at Cottonwood Spring, hence the name. I did not see an obvious source, but I didn’t look around much either. There were lots of thick, green shrubs and bushes in some areas, an indicator of water, but I had no desire to wade through them looking for water. We did see a small hole dug in the middle of the wash with water about 6 inches down, but no natural emergence of water to the surface.
After leaving Cottonwood Spring, we headed down the home stretch. This was offered the same interesting geological features as others, a variety of rock and sediment layers exposed by upheaval.
When we reached Northshore Rd, we headed east. We still had about 3 miles to cover before getting back to the parking lot. I didn’t even mind walking the road so much since the views were so great. It was a steady incline the rest of the hike back.
We reached the Northshore Summit trailhead at 8:30, plenty of time to take care of my pre-flight needs. Another successful adventure under the belt.
Final Thoughts About Hiking The Pinto Valley Wilderness
This place exceeded my expectations. It’s uniquely colorful, and an all around cool place. Access is tough and some of the off trail segments can be challenging. Lots of aerial traffic remind you of how close this place is to civilization, yet we still felt solitude. Especially at night. The nights were calm and silent, with no animal sounds. We saw few animals the entire trip, just a couple of chipmunks and birds. The vegetation wasn’t too thick or thorny overall, only a few short spots where we encountered that. We saw no snakes or spiders, just a couple of butterflies and a beetle. I was expecting wildlife to be a little more active this time of year.
Camp on our second night was my favorite. You can’t go wrong pitching your tent anywhere near Pinto Valley Castle in my opinion. Hamblin Mountain is an easy hike with a great view, and would make a great day hike (as the two couples we passed had done).
Coxcomb Mountains 3 Day Hike – Joshua Tree NP, CA – Dec 2016
Joshua Tree National Park – Coxcomb Mountains 3 Day Hike
View All Coxcomb Mountains Photos | Watch the Coxcomb Mountains Hike Video On Youtube
- Park Administration – Joshua Tree National Park
- Fees & Permits – Free permit, self register at one of 12 backcountry registration boards (none near the Coxcomb Mountains) or at one of the Joshua Tree national park visitor centers
- Travel Logistics – Flew into Ontario, CA airport, drove (with a local friend) to Joshua Tree NP
- Trailhead – There is no dedicated trailhead to access the Coxcombs. However, you can park along Hwy 62 (TwentyNine Palms Rd) at 34.095135, -115.420799. This is 11.9 miles west of the Hwy 62/Hwy 177 junction. This starting point is recognized by the park though as the main point of access to the Coxcombs. BEWARE of deep sand here at the parking area! We found another place to park (north side of hwy 62) a half mile or so east of the designated spot if you don’t have a 4×4.
- Length Of Time Hiked – 3 days, 2 nights
- Miles Hiked – 25
- Route Difficulty – 7.5
- Fires Allowed – No
- Scenic Beauty – 7
- Solitude – 9.5
Coxcomb Mountains Pre-Hike Planning Notes
The Coxcomb Mountains are situated in the northeast corner of Joshua Tree National Park. This region is seldom visited, and considered the most rugged area of Joshua Tree with many jagged peaks. The highest peak in the Coxcombs is Aqua Peak. Although most maps label the high point as Aqua Peak, Aqua actually refers to 3 separate peaks… Spectre, Tensor and Dyadic. Tensor Peak is the lowest, and Aqua is the tallest at 4,416′.
There are no dedicated campsites in the Coxcomb Mountains.
There are no reliable water sources in the Coxcombs. We hauled our own water in for this 3 day hike.
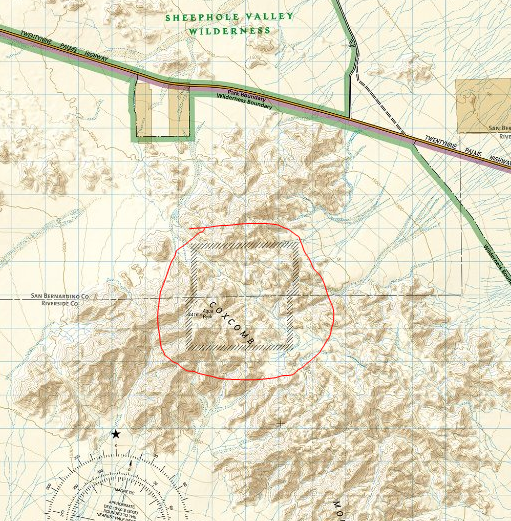
The Inner Basin and Aqua Peaks are day-use only, but I could not find any official information on this within the Joshua Tree National park website. There’s no signs telling you where you can/can’t camp, and there’s nobody around to enforce it, but still you should try and honor these regulations as the are set in place to protect the local population of Big Horn Sheep. When I arrived at the park to get my permit, I asked the ranger to show me on the map the boundaries of the day use area. His map was a Trails Illustration/Nat Geo map of Joshua Tree National Park, and it the boundary was clearly marked on it. Later at home, I created this image to show the boundary of the day use area in the Inner Basin of the Coxcomb Mountains:
Coxcomb Mountains Hike Maps
Download GPX file of this hike
[sgpx gpx=”/wp-content/uploads/gpx/CoxcombMtnsPostHike.gpx”]
This is the caltopo map of the route I hiked. I’ve highlighted the Inner Basin day use are for your convenience.
Day 1 – Friday December 2nd, 2016
Miles Hiked – 7
Elevation Gain – 1704′
When it came time to park at the trailhead, we tried to drive on some sand that was way too soft for my friend’s Mustang, and the car got stuck. Very stuck. We had to call a tow truck to pull it out, which was a 4 hour ordeal. The only reason we we able to call that tow truck is due to a passing motorist, who stopped and drove Dan to an intersection several miles away that had cell service.
We didn’t start hiking today until around 2pm. I was hoping to make it past the Inner Basin today, but was also considering camping before the Inner Basin if it didn’t look like we could make it before sundown.
We parked about .85 miles east of the “designated” spot. From here, it would be slightly out of the way to walk back towards the standard route. which runs west of the outcrop of small mountains (marked 806T on my caltopo map). Instead, we started hiking south and aimed east of the 806T benchmark. This wash appeared to be easy and take us to the same place, so we felt confident about of choice and headed out into the desert.
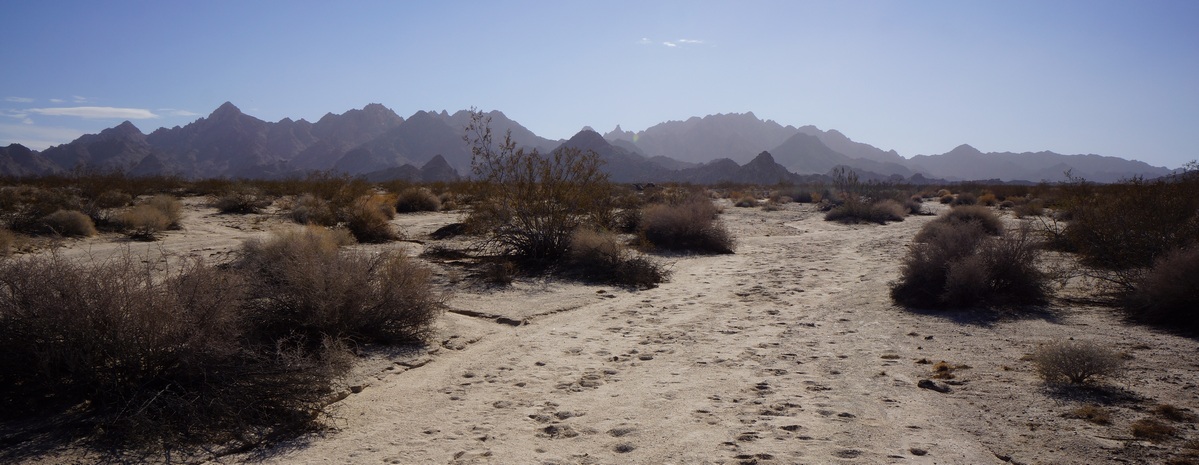
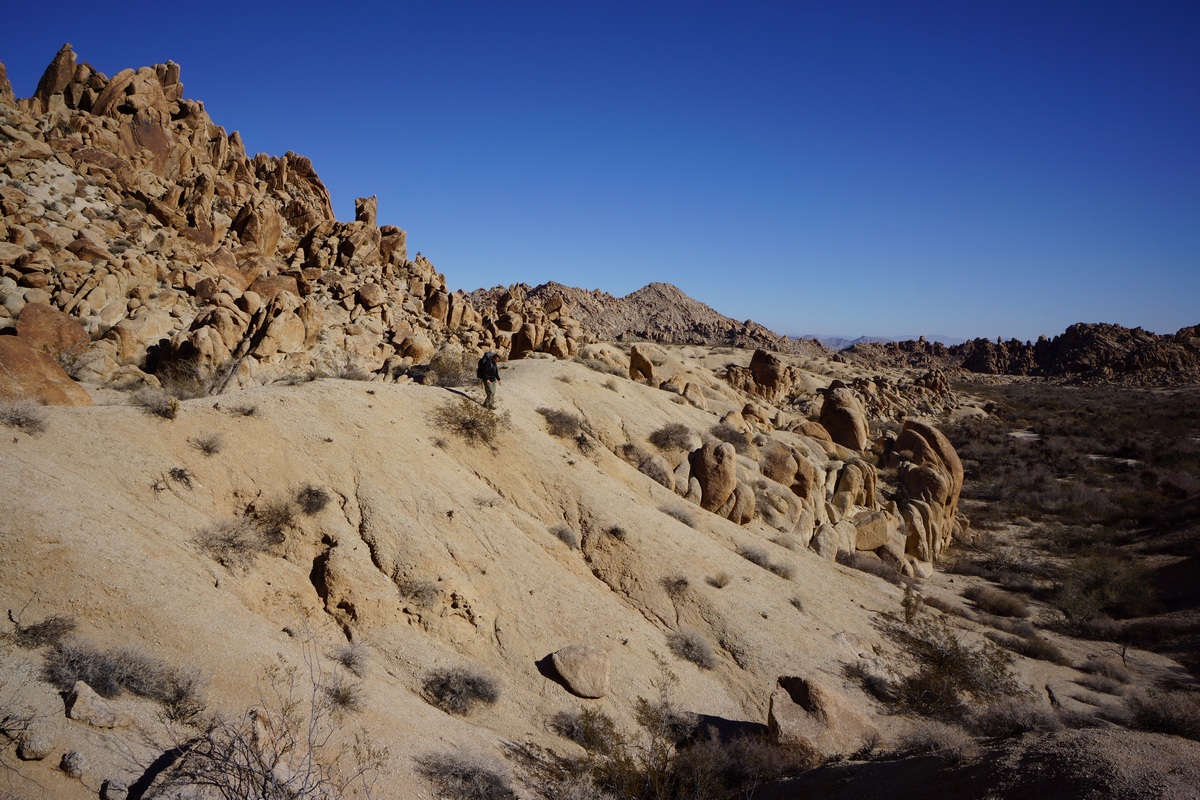
The desert floor consisted of soft sand in the washes, and slightly firmer sand elsewhere. Not the hard-packed desert soil I’ve hiked in much of the time in the past, in the Sonoran and Chihuahuan deserts. Vegetation consisted of low brush, much of it very thorny. No Joshua Trees here on this side of the park. We saw an occasional Prickly Pear and even a Sotol plant. Along the washes were some larger trees, at least compared to the rest of the scrub.
Not 10 minutes into the hike, and we saw a tarantula walking around, making it’s way back into it’s hole. This was the first time either Dan or myself had seen one in the wild. It was only about 55 degrees today, and being December I thought most of the snakes and spiders would be laying low somewhere. Cool to see!
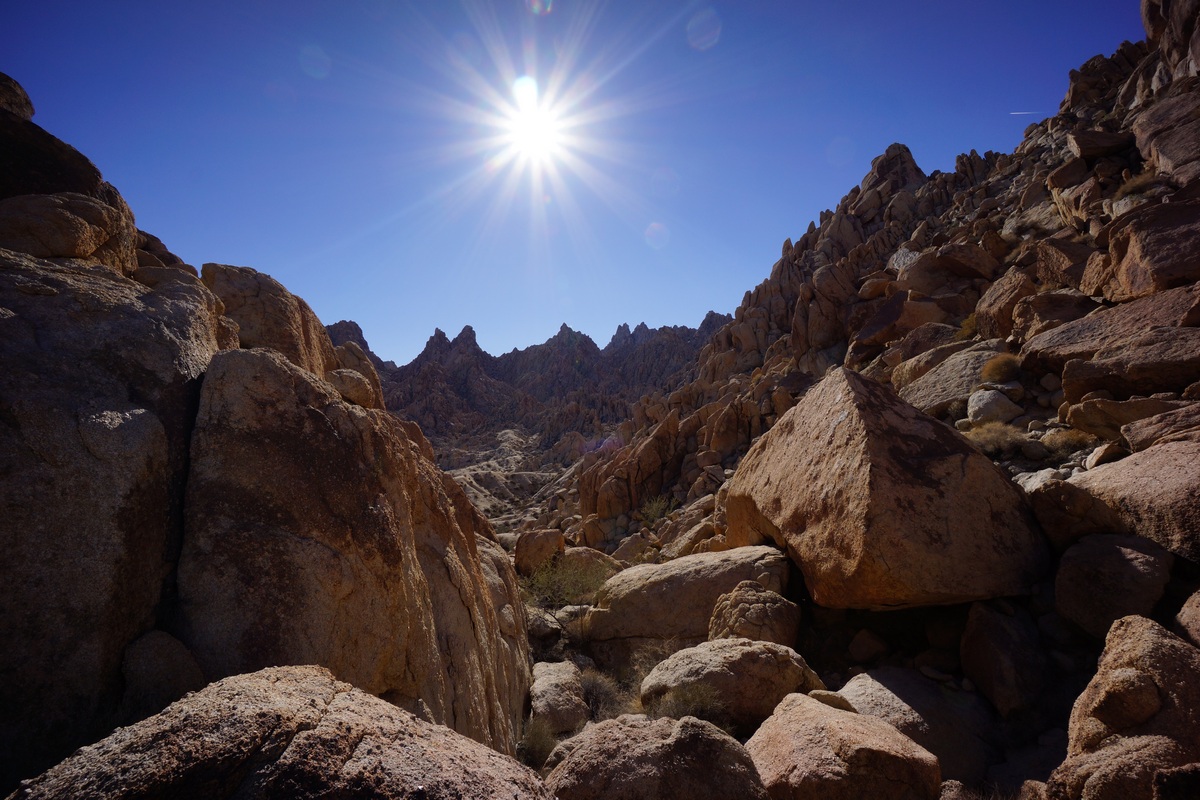
I’m not sure it would have been any easier had we taken the standard route, but walking along the wash east of the outcrop was really easy. We made great time through here. Looking back towards the car, we couldn’t see hwy 62 running through the desert. Pretty quickly you feel isolated here. The mountains around us were really rugged looking, especially compared to the rounded boulders of the iconic Joshua Tree landscape.
When we reached the point along our route where it intersects with the standard route, right before it heads uphill to Inner Basin Pass, we had a decision to make: camp here, or push on and hope we make it out of the Inner Basin before dark. We’d made great time so far, so we decided to chance it and keep moving. The terrain here remains easy, hiking up a sandy wash as the canyon narrows. I saw a jackrabbit darting through the wash, just about the only wildlife wee’d see this whole trip.
Eventually, our route in the sandy wash becomes a boulder climb. Not terribly difficult or long, but a bit of a scramble in spots. Once at the top, it’s actually a bit of a flat plateau. Our first views of the Inner Basin were impressive, but the view is best right before the trail drops down in elevation.
After dropping down into Inner Basin, it was back to an easy walk in a sandy wash. There’s a lot of thorny bushes around to snag clothing, but nothing too thick. The sun was really disappearing now, and the entire basin was shaded at this point.
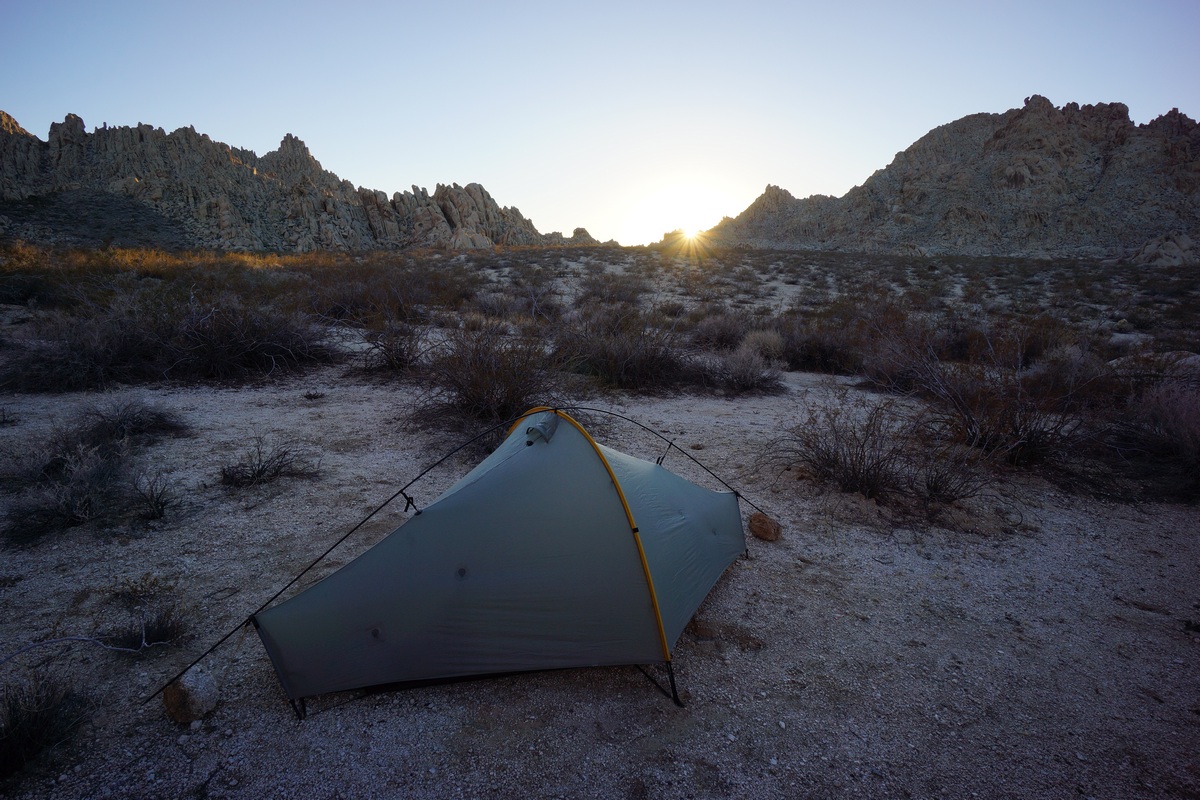
When we reached the end of the Inner Basin, there were cairns leading southwest. I was expecting the route to continue southeast and up hill. I could have taken the route I had marked on the map, but I just followed the cairns. The route winded through some narrow canyons and involved a little more boulders. Eventually, we popped out into the large flat area nestled in the heart of the mountains seen from my map. I originally thought this was the Inner Basin, based on the look of it on the map and the piss-poor descriptions available on the web. To be clear, I am talking about the open area on the map at these coordinates: 34.0195, -115.3733. Since this area is not part of the day use area, we started to look for a campsite. It was really windy, so we walked to several outcrops of rocks to see if they provided ample wind break. Wind always seemed to be hitting us no matter where we stood, so we just picked a spot. I had to use my headlamp to finish setting up my tent. The sandy soil was so soft, I had to weigh down my stakes with rocks to keep the tent from blowing over.
After setting up camp, Dan and I ate dinner. It was 5:30 now and the stars were shining bright already. In fact, we could clearly see the milky way despite competing with the moon’s light. It was also getting pretty cold. Tonight was supposed to get down to near freezing. After shivering in the wind for a while, Dan and I decided to turn in around 6:30. Nights in the desert are long in the winter!
Day 2 – Saturday December 3rd, 2016
Miles Hiked – 10
Elevation Gain – 1671′
I woke up at 5:50 this morning, hoping to get in position for the sunrise. I walked over to Dan’s tent and woke him, but he didn’t get out of his tent by the time I was ready. In fact. he was snoring again. So, I let him sleep while I climbed up rocks behind our camp.
From my spot on top of the rocks, I had a pretty good view of the large flat basin in which we’re camped. I could tell the sun wasn’t going to be directly in view, but I had had a good spot to capture the glow of light in the distance.
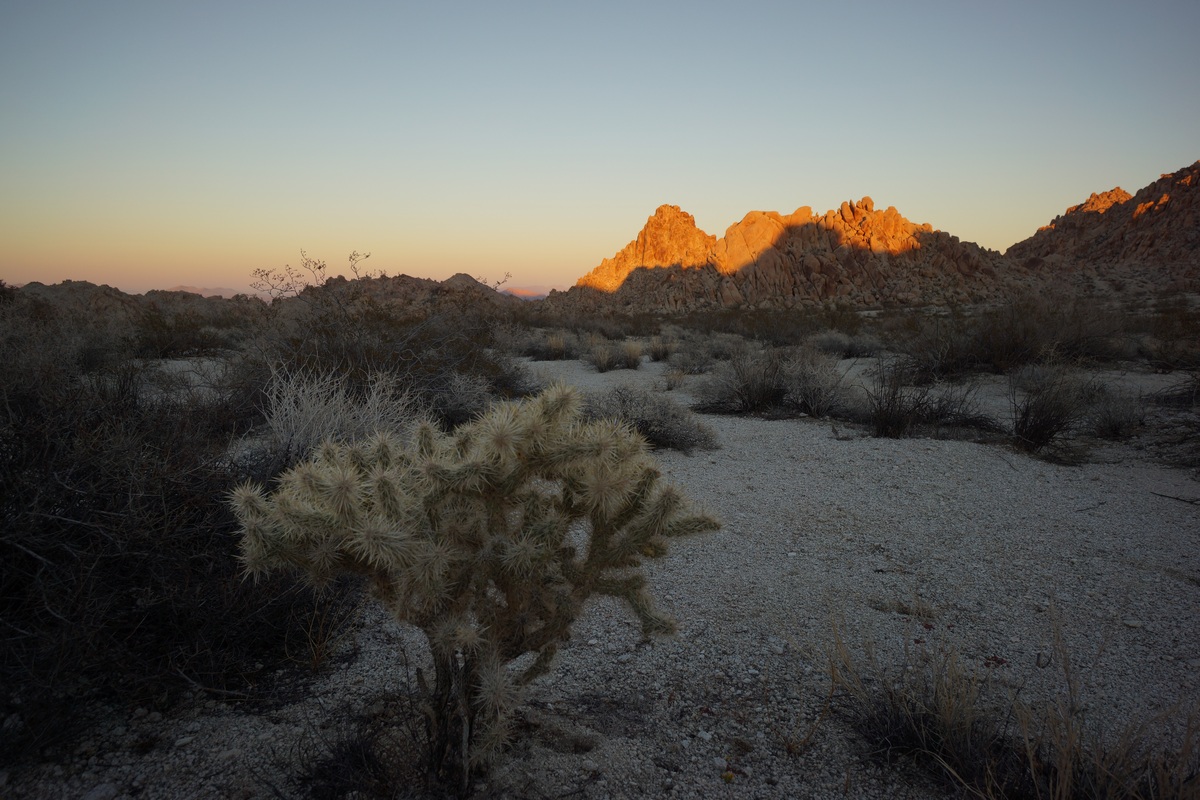
I spent a good while up here taking pictures of the sunrise and enjoying the excellent scenery. This was one of the better views of the whole trip.
When I returned to camp, Dan was still snoring. Again, I let him be and continued with my search for some good early morning photo ops. Next, I headed southwest from camp to the edge of this flat open area. Here, the map shows a large drop off down to Pinto Basin below.
Once at my destination, I realized most of it lies within the shade currently. maybe this would be better to return to this evening. I took a few pictures here before moving around some, trying to get to a higher vantage point. I bounced around from spot to spot along the tops of the nearby hills, but eventually I gave up on the area and decided to head back to camp.
Dan still wasn’t up when I returned after 8am now, so I tried waking him again. This time, it worked. After Dan ate breakfast and got ready, we headed out to do some exploring. Today, our plan is to go wherever we feel like going!
First, Dan wanted to check out a small cave we saw last night as we exited the Inner Basin area and entered the flat open area we camped in. The cave was a rounded cavity in a rock face, sitting about 8-10ft above the ground. With some effort, it’s possible to climb into it from below.
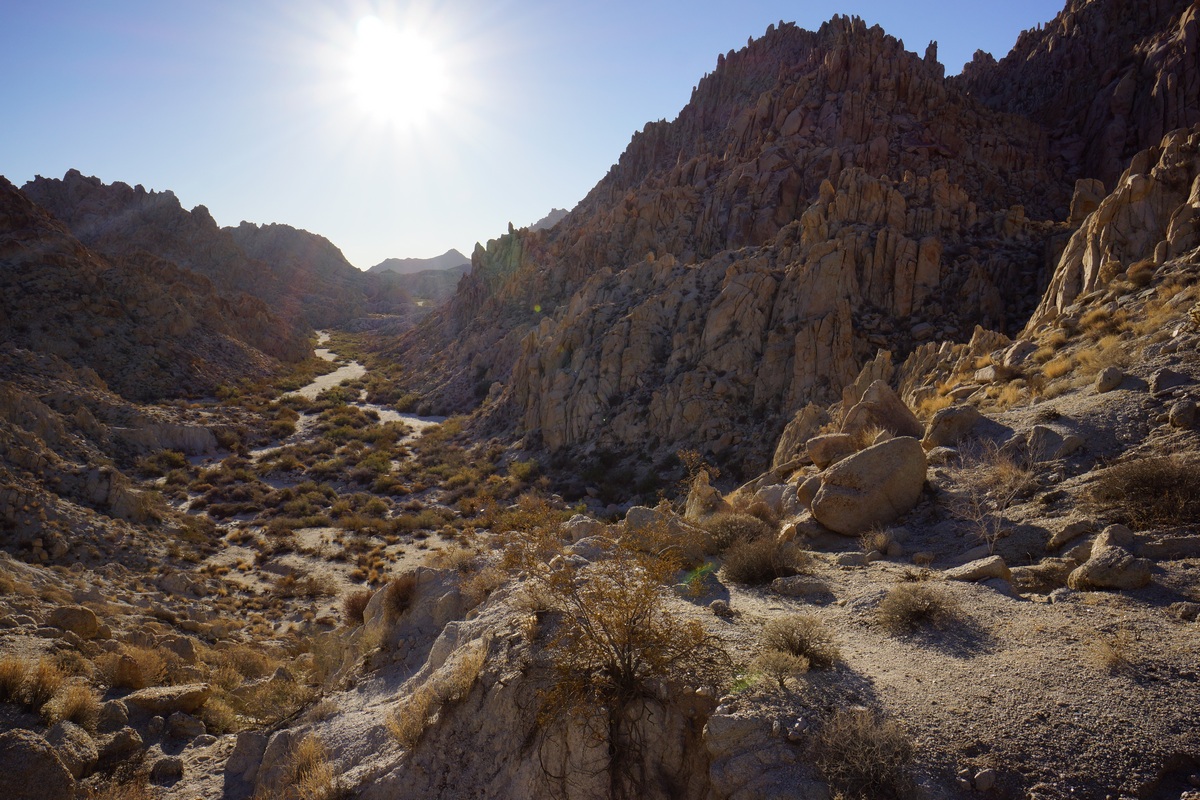
After this, we headed south across the open flat area. We hiked up over some boulders and dropped down into a wash below. We followed this was downhill for a ways. I had this marked on my map as a potential spot of interest, as the canyon looks like it narrows further down and is flanked by some cliffs ranging from 400′-1200′ plus. Might be worth checking out.
The hike down this wash was pretty easy at first. There were some occasional boulders that needed to be climbed in order to continue along our path. We had no intentions of following this canyon out into the desert, just to follow it for a ways. We didn’t see much of interest here, so we decided to turn back at our first real obstacle. There was a short drop off along the wash that might have been hard to get back up if we had continued down past it, so we figured this was a good turn around point.
We hiked back uphill and eventually made it back to the spot where we had originally entered the wash. From here, I suggested hiking higher up the same wash. On the satellite maps I saw at home, I saw a sizable patch of green here, which might indicate a spring or seep. Since thee was nothing marked on the map and no info on natural water sources in the Coxcombs online, we decided it might be an interesting destination.

Dan enjoying himself
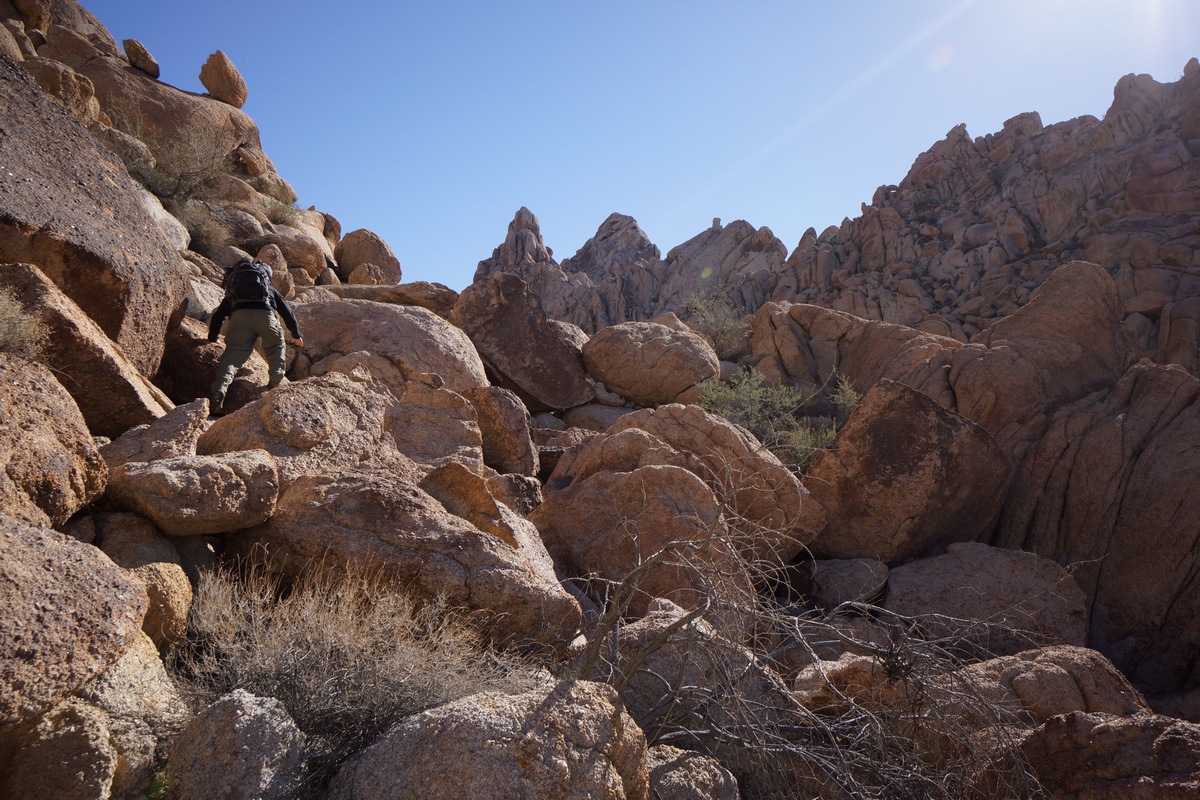
At first, our hike was again easy, winding through a sandy wash. Soon enough though, it turned into a boulder climb. This was a fairly long and sometimes challenging scramble, too. There were large boulders here, stacked on top of each other creating huge spaces in between them in which to fall. Sometimes, traversing the boulders meant walking along steep faces of the boulder with little or nothing to grip. A slip could result in a slide down the boulder and then a fall of up to 25ft onto various size and shapes of boulders below. Not exactly a high exposure type danger, but a real risk of injury if one step is out of place.
After a tough scramble to the top, there wasn’t much to see. The vegetation was thicker up here, and this meant mostly more thorn bushes. We had already been cut up pretty good during the rest of today’s hike, but the worst of it seemed to be up here. We pushed through the thorn bushes and headed for the spot of green I saw on the satellite map. Once at the spot, we did see a high concentration of some coniferous trees, the exact species, I’m not sure. They were so thick that I couldn’t penetrate them to check for existence of water, either.
We took a break here in the sun and relaxed for a while. We debated taking another route down, but that would require traversing some steep territory. Who knows what that will look like when we get there. It was early afternoon now and we end to start thinking about heading back to camp. We ultimately decided to take the same route back as we know it’s traversable already.
The jagged peaks that surrounded us looked more impressive going down than it did when we went up. It was hard work, but offered up some of the best views of the day. We also saw a big horn sheep skull that we didn’t see on our way up. It had both horns intact.
Coming down was a little easier. Before long we were in the sandy wash again and headed back to the place where we entered this wash. We could go over the little ridge we did this morning, or take another route, running northeast from benchmark 927T. We opted for the second choice. This took us back to camp, where we relaxed and rehydrated.
It wasn’t long before the sun was on it’s way down again, and fast. We decided to head back to the spot I visited this morning, on the southeast corner of the large open area. It was aonly a 10 minute walk to get there, but when we did the sun was just going down over the Pinto Mountains. It wasn’t the best vantage point base don the angle of the sun, but I snapped a few photos I was happy with. We ate dinner here as we watched the glow of the sun disappear.
Back at camp, we pretty much mirrored last night: sit on the rocks, watch the stars and chat. By 7pm we were both in bed again, seeking the relative comfort of the tent and the warm it provides.
Day 3 – Sunday December 4th, 2016
Miles Hiked – 7
Elevation Gain – 375′
I woke at 6am this morning, and Dan even woke on the first try. My original plan for today was to bag Tensor and Spectre peaks today on the way back to the car. However, Dan was not really wanting to do that after the climbing we did yesterday. He’d rather get back to the car early and spend the rest of the day driving through Joshua Tree or other areas nearby. While I was really looking forward to the great views from Aqua Peak (the name for Spectre, Tensor and Didiac Peaks), you really can’t go wrong with his plan either. So, I went along with the idea and started packing up my gear.
We started hiking at 7am. It was a little warmer last night, and so this morning was easier to get moving. He hiked back towards the elevated cave, then down into the narrow wash leading into the Inner Basin.
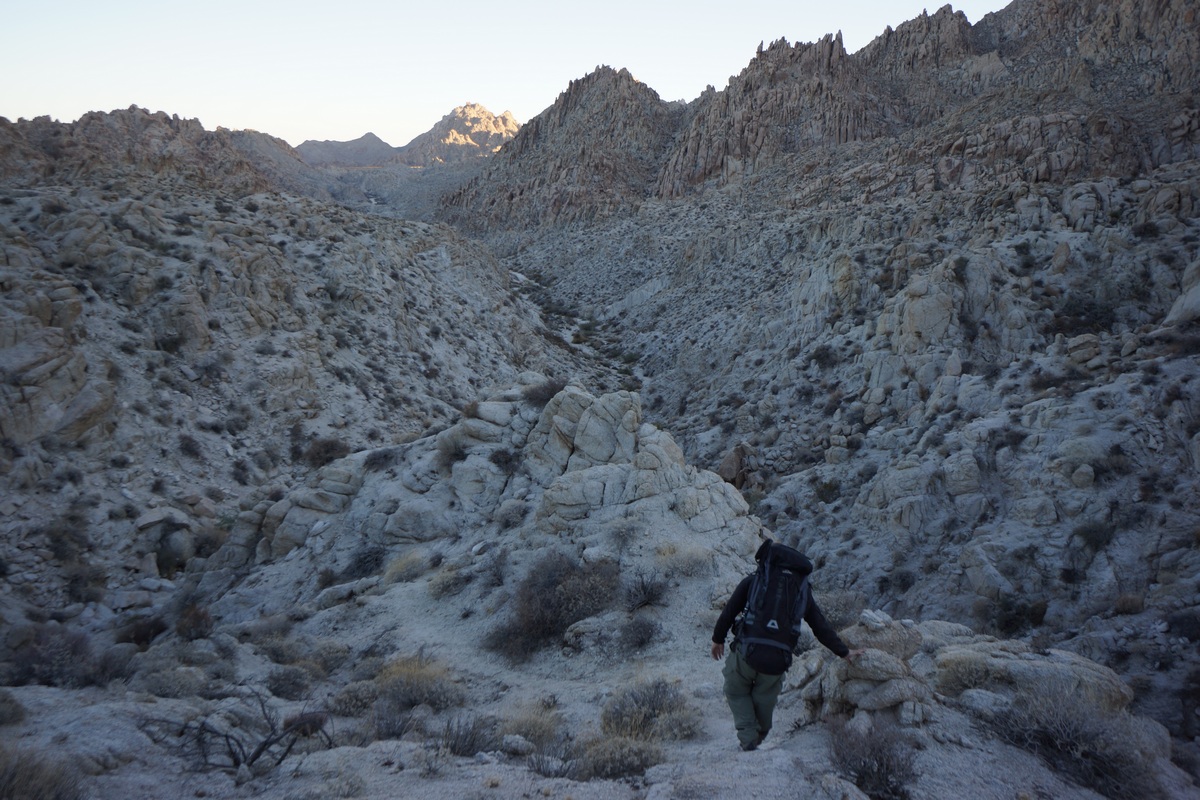
We were able to follow our tracks back through most of the wash, not that that was necessary. The route is very straight forward, just follow the wash through the canyon. There is one large side canyon running northeast, but it’s obviously not the main path. This is the alternate route that’s marked on my caltopo map. I know nothing about this alternate route though, and skipped it because it looked like it would involve more climbing and steeper terrain that we won’t have to deal with if we continue the way we came.
We made it to the top of Inner Basin pass in good time, and had some nice views of the basin. We continued on down hill through a couple of patches of boulders, but the rest is pretty much sandy wash from here on out.
Back down in the main wash, we followed it out of the canyon and took the same path we took in two days earlier. We followed our own footsteps on and off as we hiked through the small canyon. I saw another jackrabbit through here, and wondered if it was the same one I saw Friday. It was practically the same area.
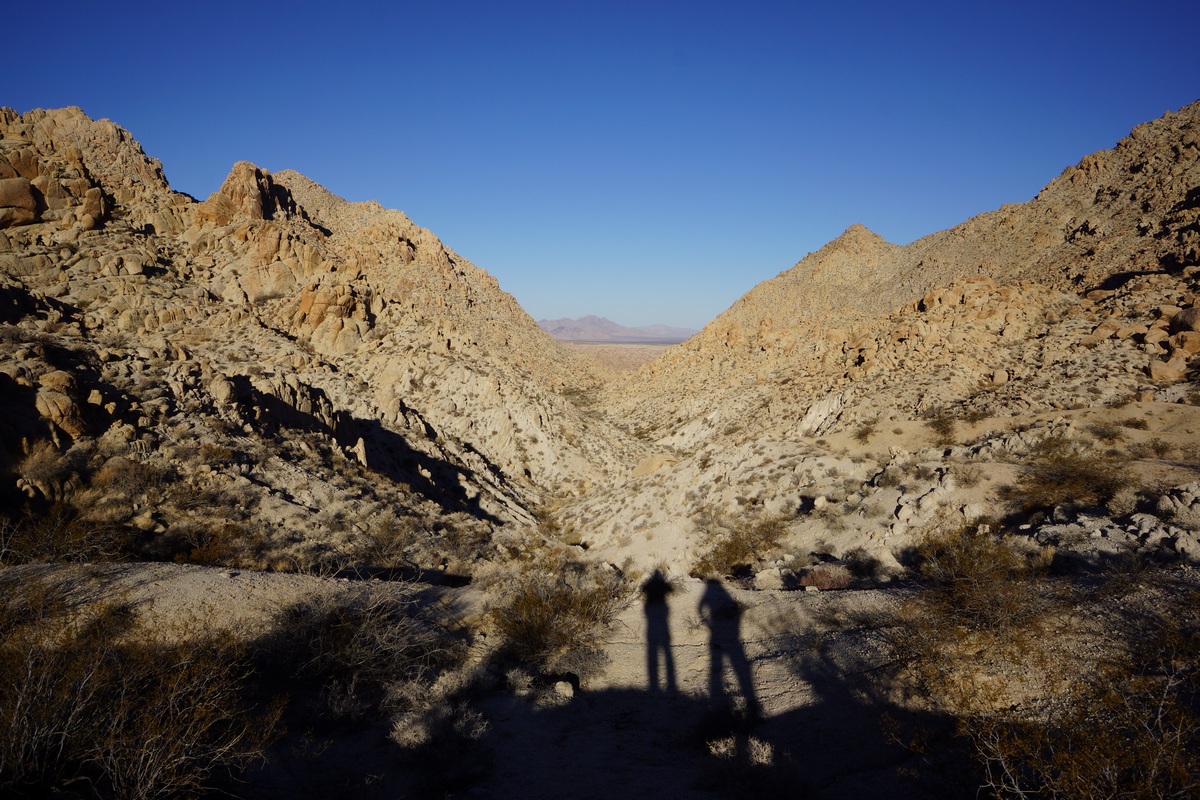
The landscape looked unfamiliar as we returned, as we now had a huge open desert in front of us. On Friday, all that was at our back and we only saw it as we turned back. It was nice to have this contrast as we left the mountains and now entered the desert.
The final stretch of desert had us talking about our dreams of a hot lunch. It took a while to actually spot hwy 62. The car was parked behind some boulders along side the road where others had clearly camped, and we headed for a graffitied rock that marked the spot. We were relieved to see that the car had not been broken into. The time was just before 10am, so almost a 3 hour hike from our camp.
From here, we headed back into 29 Palms and ate ate the Andreas restaurant. Good burgers, they really hit the spot! After this, we headed into Joshua Tree National Park on Utah Drive road to explore the park by car.
Final Thoughts About Hiking In The Coxcomb Mountains
The Coxcomb Mountains are a great place for a weekend hike, provided you’re OK with hauling in all the water you’ll need. Without a reliable water source though, longer trips aren’t really possible here. It doesn’t look like this place gets much use. The access probably keeps many people away, as well as the day use restriction in what might otherwise be the best camping spot.
As always, questions and comments are welcome!
If you found my trip report useful, please don’t hesitate to leave a comment! Alternatively, if you feel you have any information you’d like to share with others regarding this hike, please feel free to leave that below in a comment as well.
Sierra Ancha Wilderness, AZ – 30 Mile Loop Hike May 2016
Overview
View All Photos | Sierra Ancha Wilderness Video on Youtube
- Location – Sierra Ancha Wilderness, AZ
- Park Administration – Tonto National Forest
- Fees & Permits – None
- Travel Logistics – Flew into Phoenix, rented a Toyoa Yaris
- Length Of Time Hiked – 3 Days, 2 Nights
- Miles Hiked – 30
- Trail Type – Loop
- Trailhead – Parker Creek
- Trail Difficulty – 6.5/10 (not including off-trail segments)
- Fires Allowed – Yes
- Solitude – 7.5
- Scenic Beauty – 8
Notes
This trip was a bit different for me. I had about a week to plan it, and hadn’t had a chance to do any training. I’ve only been lifting weights since my return from Big Bend in January, and hadn’t even had the time to do that during the previous month. The week leading up to the hike, I got in about 4 hikes of around 6 miles with a 45 pound pack and did stair climbs one day with a 45 pound pack.
The route I planned out winds in and out of the Sierra Ancha Wilderness, within the Tonto National Forest. It was somewhat difficult planning loop hike through. The geology of the area and way the trails are laid out make it better suited for day hikes or point to point hikes instead of loops, unless you don’t mind either hiking large parts of the same trail twice, road walks, or huge elevation gains/losses. I identified a lot of areas I wanted to see here but in the end, it was impossible to make a loop out of them.
Sierra Ancha Wilderness 30 Mile Loop Hike – Map & GPX Files
[sgpx gpx=”/wp-content/uploads/gpx/Sierra_Ancha_Route_Hiked.gpx”]
Getting There
I flew out to Phoenix after work on Friday. The plane left Detroit around 4:15 EST and I landed around 5:50 PST. After picking up my backpack from baggage claim and the rental car, I headed out. The car was a little Toyota Yaris, only $57 out the door for Friday-Monday. I stopped at a gas station and picked up a couple gallons of water, and stopped at a Culvers to grab my last hot meal for a couple of days.
Now, I headed east on 60 towards Globe. This is my second trip to Phoenix since hiking a big 92 mile route in the Supes in 2014, and I can really appreciate the view of the Superstition Mountains after hiking the entire ridgeline on my last day of that hike. Driving along 60 provides great views of the Superstition Mountains and has access to the Peralta trailhead, which I still have yet to visit. I hear it’s one of the busiest trailheads in Arizona.
The drive along 60, 188 and 288 is very scenic. Unfortunately it was getting dark quick and by the time I hit 188, I couldn’t see anything. I turned onto 288, crossed the Salt River and started heading uphill again. Even though it says the pavement ends, the surface is just as good as the pavement elsewhere on the road, and it wasn’t rough anywhere. I made it to the Parker Creek trailhead, right off hwy 288, around 8:45pm.
I decided to sleep in the car tonight. Big mistake. The Toyota Yaris drivers seat is almost impossible to sleep in. The stupid headrest is tilted forward at a ridiculous angle, preventing you from leaning your head back at all. It was a long night, and always, part of the adventure. That’s what I tell myself, anyways.
Day 1 – Saturday May 21st, 2016
Miles Hiked – 11.49
Route – Parker Creek Trailhead to Edward Spring
I couldn’t sleep and just woke up at 5am when the sun rose. I filled my water bladder, water bottles, ate breakfast, etc and finally got on the trail around 6:30am. The sun would barely have risen yet back home.
The Parker Creek trail starts climbing immediately after leaving the parking lot. The trail skirts the highway for a little while before the road turns west and the trail turns east up South Fork Park Creek. The trail here is a steady incline and runs alongside the creek, which appeared to be dry. Then, I came across a small dam which was channeling water somewhere. Above the little dam, there were small pools of water. Little did I know, this would be the most water I’d come across the rest of this hike.
Past the dam is where the trail really starts to climb. But with the climb comes my first elevated views of the surrounding mountains. The trail crosses a scree slope for a few hundred feet, which provided some good views as well. In the distance, I could see the Four Peaks and Theodore Roosevelt Lake.
There’s a couple of good views up along the Parker Creek trail, but once up on top of the saddle, there really isn’t much to see except trees. There’s a couple of campsites up here, but nothing special. I kept moving and dipped down into the next valley. Lots of green here, unlike my other Arizona hikes which have been at lower elevations. Very cool.
From here, I’m headed up Aztec Peak. The trail loses a bit of elevation as it makes it’s way past Mud Spring, which appeared to be dry. The trail splits off to Carr Trailhead or the Rim Trail. I’m headed towards Carr TH. The trail gains 400ft elevation and emerges into an even greener environment, full of lush grasses and trees.
It’s a short road walk along a FR 487, a 4×4 road, before passing the Peterson trailhead. Eventually the trail heads back into the forest. It wasn’t long before the trail passes through a large open meadow that looked like it could have been Michigan, with grass that green. I was not expecting this in Arizona.
Next the trail passes through an area ravaged by fire and downed trees. There were a lot of large trees that requires maneuvering to get over. It looks like it’s been a while since this trail has seen any maintenance. But I could say the same thing about several stretches of trail in the Sierra Ancha Wilderness.
As the trail nears the top of Aztec Peak, the lack of trees make for some pretty good views. The last couple hundred feet up Aztec Peak were really nice.
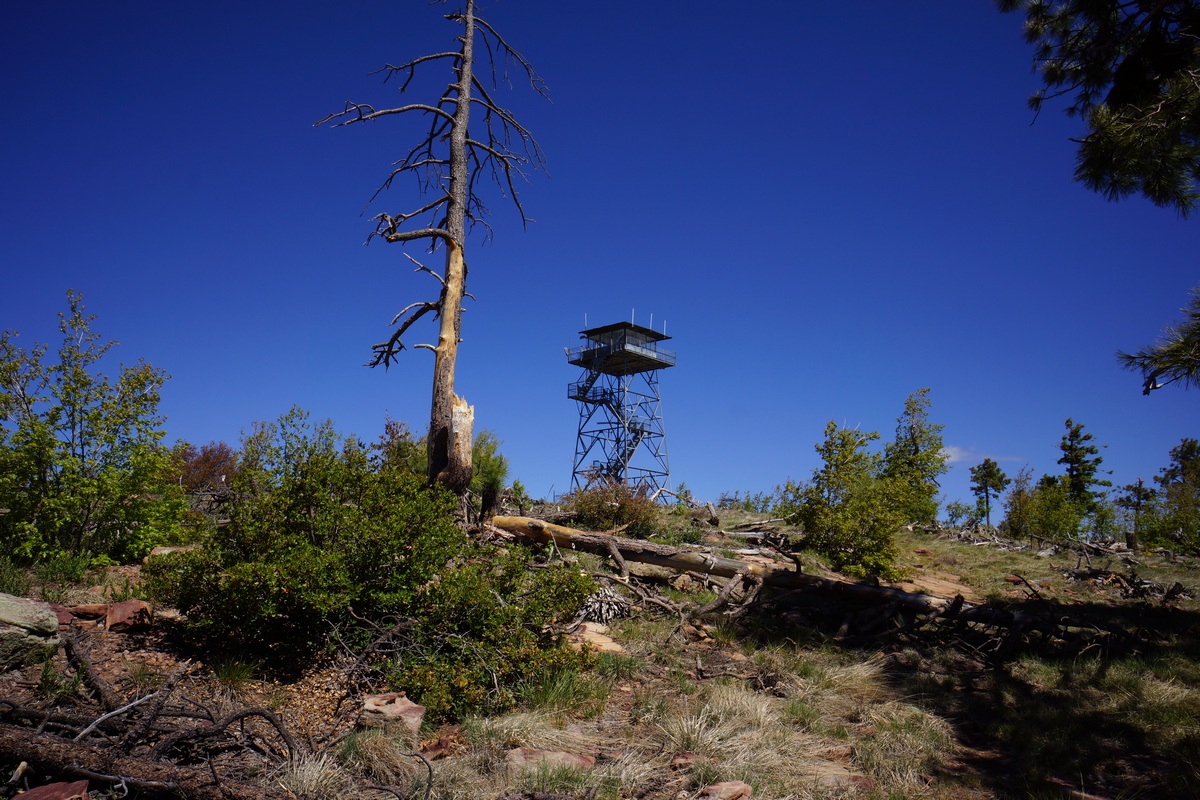
On top of Aztec Peak, it was pretty windy and much cooler. I went up the fire tower only to find that the top level was inaccessible due to the hatch being locked. It was extremely windy up here, maybe 50-60 mph, so I only took a couple of pictures and headed down.
After that I went to check out the red rock cliff edges along the southeast side. This area was really cool. Long, distant views from a variety of comfortable seats on the rocks provided a great place to stop and eat lunch. At 7748′, this is the tallest point along my hike. I had 4G service up here too. If it weren’t so damn windy, it’d be a great place to camp too if it weren’t for the road that runs up here. FR 487 runs up to the top here and it looks like Aztec Peak gets a fair amount of use. There were two different vehicles that came and went while I was up here, along with a pack of ATV riders.
After finishing my food I headed down Aztec Peak along FR 487 for a short ways before jetting off onto the ridge that heads towards Murphy Peak. While hiking along FR 487, I was an object in the road. It was an iphone, 65% charged, with a cracked screen and very dusty. I bet it fell out of the pocket of one of those ATV riders that just passed through here only 10 minutes ago. I set the phone alongside the road, propped up against a rock, so it could be seen more easily if they come back to look for it.
FR 487 takes s sharp, hairpin turn right where the ridge to Murphy Peak looked the most accessible. Judging by the beaten path out onto this ridge, I’m going the right way. I left the road behind and started my off trail adventure. The trail quickly faded away, but the terrain was pretty open and not to difficult to traverse besides some downed trees.
Next my route has me going up point 7662′. The approach from south/southeast is cliffs, so I worked my way around the more gentle southwest slope. Once on top, I had a pretty good view of Murphy Ranch from some interesting rocks. Some rocks were pitted, others looks like they had warts. Another section had light colored veins running through it. Really great views to the east from these cliffs.
I continue my hike north to Murphy Peak, the second tallest point on the hike at 7732′. It was pretty easy going up to the top, but trees obstructed the view. From here I headed down a ridgeline that will intersect trail 150. This section was steep but pretty manageable, then levels out. Before long I found trail 150 and was on my way down hill along the north side of Murphy Ranch.
I followed trail 150 a ways before leaving the trail and continuing in a straight line towards my destination, Edward Spring. This next off-trail section was among the two toughest challenges on this hike. The vegetation was thick and often thorny most of the way down, with steep slopes near the top.
Just as the trail was getting steep, the vegetation was becoming impenetrable. I had to backtrack a little and find a way around the thick patches of trees, shrubs and bushes. I found a game trail that got me past one of the thickest spots, but quickly lost it. I found the best strategy to be to follow the faint little game trails where you can and just do your best in between the game trails, through the thick stuff. While dipping down into a small drainage along the way, I scared up an what I believe to be a bull elk, judging by the overall size of the animal and the size of it’s antlers. It wasn’t that far away, maybe 150 ft, but he bolted before I got a good look at him.
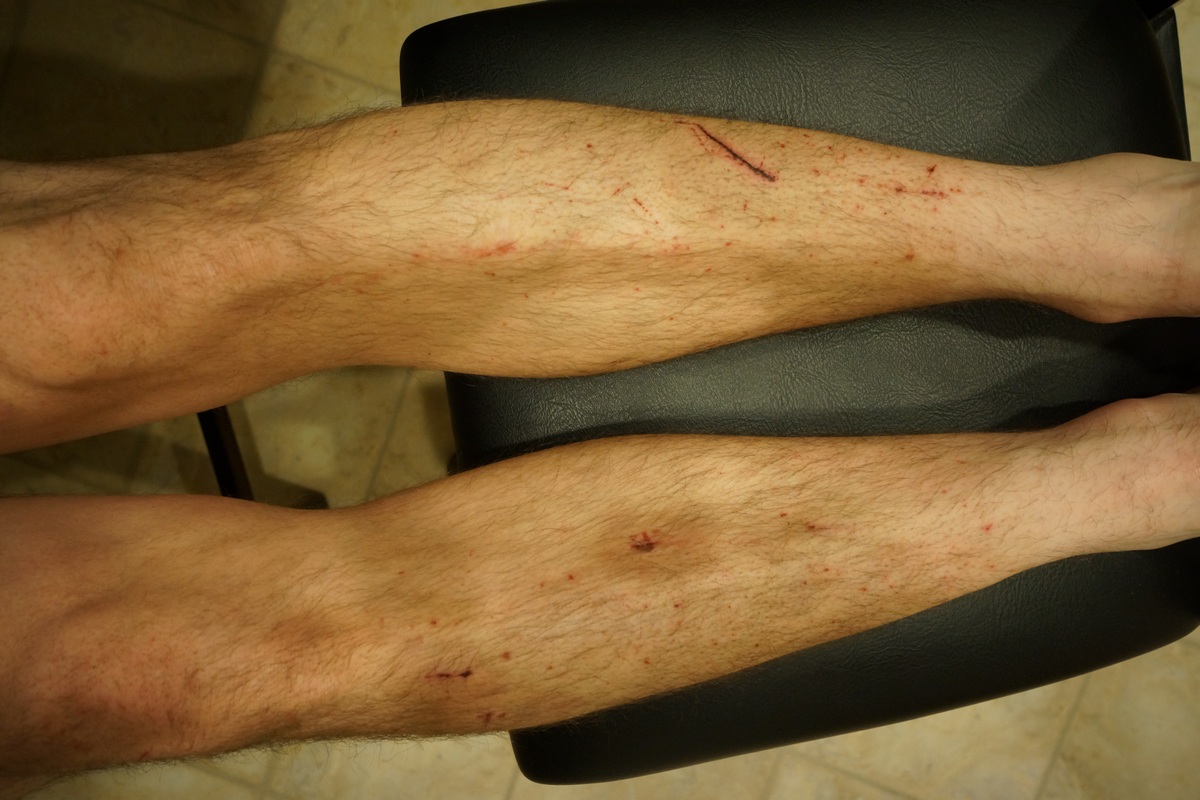
There were a lot of Manzanitas through some stretches, and along with the other plants they did some damage on me. My arms fared alright since I had a longsleeve shirt on, but my shins took the brunt of the damage despite having pants on. I wouldn’t recommend anyone following this route, unless you’re slightly crazy like me. It took me about 1.5 hours to go 1.6 miles off-trail.
I was hot, hungry, thirsty and tired by the time I made it to trail 141, just a short distance from Edward Spring and some amazing overlooks above Pueblo Canyon. I first went to check out the views from the cliffs, and see where I could camp in close proximity to said views. I couldn’t find the proper pair of trees to hang my hammock from near the cliff’s edge, but only a short 2 minute walk back to my campsite closer to trail 141 will suffice. I found Edward Spring to be completely dry.
After getting my hammock set up around 2:15pm, I took, a 45 min nap. Today was only supposed to be 8.9 miles or so, but ended up being 11.5 miles and 4000 feet of elevation gain. The route I draw out on the map, no matter how detailed I think it is, always seems to fall way short of the actual distance hiked that day.
After my nap I headed over to the cliff’s edge with some food and my camera. I explored along the edges for a while, looking for that perfect shot of Pueblo Canyon. I spent most of the afternoon just lounging around on the cliffs, enjoying the beautiful scenery and silence. It was cool to have such an amazing place all to myself, during what seemed like prime hiking weather. From what I can tell, this place doesn’t get a ton of backpackers.
After watching the sunset to complete an enjoyable evening I headed back to camp. I didn’t set up my tarp above the hammock since there’s no rain in the forecast for the foreseeable future, so tonight’s full moon lit up the sky throughout the night. I went to bed at 8pm, right after it got dark.
Day 2 – Sunday May 22nd, 2016
Miles Hiked – 13.19
Route – Edward Spring to Asbestos Point
I woke up at 5am today, and just barely caught the sunrise. I headed over to the cliffs overlooking Pueblo Canyon just as the sun peaked over the horizon. Really nice sunrise from this spot.
After getting my fill of pictures, I headed back to camp to finish packing. I snacked on a few items this morning, but didn’t want to eat a full breakfast until I know for sure I’ll have water from Cold Spring. I’m running low on water, having drank more than I expected yesterday.
Trail 141 was a little overgrown in spots but overall pretty easy to negotiate. The hike to Cold Spring was about 1.2 miles of easy walking.
When I reached the spring, I saw a pile of bones from a large animal a few feet from the water. As for the spring, I was pretty disappointed. It was a pool maybe 18″ in diameter and about 2 inches deep. I really should have brought my MSR Miniworks water filter so I could have filtered out the mud and debris a littler better. I brought my SteriPen Opti and Gatorade bottles instead. I ended up digging the pool out a little deeper to get my bottle mostly submerged, but of course, had to let the water settle first. It took a long time to filter this water. I chugging a liter now and filtered 5 more to finish out the hike, unless I come across more.
I left Cold Spring Canyon after getting my fill of water and continued on towards trail 139, the Rim Trail. My maps show the trail climbing out of Cold Spring Canyon more abruptly, but the trail I followed skirted the contour lines a little more. This stretch had been burnt in the past so maybe the trail was re-routed. It eventually intersects the Rim Trail which I continued south on.
There were occasional vistas along the Rim Trail but usually only where the trail traverses around the edges of canyons like Cold Spring Canyon, Devil’s Chasm, and some unnamed canyons. Of course, if you have the time and are willing it looked like there’d be some killer views from some of the ridges above these canyons but that would be all off-trail. Since I know I’ll be doing some serious bushwhacking this afternoon to get to Zimmerman Peak, I had to pass.
Sometimes the trail was well beaten and others it was practically non-existent. There were a couple spots along the Rim Trail where it got so faint that I lost it. I saw a couple of piles of bear crap through this area, and some were pretty large.
The landscape changes a bit when the trail turns the corner into Coon Creek Canyon as it’s a south facing slope. Here, there’s more cacti and shrubs vs pine trees. At least the trail now skirts the edge of the cliffs more and there is more to see. The last couple of miles were a little dull to be honest.
With the new environment come new dangers. I came within 3 feet of stepping on a rattlesnake. It was in the sunlight in the middle of the trail, but just beyond a small patch of shrubs obstructing my view of the ground. 2 minutes ago, I was just thinking about how I had somehow never seen a rattlesnake yet on any of my hikes, no joke! And now here I am looking at one. There was cliffs on one side and dense shrubs and thorn bushes on the other wise, so it was hard to get around him. I quickly moved past when he had his head turned the other way, as he tried to move aside as well. I made it past him, but coming so close prompted the tell-tall rattle sound. Cool, but now I need to really watch out for those guys.
Eventually I hit the Parker Creek Trail (160) where i had passed through yesterday, but went up to Carr TH from here. This next .65 mile section to the top of Carr Ridge is the only part of trail I’ll be repeating along this figure 8 style loop. It was almost noon now and I was getting warm in the sun.
Soon enough I was at the top and took a break in the shade. I ate a little food too but not much. Like I often complain about, I wasn’t hungry when I really should have been.
After lunch, from here on out it’s all off-trail. I heading in a southerly general direction down the Carr Ridgeline to Zimmerman Peak. I’ve been told there’s some wicked patches of Manzanitas near Zimmerman, but so far the terrain is pretty open with only large, well spaced pines to worry about. As I go farther south, the pines thin out a little and there’s other types of vegetation to contend with, but it’s still easy going. The first 1.5 miles or so was not an issue at all. There’s remnants of a barbed wire fence that runs along the very top of this ridgeline, which just so happens to follow almost the exact path of the route I drew at home based on the topography. How convenient, this made a great marker to follow when needed. Between this and the game trails that weave around the pockets of vegetation, it’s not too hard to make your way through here.
The closer I get to Zimmerman, the more difficult it becomes. There’s beginning to be some really great views as well. I didn’t take as many pictures as I’d like’d to have through here.
Near point 6936 is where the going got really tough. The manzanitas were so thick it was crazy. Instead of going up the ridgeline and over the summit of point 6936 I found it easier to skirt the western hillside. However, once I emerged south of point 6936 the manzanitas became even worse. There was a sea of them all down this ridgeline as far as I could see, and no game trails running through them. Also, they were swarming with bees on the little flowers, so I had to wade through bees as well. This was one of the most difficult sections of the hike. My legs and shins were taking a a real beating.
After much effort and lots of cuts and scrapes I made it down the ridgeline below point 6936. It was a little easier going up this next hill, the last one before Zimmerman Peak. Closer to the top of this hill, I saw another rattlesnake. I spotted this one a little farther away, but it was essentially head level since I was going uphill. Not a good place to be. I gave this one some room and went around it.
When I reached Zimmerman Peak I was rewarded with some really awesome views. I stopped for a while to rest, take pictures and look for a spot to camp, if that was even going to be possible.
After a little searching I determined that it was probably not possible to hang my hammock up here. Bummer I guess, but I didn’t really want to have to do any more off-trail hiking tomorrow morning if I can get it out of the way today. So, down to Asbestos Point.
The first bit of trail down Zimmerman Peak was the steepest. This part leads down to Zimmerman Point, then down the final ridge to Asbestos Point. That same barbed wire fence is still running down the center of this ridgeline and continues to be a good marker to follow. Eventually I hit FR-489, the 4×4 road that runs up here to Asbestos Point. After what I just hiked through it’s hard to believe there’s a road near here. I followed it a few hundred yards up to the top of the ridgeline leading up to Asbestos Point.
Now I could look for a place to camp. There’s more pine trees here to hang from, but I’m not seeing the right trees that will give me a view from my hammock. That’s alright though, because it’s still pretty windy and I’d rather have some cover. I found a spot that fit my needs not too far away, and just a short walk from some great views to the south. It was about 4pm now.
After getting camp setup, I hopped in the hammock to relax for 20 minutes. Afterwards I headed over to the area where they used to mine for asbestos along the cliff’s edge. There were a lot of mosquitoes out though and I had to put on my headnet. There was an old bulldozer sitting at the end of the road near the edge of the cliff, as well as numerous other mining artifacts laying around.
The sides of the cliffs had several mine entrances exposed and uncovered. They probably figured that the fact that it’s an asbestos mine will keep people out. Wrong! I went in a couple of them a short ways, just to get a peek. I was careful not to kick up any dust, took a few pictures and headed out. Check that one of the bucket list.
After making my way around the mountain and it’s mines, I headed back to camp to finally eat some dinner. It would have been really nice to have a fire and heat up my bacon cheese pita sandwich thing, but I didn’t want to go through the trouble just for this sandwich, when it’s windy and dry out and I don’t even need the warmth. I ate almost two of those but didn’t have a great deal of water left. Now it’s ration mode until I get back to the car in about 15 hours. I think I had about a half liter left by the time I went to bed later tonight.
After dinner I headed back towards the cliffs edge for the sunset. It would have been much better up on Zimmerman, but that wasn’t in the cards. I took some pictures and enjoyed the sunset as my final night here comes to an end. Dead tired, I headed back to camp to get some rest.
Day 3 – Monday May 23rd, 2016
Miles Hiked – 4.51
Route – Asbestos Point to Parker Creek Trailhead
The wind died down last night and it ended up being pretty calm. I slept pretty good. Once again, I was up at 5am to catch the sunrise.
After packing up camp and barely eating anything for breakfast I headed out. Today should be an easy hike, mostly downhill along FR-489 and then a short road walk back to my car at Parker Creek Trailhead.
At first, the road looks alright. Eventually though, this thing had ruts like 3 feet deep. I mean, no problem for me, I can just walk around them. But driving up this road seems insane. I wonder how much use this road gets. I know people make it up to Asbestos Point and camp, there’s plenty of toilet paper up there to prove it unfortunately.
Going down this road was uneventful and fast. Fine with me a I have a plane to catch this afternoon. I passed Pocket Spring on the way down which I could hear running water from, but I didn’t go to check it out. Farther down, Parker Creek was flowing closer to hwy 288.
When I did finally reach hwy 288, I had a 1.33 mile road walk north to my car. The first thing I did when I got into my car was chug water from the extra 1.5 gallons I had sitting in there. After changing clothes I was on my way back to Phoenix to catch my plane.
Final Thoughts
It was great to get out and do this hike, I really needed to get away. I’m hoping this will be just the start of a busy summer, my favorite time of year. It was awesome to visit Arizona when things are in bloom and a little greener. This was my 4th trip to Arizona but my first outside of January and March when things are a little more brown.
I was pretty tired from this hike but on the other hand, I only had 1 week to prepare for it. Considering that, I think I did pretty good physically. The first day had 4000 feet of elevation gain, but it wasn’t as bad as I thought it would be. I did lose 7 pounds on this hike in just 4 days, but I’m kinda getting used to that. I am going to look into appetite stimulants and see if that’s something that can help me get more food in my body during these hikes.
The Sierra Ancha Wilderness, and surrounding Tonto National Forest, has some awesome views. In my situation, being solo, only a loop hike would work for me. I could have put together a much better route if a point-to-point was an option.
The off-trail sections of this hike were pretty tough at times. Sometimes I wonder why I choose to do this stuff, when I’m poked, cut, bruised and battered from bushwhacking through all that madness. Somehow, the harder a hike is for me the more rewarding it feels I guess. And that’s one of the things that can be hard about hiking solo sometimes. Nobody else will ever truly know what you went through, what you saw and how you felt, despite your best efforts to describe it with words or pictures. It can be a powerfully motivating experience though, revitalizing the mind and soul. I’m ready for my big summer hike… I just need to figure out where!
As always, questions and comments are welcome!
If you found my trip report useful, please don’t hesitate to leave a comment! Alternatively, if you feel you have any information you’d like to share with others regarding this hike, please feel free to leave that below in a comment as well.
[tcb_comment_count]

