Chevy Astro Camper Van Build: Passenger Swivel Seat
Chevy Astro Camper Van Build Phase 14: Passenger Swivel Seat
Tools & Materials
Materials:
Swivel Seat Base For Astro/Safari
Tools:
Craftsman Socket Set
Dewalt Angle Grinder
Dewalt Cordless Impact Driver
1/4″ Drive Quick Release Bit Extension
Craftsman 3/8 Drive Drill
Video – Chevy Astro Camper Van Build: Passenger Swivel Seat Base
Project Overview: Passenger Swivel Seat Base
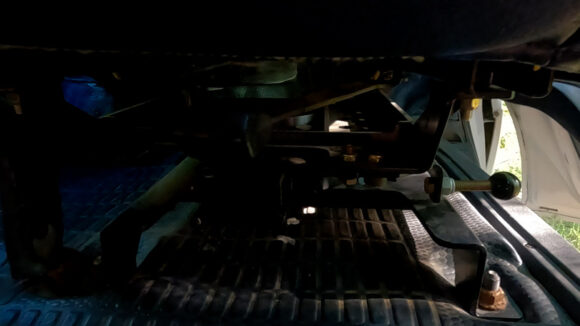
To install a swivel seat base for your passenger seat, we can break this down to 5 steps: remove the passenger seat, remove the seat’s sliding track (sits in-between the seat base and the seat itself), install the sliding track on top of the new swivel seat base, install the passenger seat on top of the swivel base and track, install the passenger seat back in the van. Unfortunately, the sliding track is riveted to the seat base, and you will need an angle grinder and/or drill to remove the rivets. You’ll replace the rivets with bolts later, to avoid this debacle in the future. Besides removing the rivets, which is a pain in the ass, you’ll need a socket and/or wrench set.
The official installation instructions for the swivel seat can be found here:
https://files.cargocollective.com/c1283167/AstroSafariInstall-Small.pdf
Remove Passenger Seat
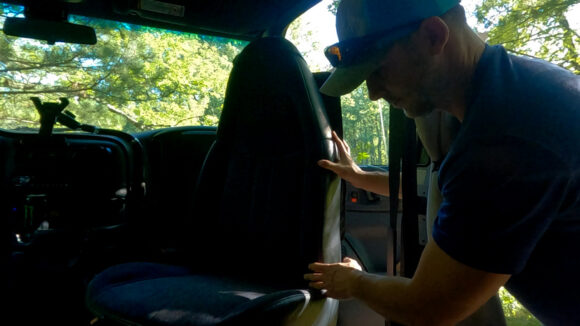
There’s 4 large nuts holding the seat to the floor. Perhaps 19mm, from memory. These weren’t too hard to get off, since I’ve already had these rusty old nuts off a few times throughout the van build. If you haven’t done this yet, it’s not a bad idea to take some WD40 and spray your threads, and even take a wire brush to them, to make them easier to remove in the future.
Remove Seat From Seat Base & Track
First, remove the bolts holding the seat base and sliding track to the seat itself. There should be 4 bolts, make sure to save these, you’ll need to reuse them.
Remove Rivets Holding Sliding Track to Seat Base
This is the worst part of the swivel seat installation process. The seat track is secured to the base by rivets, and these will need to be removed. There are a couple of things you can do to get the rivets out: use an angle grinder to cut slots in the top of the rivet, use an angle grinder with flap disc attachment to grind the tops of the rivets down, drill them out, and use a hammer and punch to aide in the “pushing” of the rivets out of the holes if the heads are sufficiently removed.
Attach Sliding Track To Swivel Base
After the rivets are removed, the sliding track should be free of the seat base. Now, drill out the rivet holes to 5/16″, to accept the new bolts. We sure as hell aren’t putting rivets back in. Use the bolts that come with the swivel base to fasten the sliding track to the new swivel seat base.
Install Passenger Seat Back Into Van
Finally, install the entire passenger seat assembly, complete with new swivel base, back into the van. That’s it, the swivel seat is in. Time to, uh, swivel.
Previous Van Build Project: 13 – Dometic Electric Cooler | Van Build Project Index | Next Van Build Project: 15 – Window Coverings


Leave a Reply