Chevy Astro Camper Van Build: Solar Panels
Chevy Astro Camper Van Build Phase 9: Solar Panel Installation
Tools & Materials
Materials
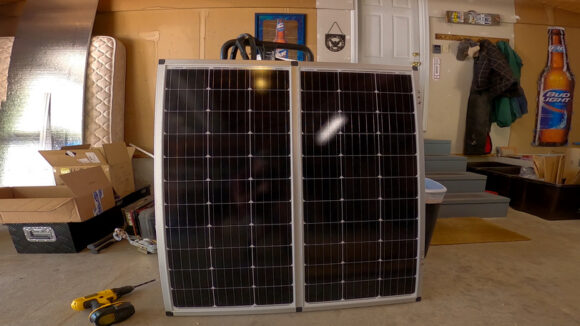
2 100W Solar Panels
Solar Panel Wires Roof Entry Port
Renogy 20FT 10AWG Solar Extension Cables
Solar Panel Y Branch Connectors
Spax Construction Screws
Adjustable Rope Hangers
Aluminum Tubing & Connectors
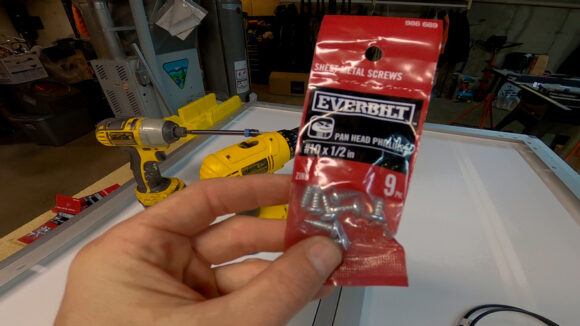
Sheet Metal Screws
Rivet Nut Set
Hinges
16 Gauge Sheet Metal Plate
Loctite Threadlocker 242
Angle Aluminum
3M VHB Tape
Heavy Duty Waterproof Rubberized Roof Tape
Loctite PL Max Construction Adhesive
Sikaflex 715
Metal Cutting Diamond Blade for Angle Grinder
Renogy 20a Inline Fuse
Tools
Dewalt Cordless Impact Driver
1/4″ Drive Quick Release Bit Extension
Craftsman 3/8 Drive Drill
Dewalt Compound Miter Saw
Rivet Nut Tool
Center Punch Set
Craftsman Socket Set
Dewalt Angle Grinder
File Set
C Clamps
Countersink Bit Set
Video – Chevy Astro Camper Van Build: Solar Panels
Project Overview: Solar Panel Installation
Mounting solar panels could have been a quick and easy job, but No out-of-the-box solution appealed to me. I did it the hard way and custom fab’d everything from the frame to the mounting brackets. And, I got the wild idea to mount the brackets for he panel with tape instead of drilling through the roof. Sounds like a crazy idea, but after a year on the road, it’s been holdings strong. Maybe I’m not crazy.
I’m going to build a mounting frame for the two solar panels, so I can mount them and move them together as one piece. I’ll using aluminum tubing for this. Then, the idea is to mount the back side of the aluminum frame to the roof rack using hinges, and then make my own metal brackets for the front that will get taped down to the roof of the van using very strong adhesive tapes, and a very large surface area. There are other adhesive solar panel mounting systems on the market, but they consist of multiple “clips” that stick to the roof with the same kind of adhesive tape I’m using. I’ll just use two huge brackets with a surface area 20x larger. It should definitely work.
Building A Mounting Frame For The Solar Panels
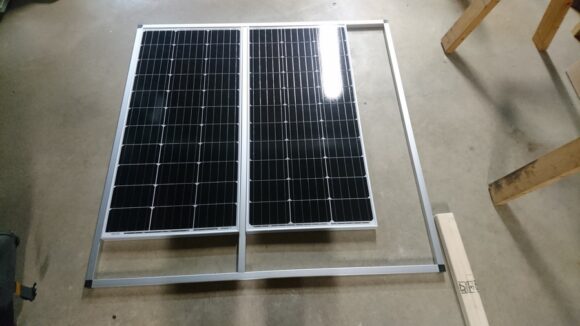
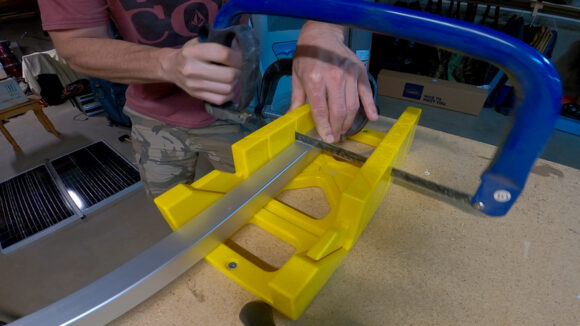
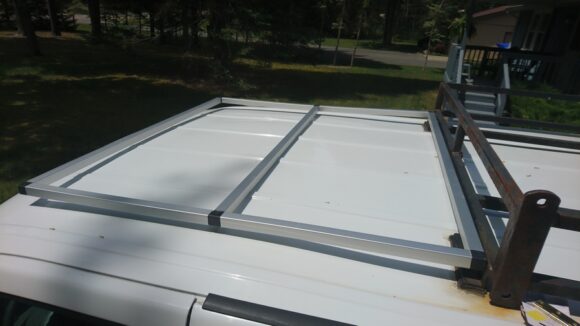
I bought 1″ aluminum tubing and connectors from a company called EZ Tube, and building the frame is pretty straight forward. The top photo above shows the solar panels sitting inside the frame, which is too big. So, All I need to do here is cut the aluminum to the right size to fit around the panels. I use a hacksaw to make my cuts, and a file to clean up the edges so the plastic connector pieces slide in smoothly.
Add Hinges To Roof Rack
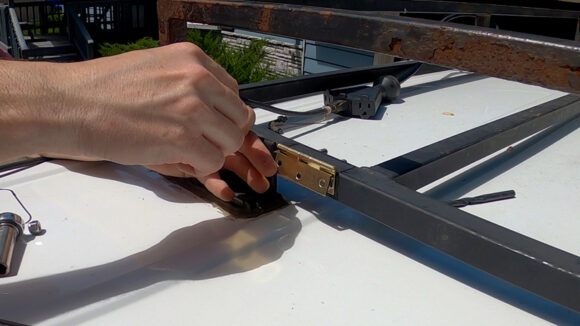
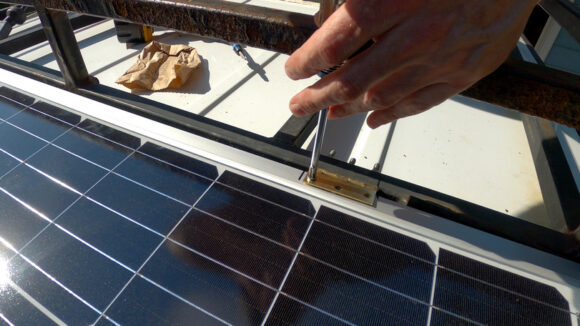
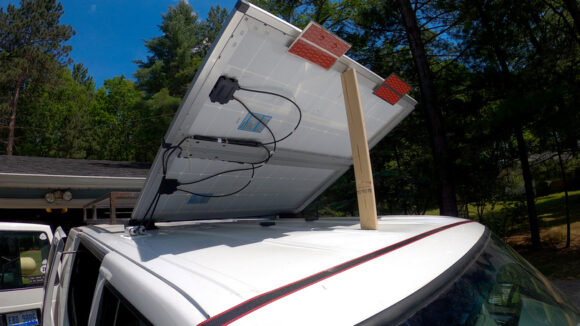
Let me be the fist to tell you, this is NOT a “normal” way to mount solar panels. I’m using hinges to attach one side of the solar panel frame to the roof rack. I’m using hinges for a few reasons. First and foremost, I would need one really long bolt to go through the aluminum tubing and the roof rack, not to mention the fact that it would be impossible to have access to the nut or bolt on the underside of the solar panels to actually mount the thing. So, the hinges are mostly for ease of installation. One side of the hinge is mounted to the roof rack. The hinge flips up and provides easy access to bolt the other side of the hinge to the solar panel frame.
The other bonus about using the hinges is that my solar panels could now, theoretically, be adjustable, allowing me to tilt them up to follow the angle of the sun. This is, of course, dependent on how I go about mounting the solar panel frame in the front, as that would need to be easily removable in order for this idea to really be feasible out in the backcountry.
I’m using Loctite Threadlocker 242 on these bolts, as I want to make sure none of this stuff comes loose while driving over rough roads, etc.
Install Rivet Nuts In Solar Panel Frame
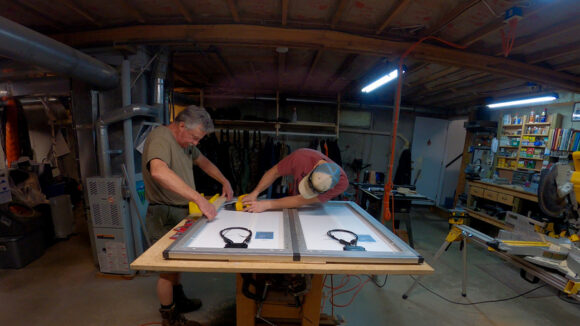
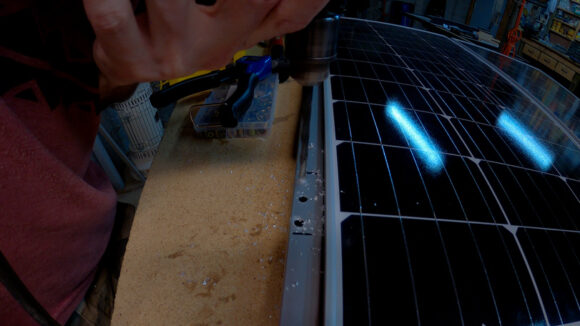
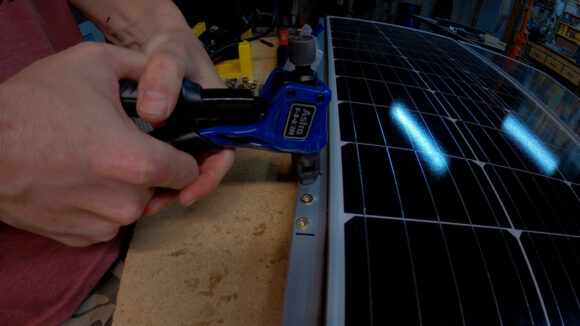
Next, I’ll need to fasten the hinges to the solar panels. I drilled some holes in the solar panel frame and mounted a few rivet nuts. This will give me a female thread to thread into when it’s time to mount the hinges to the frame.
Run Solar Panel Wires Through Roof
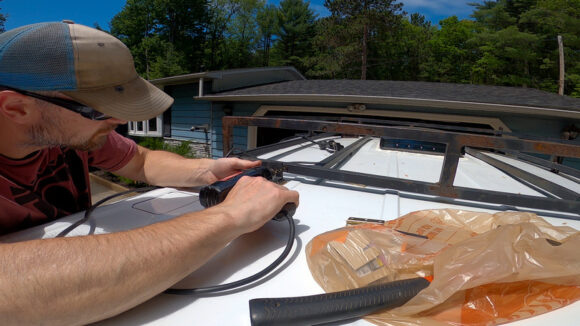
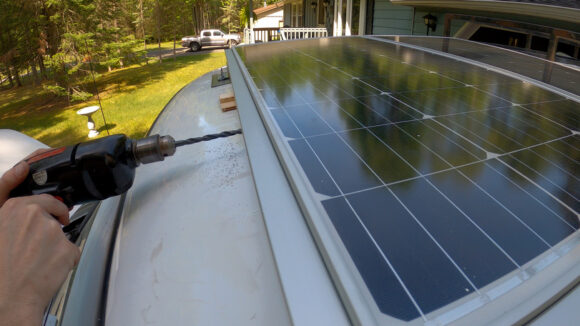
Before I mount the solar panel frame to the roof rack, I’ll want to run my solar panel wires up here through the roof while I have unrestricted access. I drill holes through the roof and use rubber grommets to line the holes with. This will protect the wires from the sharp edges of the metal.
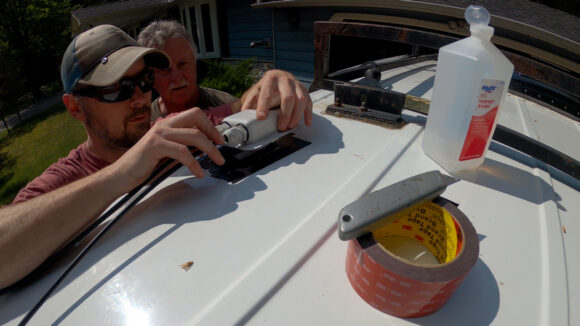
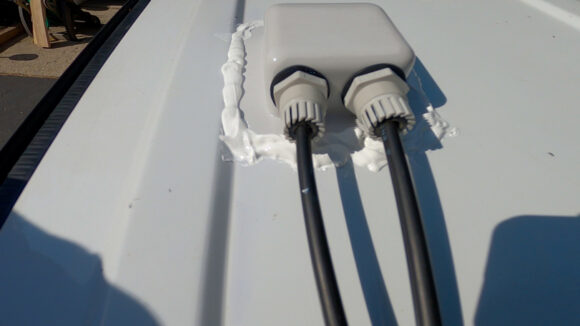
Next, I use this Solar Panel Wire Roof Entry Port thing. It’s a little plastic housing that fits over the holes I cut through the roof for the solar panel wires, and basically makes the whole thing waterproof. I run my wires up through the roof, through the entry port thing and out of the little holes on the housing. I can then twist the little connector pieces to tighten up the seal and make the connection waterproof. I use double-sided 3M VHB tape to connect the housing to the roof. I set the housing on the tape and it forms a rgeat bond. I trim up the excess tape outside of the edges of the housing, and lay some Sikaflex-715 down over the edges of the housing for a fully waterproof seal. I hope.
Attach Solar Panel Frame To Roof Rack Hinges
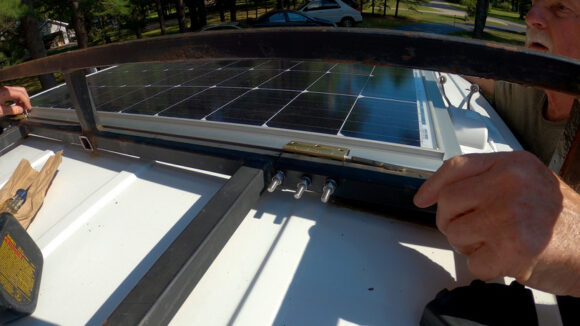
Now it’s time to connect the solar panels to the roof rack. At this point, it’s just a matter of lining up the holes of the hinges with the rivet nuts on the solar panel frame. As with the other bolts from the hinges to the roof rack, I’m using Loctite Threadlocker 242.
Making Metal Brackets For Mounting Front of Solar Panel Frame
Next, I start the most complicated part of the solar panel mounting system, and the part that has me a little nervous; the mounting brackets for the front of the solar panels. Since the panels are well secured to the roof rack in the rear, I just need to think about securing them in the front. For some reason, I had it in my mind that I was NOT going to drill through my roof to mount my solar panels. I don’t know why, since I’ve drilled through the roof already for the Maxx Fan Installation and running the solar panel wires through. Either way, I was fixated on coming up with a no-drill solution. I found some mounting brackets online that fit around the edges of he panels, but they are supposed to be used when mounting to a flat roof, not a curved roof like mine. None of the products on the market, that I could find, seemed to jump out at me as a good fit for me and my van. So, I decided to make my own mounting brackets for the front.
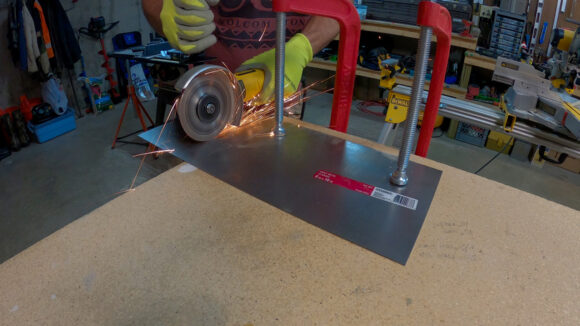
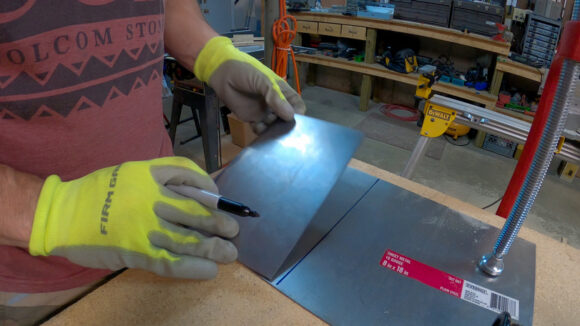
I settled on 16 gauge sheet metal to make the bottom side of my mounting bracket. A large surface area is key to my plan here. I’m going with a size of roughly 4″x8″. So, I’ll need to cut down this piece of sheet metal to size. First, I tried using my miter saw with a metal cutting blade. I was getting nowhere. I eventually switched to my angle grinder and a Metal Cutting Diamond Blade. This did the trick and I was able to make the cut. Then, I used the piece I just cut to trace out another piece for the second bracket.
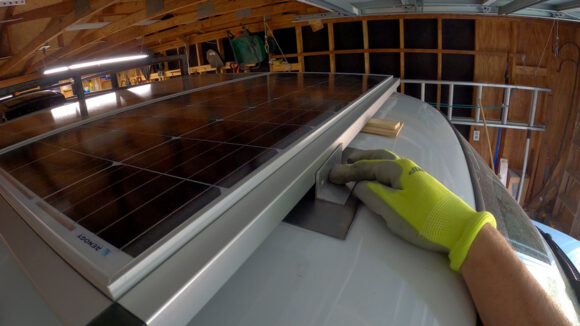
Next, I take my 4″x8″ sheet metal squares outside and place them under my solar panel frame to get an idea of where I’ll ultimately put them. I cut a piece of angle aluminum about 3 inches wide and place that on top of my 16 gauge sheet metal rectangles. Now, you can see the bracket idea coming together.
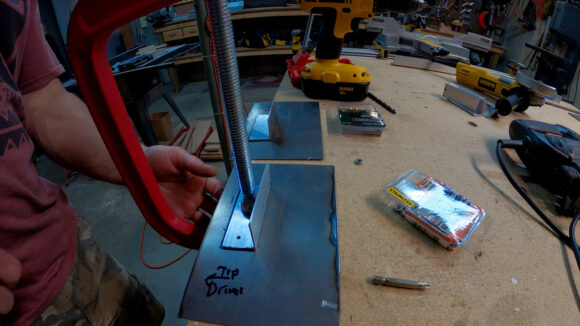
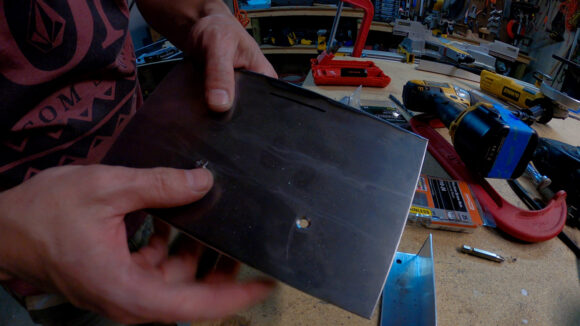
Next, I clamp the angle aluminum to the sheet metal and trace out a line where it will sit. I have pilot holes drilled through the angle aluminum, which allow me to mark the sheet metal underneath. Then, I drill holes through the sheet metal. On the bottom side of the plate, I use a countersinking bit to drill out a conical shaped divot into the sheet metal. This allows the screw heads to sit flush with the sheet metal plate. This is important, because this bottom side will be mounted to the van roof.
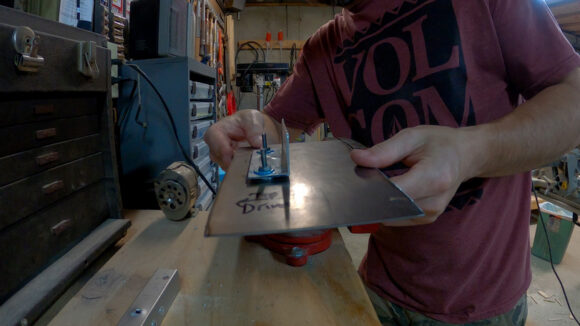
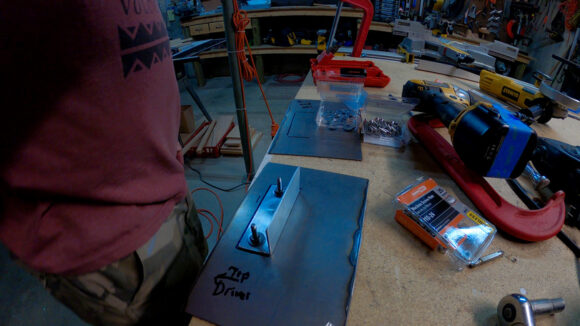
Now it’s time to attach the angle aluminum to the sheet metal. I’ll run a screw through the bottom of the sheet metal and up through the angle aluminum that’s sitting on top. I use a washer, nut and Loctite Threadlocker 242 to fasten the angle aluminum to the sheet metal.
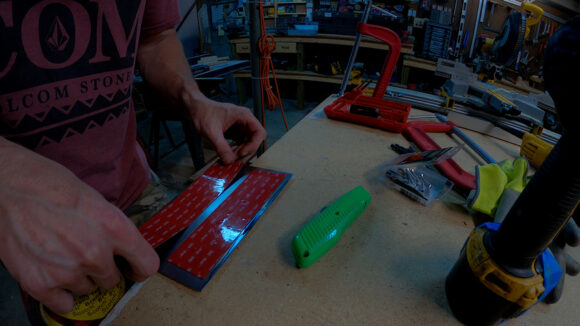
Finally, I add 3M VHB tape to the bottom of the brackets. When it’s time to attach the brackets to the roof, I’ll also be using construction adhesive in between the strips of tape in an attempt to achieve the strongest possible bond.
Attach Solar Panel Wires To Solar Panels
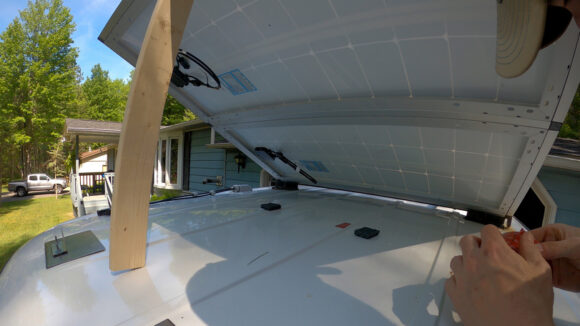
The little black things in the middle of the roof are a thick rubberized mat material. I’m taping these to the roof with VHB tape to give the panels some support in the center and to prevent sagging
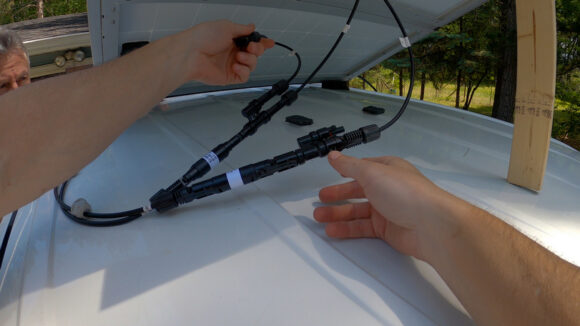
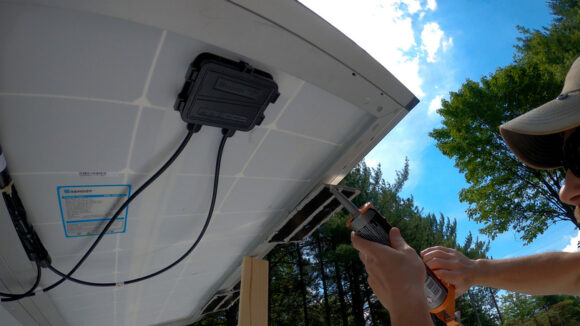
Before I mount these solar panels in place, I’ll finish attaching the wires that I ran from inside of the van to the panels. These go to my DC to DC Charger, which I will be installing in the near future. For now, these connections are easy, they just plug in to each other. I’m using a Renogy 20a Inline Fuse here in between the Renogy 20FT 10AWG Solar Extension Cables and the Solar Panel Y Branch Connectors.
Fasten Metal Brackets to Solar Panel Frame
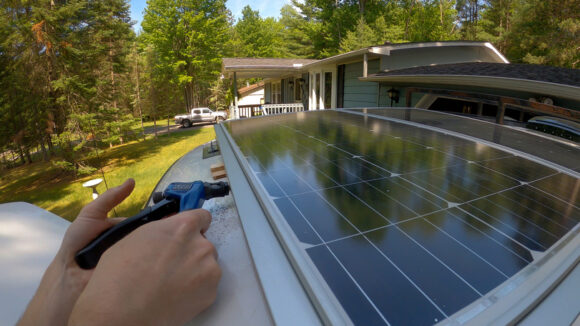
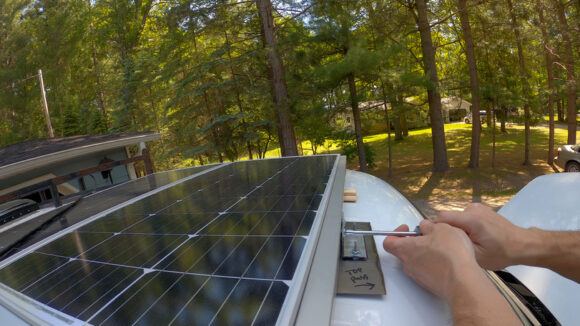
Next, I’ll mount the brackets to the solar panel frame. I’ll need to drill some hoes in the frame and install some rivet nuts. Once that’s done, I screw the brackets into the rivet nuts on the solar panel frame.
Secure Metal Bracket (Underside) To Roof With Tape & Adhesives
Now I’ll mount the brackets to the roof. It’s time to take off the VHB tape and add a bead of PL Max construction adhesive to the strips I left in between the tape. I figure, this will add a different type of bond to the mix, and also provide a waterproof layer around the VHB tape, perhaps protecting it over time. Before setting the bracket down on the roof, I’ll clean it up again one last time with rubbing alcohol.
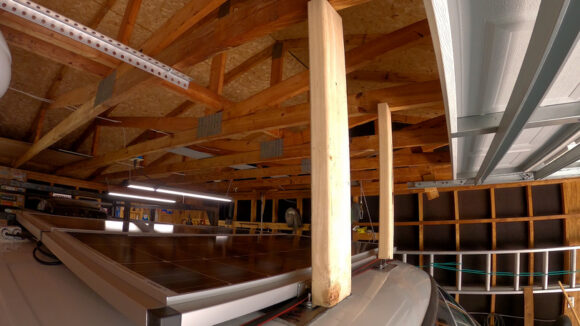
With the down on the down on the roof, I move the van into the garage and sue some 4×4’s to press down on the brackets, providing constant pressure while the construction adhesive cures. I’ll let this sit overnight like this before coming back to it.
Secure Metal Bracket (Top Side) To Roof With Tape & Adhesives
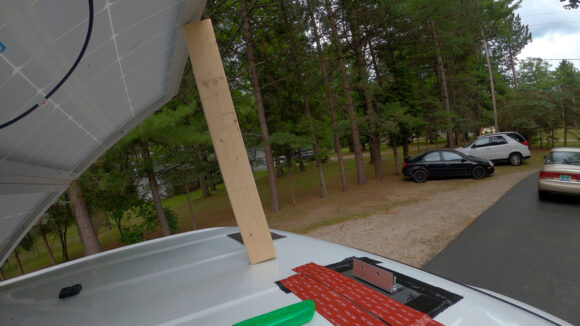
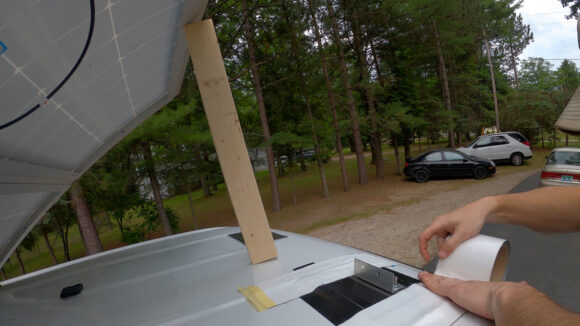
The last step is an important one. While it’s possible that the VHB tape and construction adhesive from the previous step might be enough to secure these solar panels at highway speeds, there is no way I would chance that. There is still much more I can do here to make sure these brackets are secured to the roof firmly and that it’s going to be safe to drive. I’ll be adding a few more layers of tape over the brackets now. I’ll be trying to cover a large surface area, which is key to creating a a lot of holding power.
Firstly, I add a few more layers of 3M VHB tape. First I go around the perimeter of the bracket, covering the edges, then I run longer strips across the top. I can already feel how strong this is.
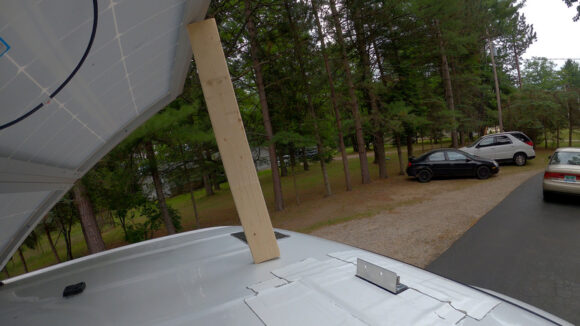
Lastly, I add a few layers of this Heavy Duty Waterproof Rubberized Roof Tape over the VHB tape. This stuff is very thick and very strong. It’s used for patching roof leaks on RVs, and similar heavy duty repairs. I make sure to overlap all of the VHB tape I have applied, and run a few layers over each other.
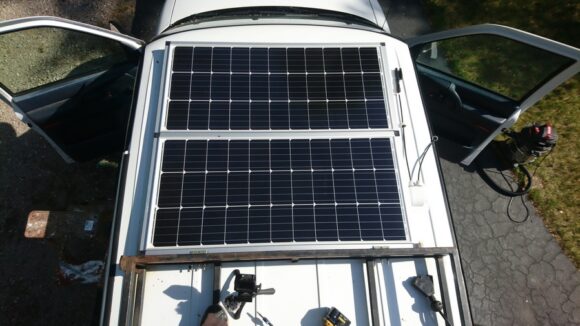
Now, all I have to do is set the solar panels down and screw the frame to the bracket. I’ll use Loctite Threadlocker 242 for this. Solar panels, done.
One more thing: If I can figure out a “quick connect” system for attaching the solar panels to the brackets, instead of screws with Threadlocker, I might be more inclined to disconnect the panels from the front brackets and adjust the angle of the panels using the hinges in the rear to follow the sun during extended stays at backcountry campsites. Because I spend most of my time in the West, where it’s always sunny, I don’t even need to bother with adjusting the angle of the panels because there is already so many hours a day of full sunlight. However, I might be more tempted to pursue this quick connect idea if I were going to be spending more time in places that had less sunlight, where one needs to maximize any any all sunlight available.
**Update:
It’s been 15 months now and 20k miles of driving, and I have had ZERO issues with my solar panel mounting system. I’ve never had the brackets come off or come loose, never had a close call or anything. Nothing is peeling or deteriorating. I have driven the van up to 85 MPH and the brackets have held strong. This system WORKS!
Previous Van Build Project: 8 – Lithium Battery | DIY Stealth Camper Van Build Index | Next Van Build Project: 10 – Electrical Wiring





Leave a Reply