Chevy Astro Camper Van Build: Lithium Battery
Chevy Astro Camper Van Build Phase 8: Lithium Battery
Tools & Materials
Materials
100a Lithium Battery
Adjustable Heavy Duty Rope Hangers
Spax Construction Screws
Screw Eye
Tools
Dewalt Cordless Impact Driver
1/4″ Drive Quick Release Bit Extension
Craftsman 3/8 Drive Drill
Dewalt Compound Miter Saw
Video – Chevy Astro Camper Van Build: Lithium Battery
Project Overview: Lithium Battery
This is a smaller project in the grand scheme of the van build, but it’s an important step: install the battery.
There are two main kinds of batteries used in van builds; AGM and Lithium. AGM batteries are cheaper, heavier and can only be discharged to 50% of their capacity before causing damage to the cells. Lithium batteries are more expensive, lighter, last 3-5x longer and can be discharged to almost 100% of capacity. The biggest drawback of lithium compared to AGM is that lithium batteries don’t handle cold weather as well. Otherwise, the lithium batteries seem like the best option for me, so that’s what I went with. Besides, I won’t be spending much time in freezing temperatures anyways, I generally seek warm weather, especially in my van.
Choosing A Mounting Location
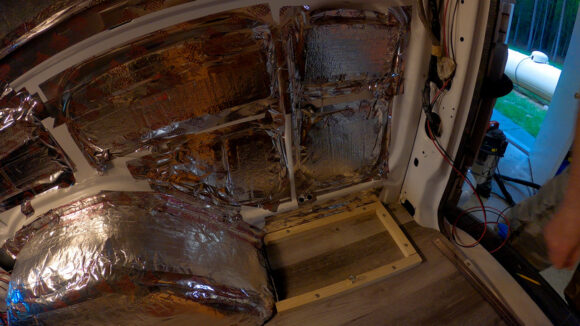
I chose to mount the battery in between the passenger side rear wheel well and the back of the van. This is where I plan to put all of the electrical components, so it makes sense to put the battery here too. The battery, and all of the electrical components, will fit into an enclosure that I’m calling “the power center”, which I’ll be building in the near future.
Building a Wooden Base
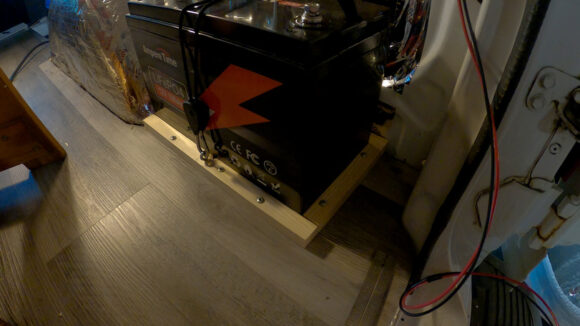
To mount and secure my lithium battery, I cut some 3/4″ square strips of wood to screw into the floor around the perimeter of the battery. I used spax construction screws for this. The wood prevents the base of the battery from moving.
Tying Down The Battery

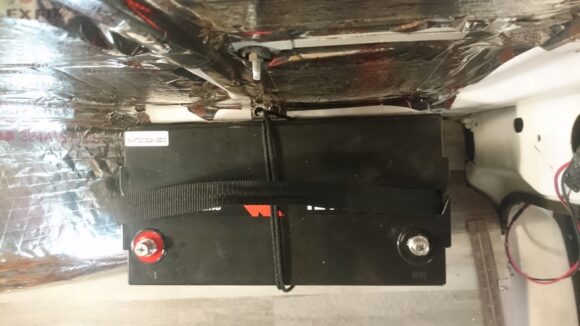
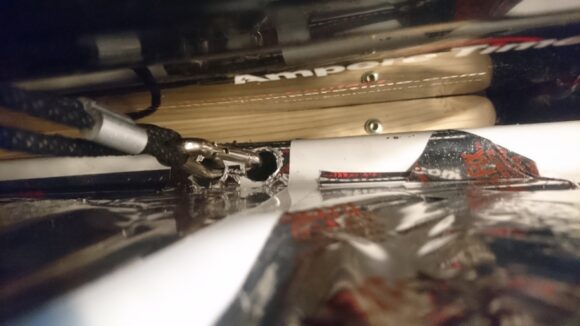
Top view. Notice the two holes in the metal wall. The carabiner is clipped in here through these holes
Even with the base, the battery is still top-heavy, and liable to tip over. It will work best in connection with a tie down system. I used adjustable rope hangers for this. Aligned with the center of the battery, I drilled two 1/4″ or so holes into a raised metal part of the wall behind the battery. On the opposite side of the battery, I drilled a pilot hole into the wood along the base of the battery, and screwed a screw eye into it. the adjustable rope hangers have carabiners on both sides. So, I attached a carabiner through the two holes in the metal wall behind the battery, ran the rope over the battery, and attached the carabiner to the screw eye. Then, I pulled up the tension in the rope and ratcheted it tightly. There’s a little tab on the side of the pulley/ratchet that is depressed to release the tension on the rope and remove he battery, when needed.
That’s it, the battery is in. Soon, things will be connected to it!
Previous Van Build Post: 7 – Pull Out Slat Bed | DIY Stealth Camper Van Build Index | Next Van Build Post: 9 – Solar Panels


Leave a Reply