Chevy Astro Camper Van Build: Insulation
Chevy Astro Camper Van Build Phase 3: Insulation
Tools & Materials
Materials
Frost King Duct Insulation, Natural Cotton
Refelctix Tape
Builders Paper
Painter’s Tape
Tools
Scissors
Box Cutters
Putty Knife
Drywall Square
Tape Measure
Video – Chevy Astro Camper Van Build: Insulation
Flooring Insulation Video
Walls & Ceiling Insulation Video
When I made my Van Build video series for youtube, I decided to put split up the insulation footage over two episodes, one for the Flooring and one for the Walls & Ceiling. Both of these require insulation under/beneath them, and I chose to include footage of the insulation for those surface in their respective videos. This was just easier for me from a video production standpoint, but here on my website, I can dedicate this section just to insulation. Below are the videos for both Flooring and Insulation, you’ll need to watch both to watch the entire insulation process.
Project Overview: Insulation
Insulation is another major decision for any van build. Insulation keeps the van cooler in direct sunlight on hot days, and warmer in cooler temps when you want to retain heat. The insulation layer will go in-between the walls and wall panels, and in between the floor and subfloor. There are many different ways to do insulation, there are different approaches and different materials that can be used.
Some of the major insulation materials used in van builds:
Polyiso Rigid Board
XPS Rigid Board
Recycled Cotton/Radiant Barrier
Reflectix
Spray Foam
Rockwool
Thinsulate
Like most things on this van build, cost was somewhat of a factor in my decision. There are some top-of-the-line options that would perform very well, like the thinsulate, but the cost is too high for my build. If I had a 100k van, I would be looking at it differently, but this van is destined to be a budget build, to some extent.
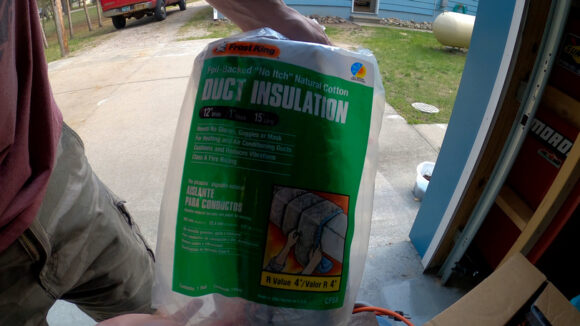
There was a product on the market called UltraTouch Radiant Barrier which I wanted to use, but Home Depot stopped carrying it and I couldn’t find it. Then, I found the Frost King Duct Insulation, which is basically the same thing is the UltraTouch; recycled cotton attached to a foil backing. The foil acts as a radiant barrier, while the recycled cotton acts as an insulator and sound dampener. The only real downside of this stuff is that it would hold moisture if it gets wet, but I generally operate in very dry regions. Because it’s cheap and easy to get, I’m going with the Frost King Duct insulation.
I’ll use the Frost King insulation underneath the flooring as the only layer of insulation. On the walls, there are areas that are recessed and could easily fit extra insulation, and much of the wall will need to be “built out” a bit anyways. This means more room underneath for insulation. So, for the walls and ceilings, I’ll use the Frost King duct insulation as a radiant barrier/insulator, and put a layer of polyiso board on top of that.
Insulation Under Flooring
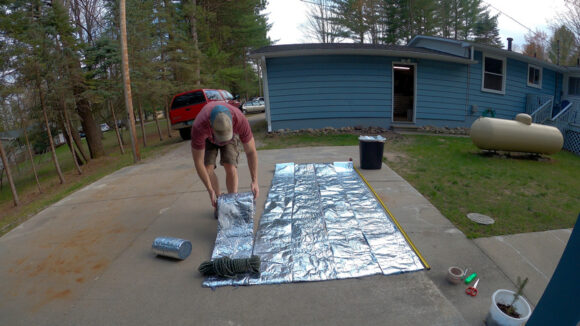
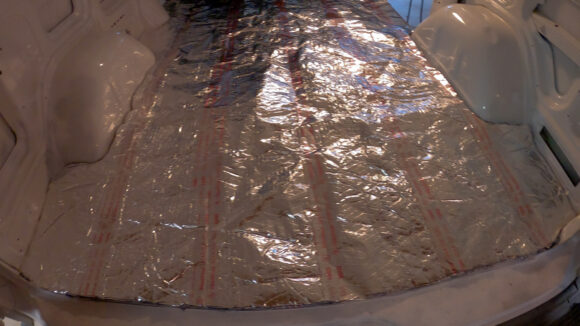
The main issue with the Frist King Duct insulation is that it only comes in rolls of 1’x15′. To use them, I’ll need to lay out 5 rolls alongside each other and tape them together with Refelctix Tape, forming one big piece. Can do.
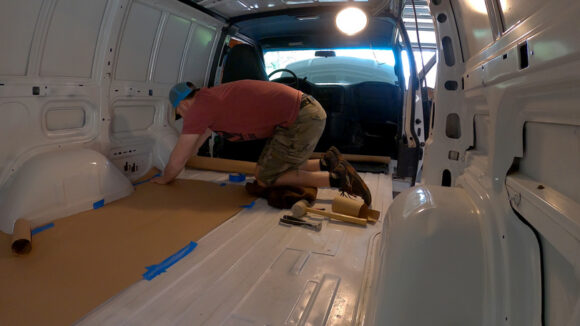
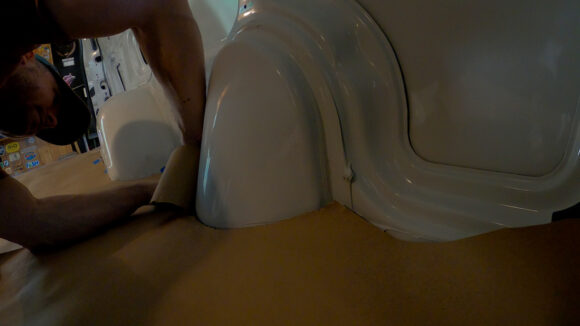
Now that I have my Frost king insulation laid out and taped together, I’ll need to make a template of my van’s floor. I can use this template to trace out a line over the insulation, so I can cut it all as one solid piece. To make the template, I tape builders paper over the van floor with painter’s tape. It takes several pieces of overlapping builders tape to cover the entire floor, but the painters tape holds the template together.
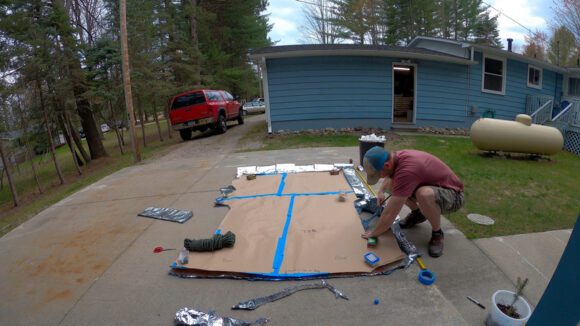
Next, I lay the template over the insulation, use painters tape to hold it in place, and trace along the edges with a permanent marker. Then I cut along the line with a pair of scissors and cut my insulation to the shape of my van’s floor.
With my flooring insulation cut, it’s easy to slide it into the van and test the fit. Trim as needed… you cut it a little on the big side, right?
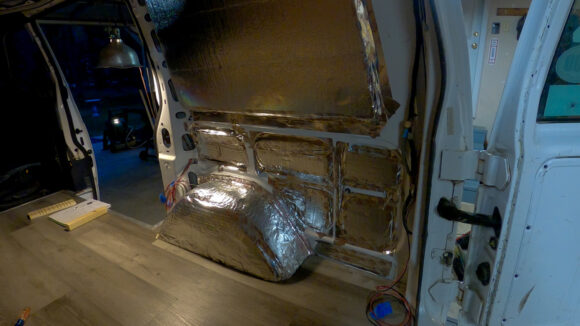
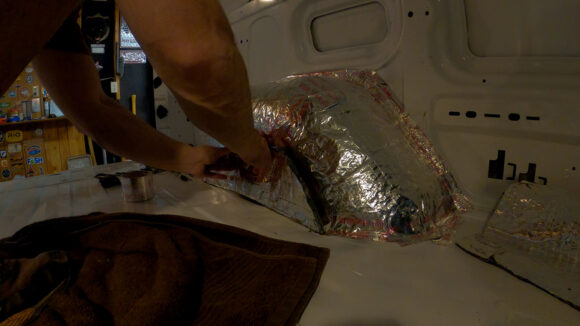
I’m adding insulation to the wheel wells now while I do the floor, since I’ll do my flooring before I do most of my wall insulation. I cut out strips of the Frost King duct insulation and tape them over the well well with reflectix tape. I can see this making a big difference to dampen road noise, not just over the wheel wells, but throughout the van.
Radiant Barrier Insulation Under Walls & Ceiling
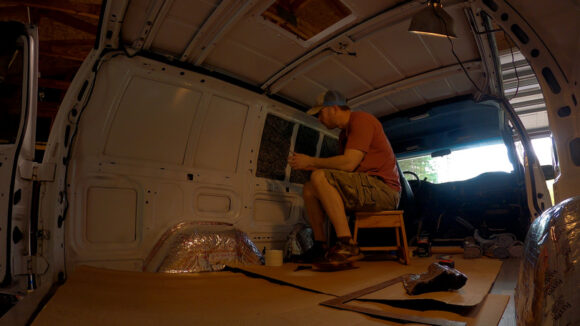
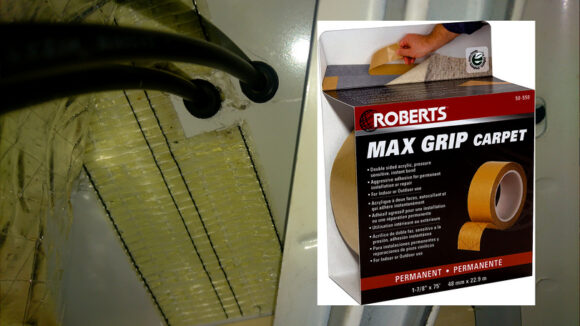
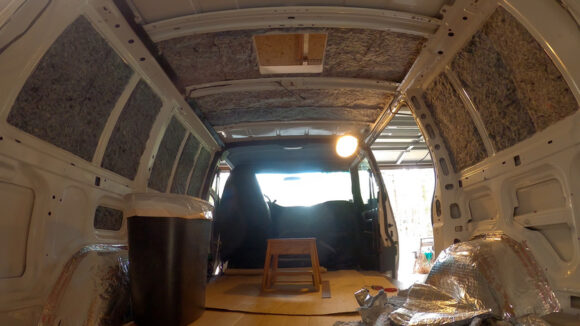
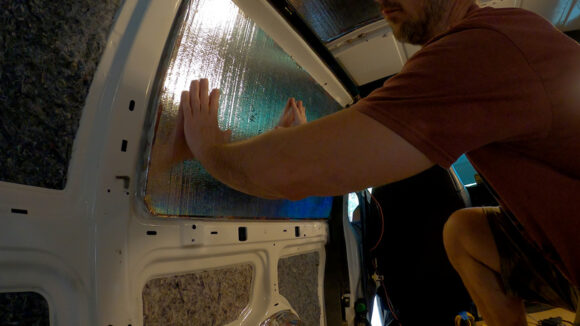
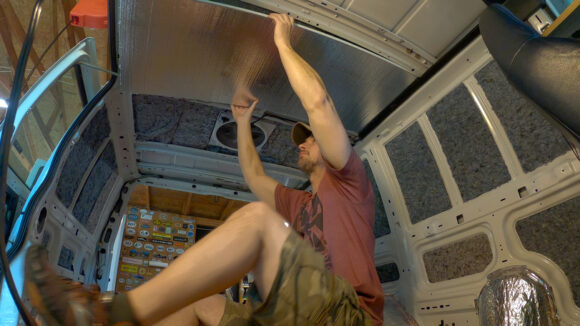
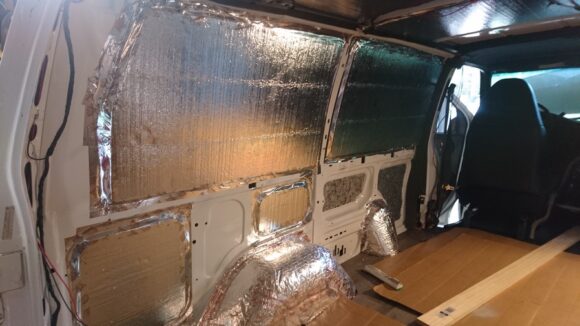
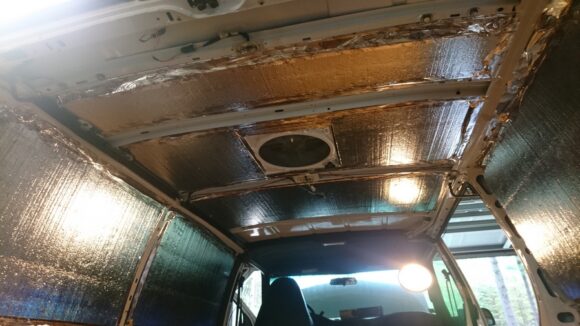
Putting up the Frost King insulation on the walls is pretty easy. I used double-sided carpet tape for this. It sticks really well to the walls of the van, and sticks well to the foil side of the insulation. I cut the carpet tape to strips that attach the edges of the insulation and just press it into place on the wall. Easy.
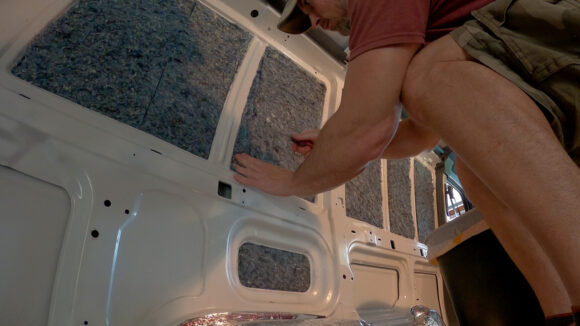
I’m installing the Frost King insulation on the inside of all of the panels that are recessed into the walls
Most of the surface area of the wall covers an odd-shaped size, so almost every piece requires cutting and a custom fit. Such is the nature of a van build, it seems everything I touch needs a custom fit.
PolyIso Foam Board Over Radiant Barrier
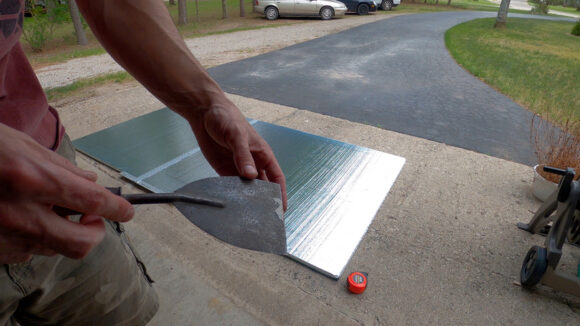
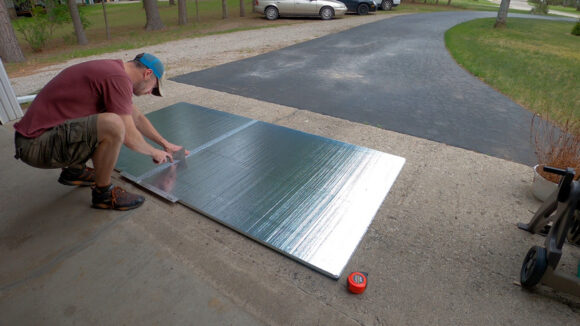
Now it’s time to start cutting the polyiso board. After some google searching for how to cut polyiso, it appears that the side of a putty knife is one of the better tools for the job. First score the line, then cut deeper.
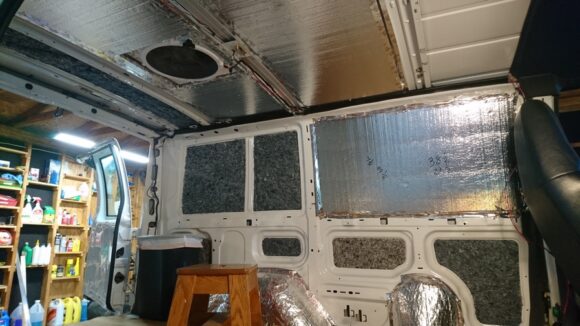
Now i’ll fit the polyiso board over my radiant barrier, in-between the beams on the roof and in-between he recessed areas of the walls. The polyiso board and the beams will sit flush with each other when it’s all taped down. i’m using this reflectix tape to attach the polyiso to the van.
I’m also going to go around the edges of the polyiso board with some reflectix tape. it’s basically Styrofoam in-between the outer foil layers, and I don’t want tiny pieces of Styrofoam crumbling away, making a mess later on.
That’s it for the insulation. I wasn’t incredibly anal about my insulation process, filling all the pillars and such with spray foam, etc. I want to be able to access the inside of those pillars to runs wires, etc in the future, and spray foam just seems like a big mess for anything you do in the future. Either way, the an is really starting to come along now with he insulation up. Next, I’ll install the flooring.
Previous Van Build Post: 2 – Maxx Fan Installation | DIY Stealth Camper Van Build Index | Next Van Build Post: 4 – Vinyl Plank Flooring



Leave a Reply