Chevy Astro Camper Van Build: Flooring
Chevy Astro Camper Van Build Phase 4: Flooring
Tools & Materials
Materials
Loctite PL Max Construction Adhesive
Sikaflex 715
Deck Screws
Spax Construction Screws
Angle Aluminum
Wood Furring Strips
Tools
Flooring Install Kit
Vinyl Snips
Circular Saw
Circular Saw Blade
Dewalt Compound Miter Saw
Countersink Bit Set
Dewalt Cordless Impact Driver
1/4″ Drive Quick Release Bit Extension
Scissors
Box Cutters
Saw Horses
Video – Chevy Astro Camper Van Build: Flooring
When I made my Van Build video series for youtube, I decided to put split up the insulation footage over two episodes, one for the Flooring and one for the Walls & Ceilings. Both of these require insulation under/beneath them, and I chose to include footage of the insulation process for those surface in their respective videos. This was just easier for me from a video production standpoint, but here on my website, I can dedicate this section just to insulation. Below are the videos for both Flooring and Insulation, you’ll need to watch both to watch the entire insulation process, if that’s what you’re looking to do.
Project Overview: Flooring
The flooring phase consists of two main parts: installing the subfloor and installing the flooring material. The concept here is the same a it would be for doing flooring in a house .The subfloor provides the flat, smooth surface that the flooring will ultimately sit on. Most people are using plywood for the subfloor, which I will do as well. This will need to be fastened to the van, which means drilling holes through the subfloor and into/through the van’s metal floor. Deck screws are good for this.
Choosing a flooring material for your van build will likely take multiple things into consideration. Durability, looks, waterproofness, ease of cleaning, ease of repairing/replacing, price and availability.
Common types of flooring in van builds:
Sheet Vinyl
Interlocking Vinyl Planks
Stick-On Tiles
Rubber Flooring
Linoleum
Laminate Planks
I’ve chosen the vinyl planks for my flooring material. They are waterproof (so they say), easy to clean, durable, possible to replace part of the floor individually as needed, and they look great. The floor is a small space, so to me, the cost of choosing a high grade flooring product makes sense, for the look and utility it provides.
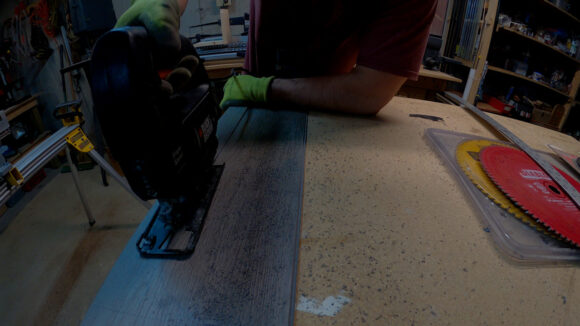
I’ve installed vinyl flooring planks a few times before in houses. They are easy to install, but it’s a slow and tedious process. Custom cutting the planks to fit around things is very time consuming, and this part of the installation takes the most time. It’s fairly easy to cut, but you might find that it takes a variety of tools for different cuts. I used a miter saw and a jig saw frequently, as well as a bench grinder to grind away parts of the plank leaving a smooth, sounded shape.
Sub Floor Template
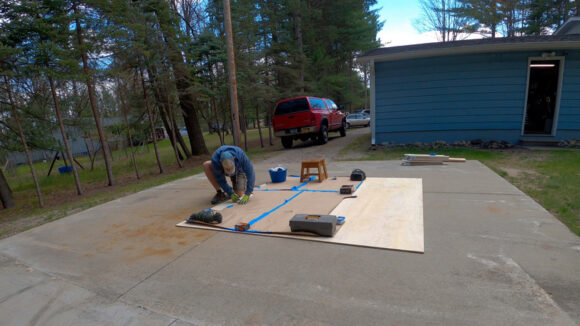
Fortunately, I can just use the same template I made to cut the insulation that goes under the subfloor here for the subfloor itself. A rare win in the van build project!
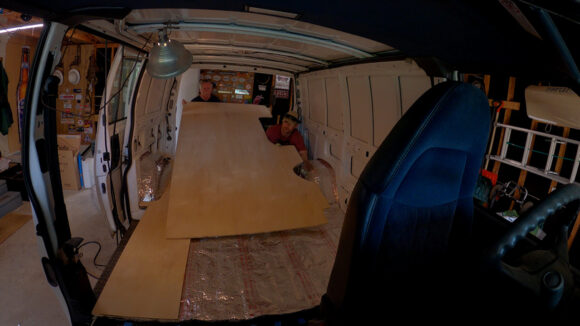
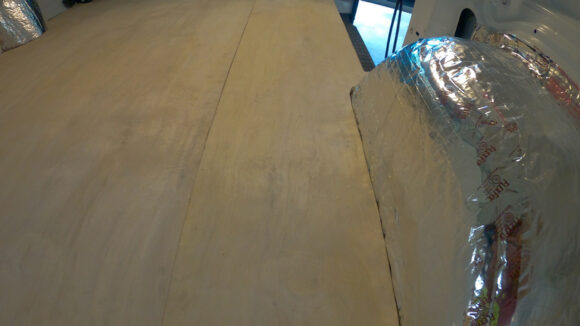
My van is wider than than a sheet a plywood though, so my subfloor will span two 4×8 sheets of plywood alongside each other. I’ll tape down the template to the wood so it doesn’t move, then I’ll go around and trace out a line on the plywood.
Cutting the Sub Floor
A lot van builds use 3/4″ plywood for the subfloor, but 1/2″ is plenty strong for how its being used here. The 1/2″ ply is cheaper, lighter and gives me a quarter inch more clearance. Hey, every little bit counts in a van this small.
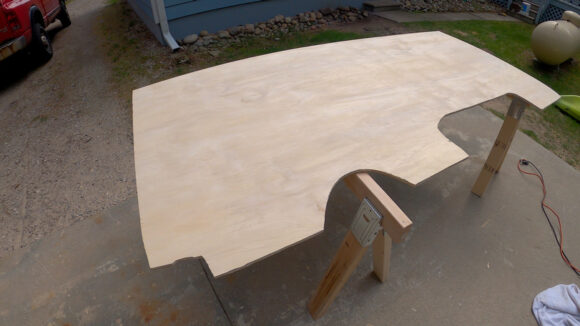
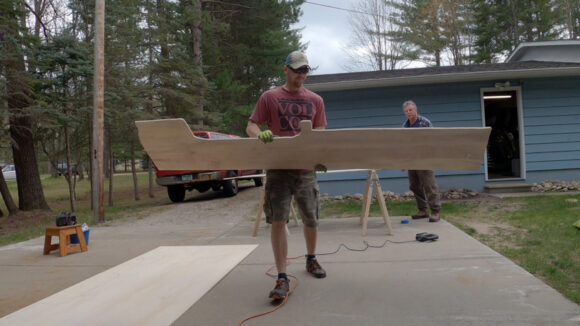
With my template traced out, it’s time to cut the plywood into my new subfloor. I place the plywood over a couple of saw horses and grab a jigsaw to make these cuts.
Furring Strips & Laying the Subfloor
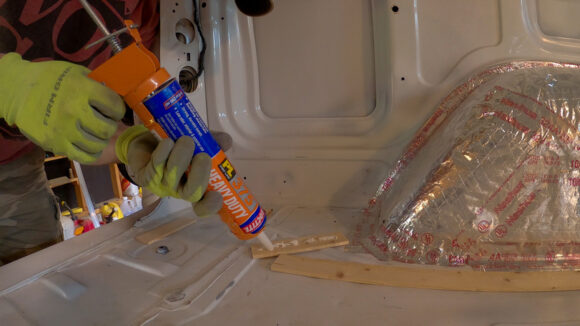
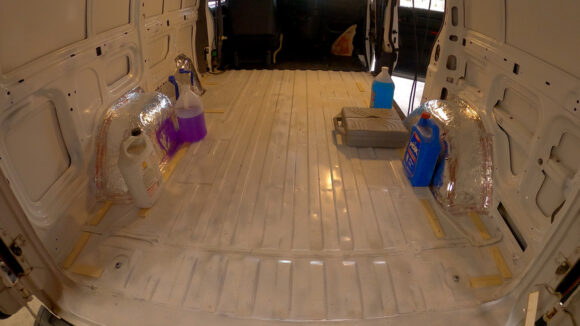
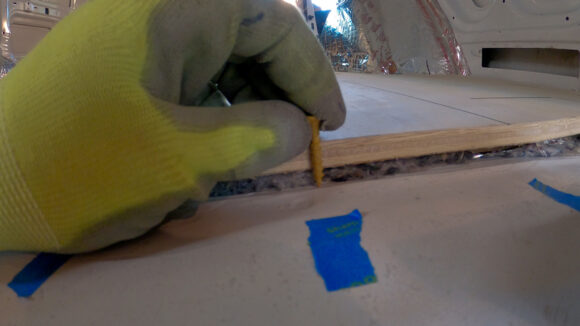
Adding furring strips to the edges of the van to match the height of the ribs running along the floor
Now if you’ll notice, the ribs running along the floor. There are no ribs along the edges though, and to avoid flex in the floor, I’ll add pieces of furring strips around the edge to make the floor even with the ribs. Now I’m ready to test fit the floor.
After the construction adhesive has cured and the furring strips are in place, I drop the insulation back in. Then, it’s time to lay the subfloor over the insulation. I’ve already test fitted the subfloor, and make the necessary trimming and cutting to fit, so it goes in smoothly at this point.
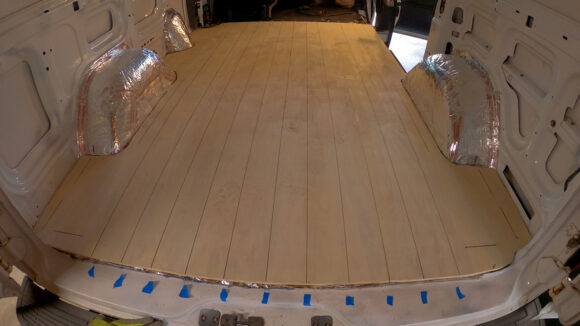
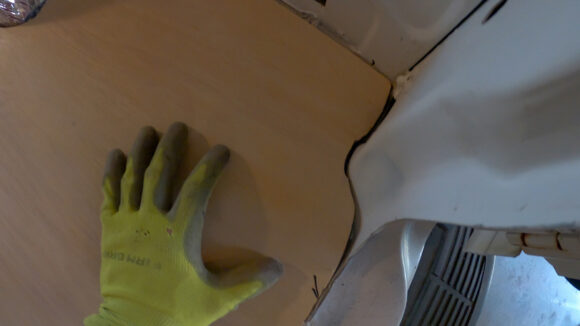
One key thing to remember about installing a subfloor is that there needs to be a gap around the edges of it to account for expansion. This should be about 1/4″ inch or so. You don’t want ANY part of your subfloor touching the walls, as this could start to cause issues with buckling of the floor under extreme expansion conditions (hot weather).
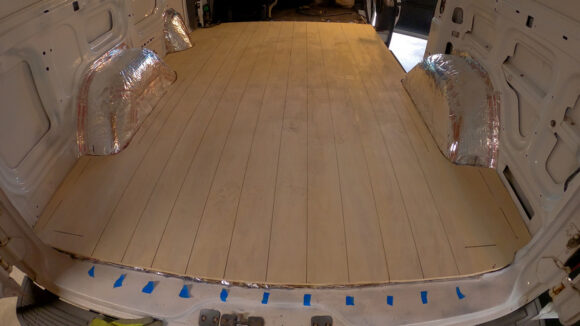
Painters tape marks the ribs along the floor, beneath the subfloor. This is where I’ll put my deck screws to fasten the subfloor down
Next, I added some pieces of painters tape at the back of the van, marking the ribs running along the floor underneath the subfloor. I will be putting my deck screws through the rubs to fasten the subfloor down, so I need to keep track of where these are at. It’s easy to see them from the back, that’s how I marked them in the first place. But what about in the middle, how will I keep that straight line, so my screws go into the ribs and don’t veer off into the valleys in-between the rubs? By tracing a line on the subfloor along the center of the ribs. With a line running along the length of the board that represents the center of the ribs, I can ensure every screw I put through the board hits its mark. All I need to do is line my screws up with the lines I’ve drawn. Simple.
Fastening the Subfloor
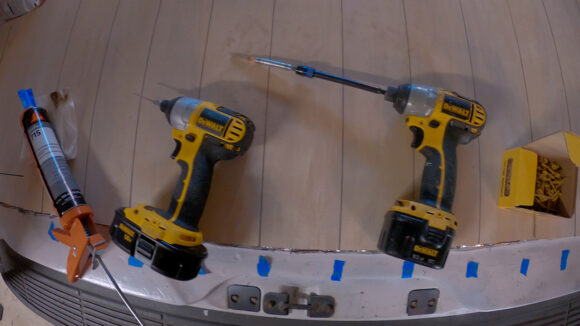
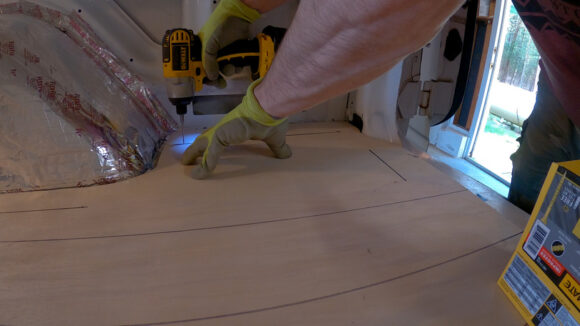
To fasten the subfloor down, I use two drills. One to drill pilot holes, the second to screw in the deck screws. I’m using 1 1/4″ exterior deck screws for this, and putting a screw in roughly every 10 inches or so. You could do more or less depending on your preference, but I would try not to space them out more than 12 inches apart. You’ll have less creaking and popping noises this way.
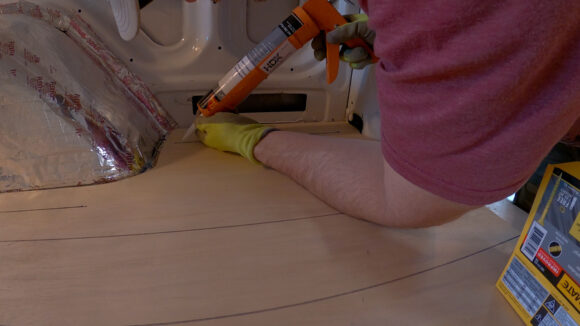
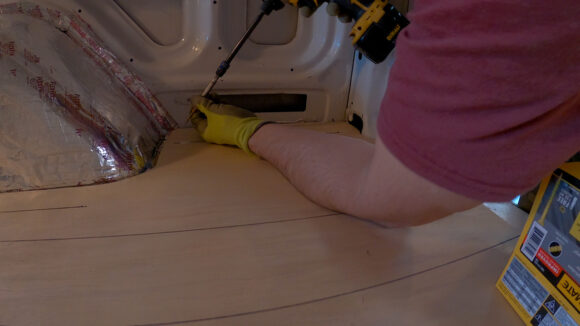
Overkill, but… I’m adding a dab of caulk in the screw holes, to (theoretically) seal the threads as they pass through the underside of the van
The three pictures above show the process for every screw. Drill a pilot hole, making sure it goes through the metal floor of the van, add a dab of Sikaflex to the screw hole, and put in a deck screw. There are a LOT of screws that go into fastening down the subfloor, so this will take some time.
Flooring Installation Tools
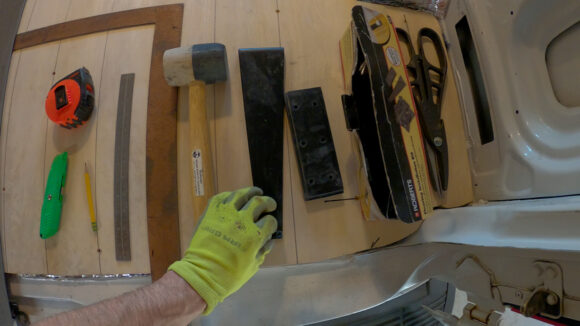
Installing the vinyl plank floor requires a few basic tools. A tape measure, ruler and/or square, pencil, rubber mallet, flooring install kit, a jigsaw and miter saw. You’ll notice the vinyl planks have the underlayment attached, which is a big bonus. Many vinyl planks are like that these days, but some planks don’t have the underlayment, and it’s something else you need to buy and install.
Vinyl Plank Flooring Layout
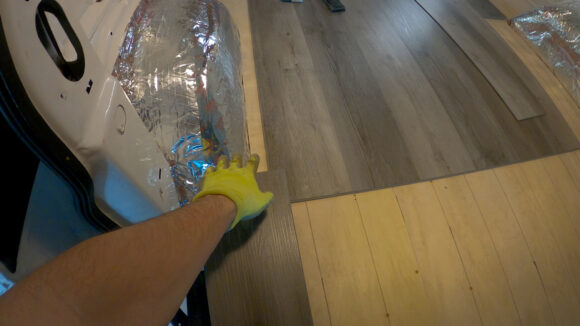
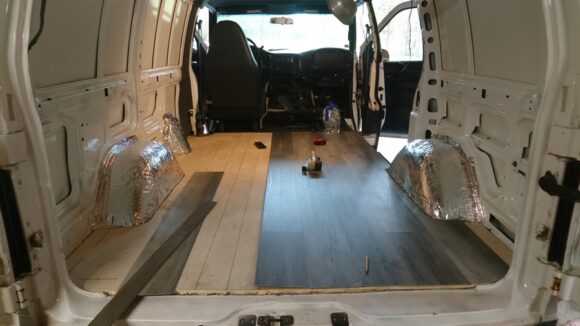
Test fitting the planks in the van. Always stagger your vinyl planks when doing the actual install, not side by side like they are shown here
When installing vinyl plank flooring, you need to give special consideration to the layout. There are a few things to consider. Firstly, layout your planks in the van, as many full pieces as you can. Then, center the planks in your space, so there is an even amount of gap between the planks and the walls. If the gap is only like 1-2″ on each side of the planks, then when you cut the planks for the outer edges, you’d be cutting the planks into thin strips. This not only looks bad, but the thin strips can be harder to keep in place over time, especially if the edges see any movement (sliding bins over them, etc). So, if you only have a thin gap between the walls and your planks, remove another plank. Center your planks, and measure your outer gaps… now your outer planks will not need to be cut so thin.
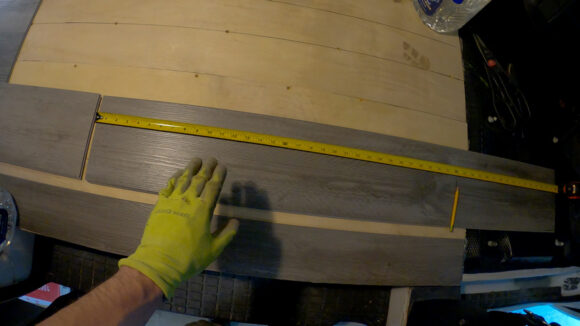
The other thing to consider when it comes to the layout of the floor is the rule of thirds. Divide the length of the vinyl plank into thirds (don’t cut them yet, just measure/mark with a pencil if needed). Now imagine you are placing the next row of planks alongside the plank you just laid. Instead of laying the planks right next to each other (like the photo above where I’m test fitting the planks), you’ll want to stagger them. Every third row, you’ll start with a full plank. But for the other two, this means trimming off 1/3 or 2/3 of a plank when starting a new row. The good news is that sometimes you can reuse the portions of the plank that you cut off on the other end of the floor, when you then need another piece that is up to 1/3 or 2/3 of a plank.
Why stagger your vinyl plank flooring? It helps prevent warpage, buckling and gaps. And if that’s not enough, it just looks better.
Vinyl Plank Flooring Installation
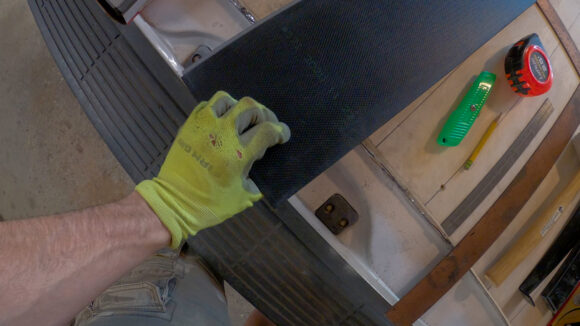
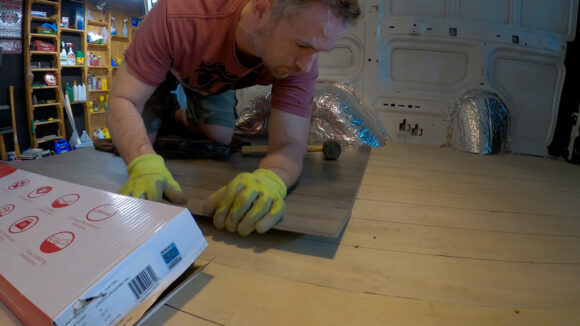
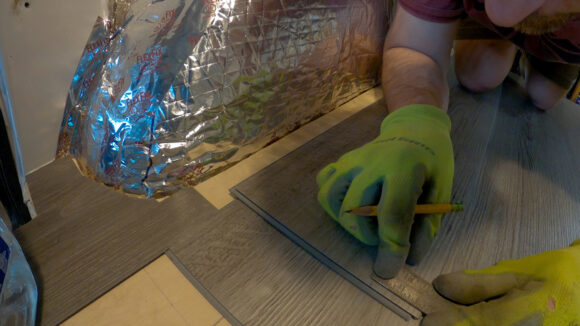
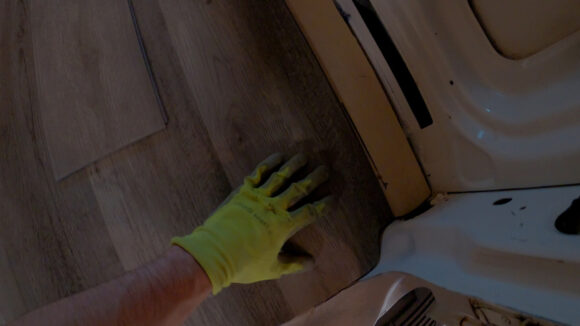
These interlocking planks are pretty self explanatory when you get them in your hands. One piece slides into the other piece, at a 45 degree angle, and then the pieces snap together. This usually takes some pressure. If it’s not enough by hand, and it usually isn’t, use a block of wood or plastic alongside the plank with a rubber mallet to tap them together. This is easier demonstrated by watching the video. The Flooring Installation Kit comes with a plastic block for this purpose. The purpose of the block is to spread the impact of the rubber mallet over a larger surface area, to protect the grooves that allow the planks to interlock with each other.
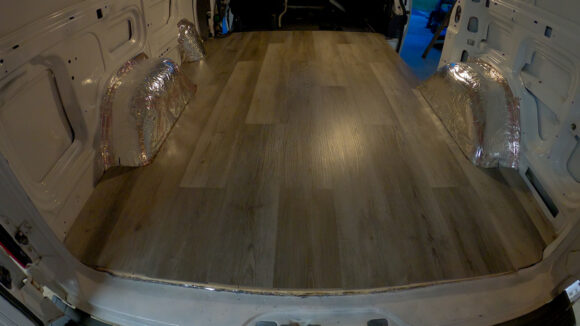
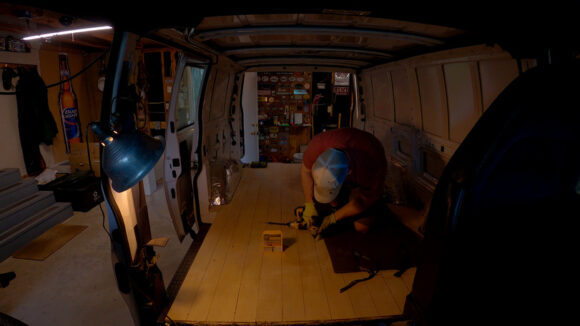
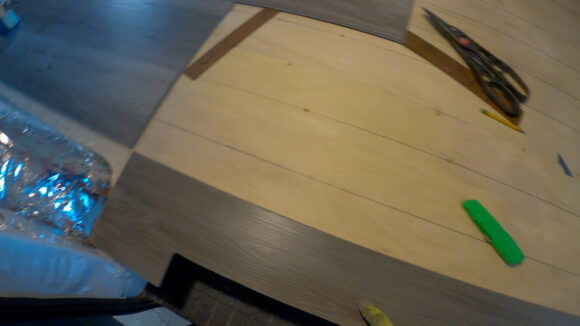
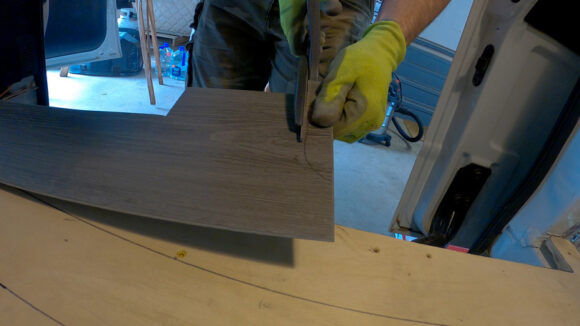
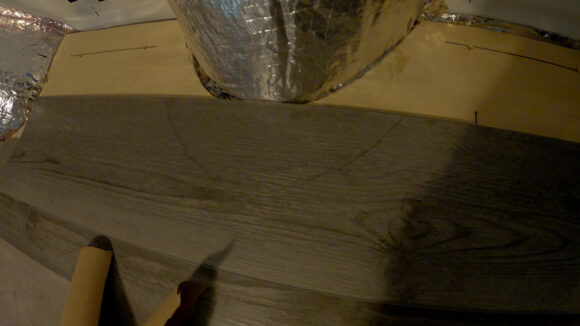
Start on one side and work your way to the opposite wall. Use paper templates to transfer contours of obstacles onto the planks. I used some vinyl snips for a rough cut, but they are not meant for clean cuts. Really, they weren’t that useful to me. I ended up making most of the rounded cuts with a jigsaw. Along the edges of the floor, every piece is a custom fit with many cuts required.
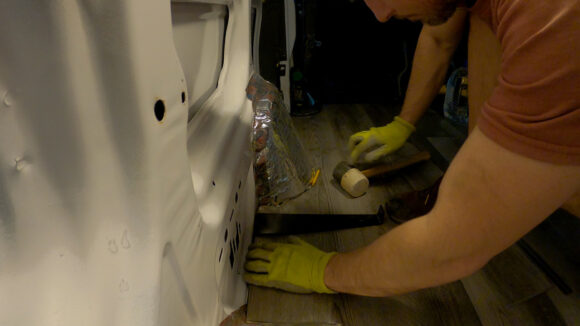
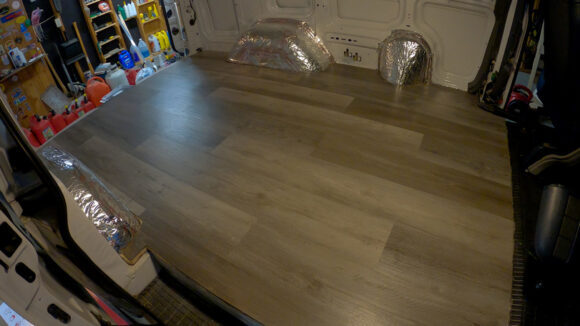
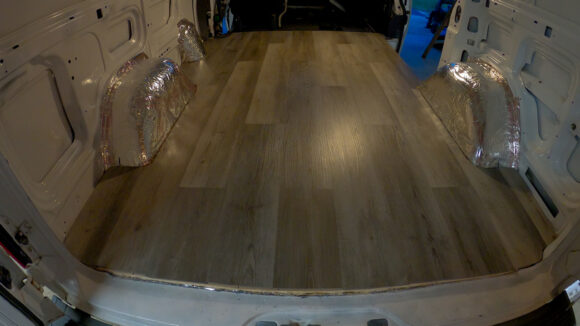
In the last photo, I’m installing the final piece of the flooring. You can see the black metal tool there, and that’s what is needed to be able to fully seat the planks in tight spaces. With the left side placed behind the edge of the plank, I’ll just tap the upward-facing metal tab on the right there with my mallet and this will pull the plank in, locking it in place with the adjoining plank.
Angle Aluminum For Flooring Threshold
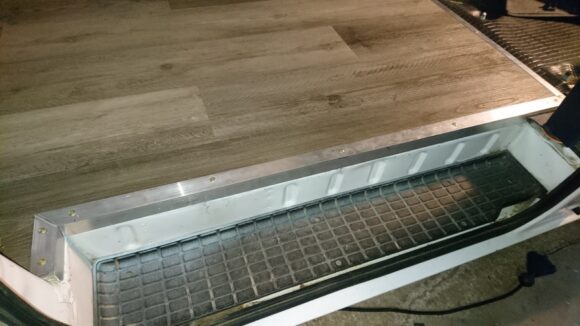
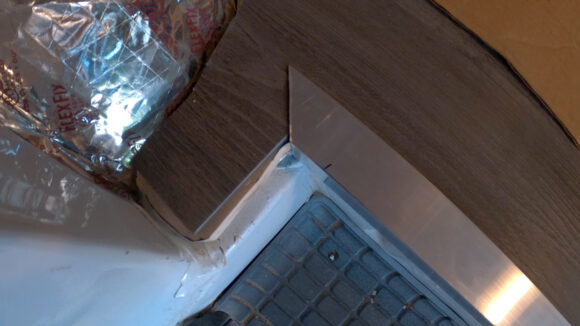
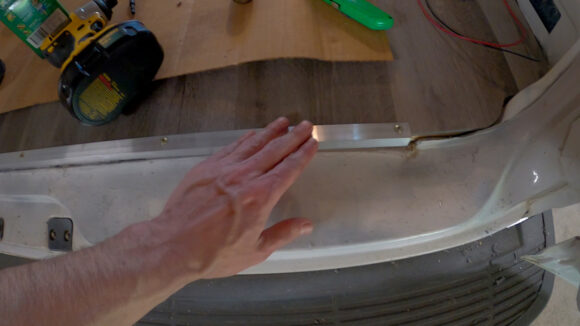
I use angle aluminum to make a threshold, finishing off the edges of the flooring. I cut it on a compound miter saw with a metal blade, but a hacksaw would also work. You’ll also want to file down the edges after cutting.
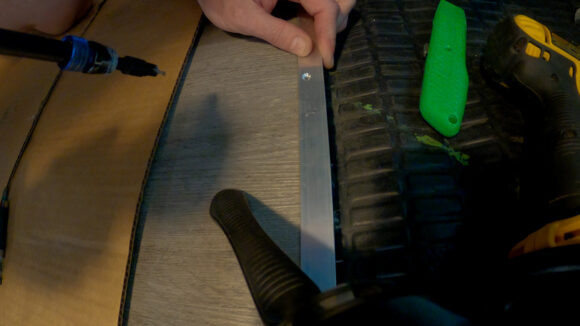
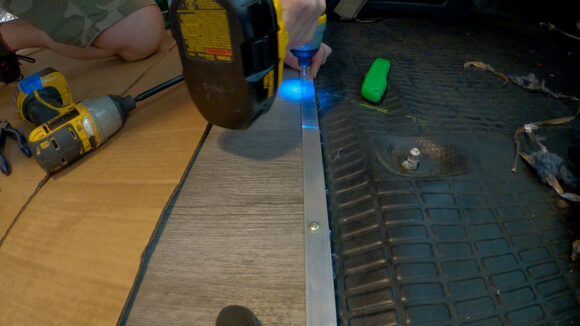
See the conical shaped indentation that the countersink bit created? This will allow my screws to fit flush on top of the threshold
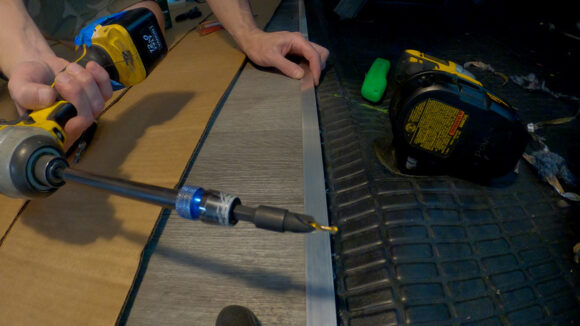
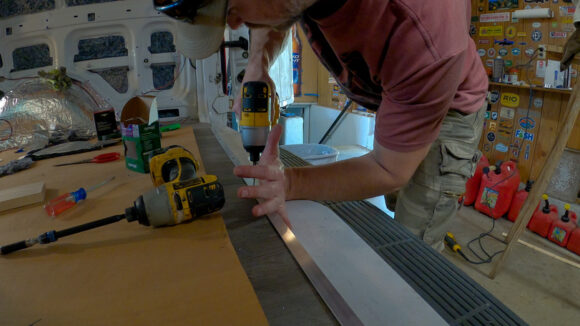
I’m drilling pilot holes, then using a countersink bit. The countersink bit creates a conical-shaped indentation in the aluminum for the bottom of the screw to fit into, so the screw sits flush on top of the aluminum. Then, I use 1 1/4″ Spax Construction Screws to screw down the threshold ever
Final Touches
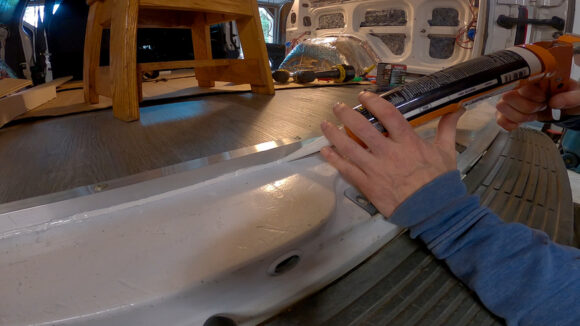
And the last thing I’ll do is use some Sikaflex-715 to run a bead of caulk along the bottom edge of my threshold, to prevent water from getting in underneath. That’s it, my van now has a floor!
Previous Van Build Post: 3 – Insulation | DIY Stealth Camper Van Build Index | Next Van Build Post: 5 – Cedar Plank Wall Installation




Leave a Reply