Chevy Astro Camper Van Build: Computer Monitor
Chevy Astro Camper Van Build Phase 16: Computer Monitor & Swivel Arm
Tools & Materials
Materials:
Gigabyte G27F Monitor
Swivel Arm For Monitor
Ratchet Straps w/ Carabiners
Tools:
Dewalt Cordless Impact Driver
1/4″ Drive Quick Release Bit Extension
Craftsman Socket Set
Craftsman 3/8 Drive Drill
Drill Bit Set
Tape Measure
Video – Chevy Astro Camper Van Build: Computer Monitor
Project Overview: Computer Monitor & Swivel Arm
I went with a computer monitor over a TV in my van, because I found the Gigabyte G27F Monitor which comes with a DC plug instead of AC. Perfect. I won’t have the features of a smart TV though, which is unfortunate. To counter that though, I’ll simply run an Android TV Box as my Media Center. More on the Media Center setup in the next phase of the build. It’s a 27″ 1080p monitor with built in speakers, 2 HDMI ports and 2 USB ports.
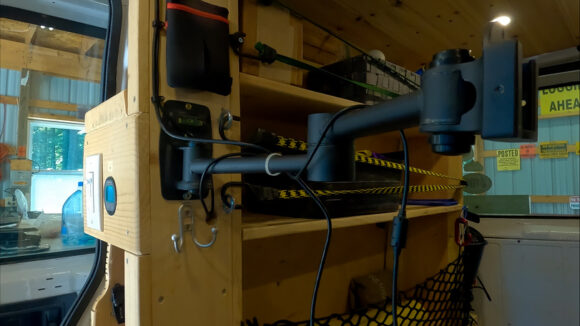
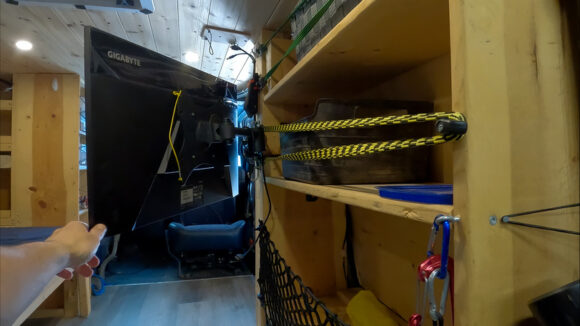
To mount the monitor in the van, I’ll use a swivel arm. It will be bolted to the reinforced, vertical frame of the shelving above the power center. Mounting the swivel arm here will allow me to swing the monitor towards every available angle in the van, and even outside of the van’s side door if I were standing outside.
TV vs Computer Monitor In A Campervan Build
You want to watch tv and movies, but also want a big monitor for your van’s work station. WFV, work from van. Well, most TVs use AC power, and would need an inverter to use in a van. You don’t want to do that. Inverters are only about 70% efficient, so the power draw becomes 130% more. This may not be a big deal for your setup, but ideally, you want to minimize the things you run off an inverter. They should be more of a “last resort”. Try to run everything off the van’s 12v DC system instead. There are a few TVs that are powered by DC, but they are pretty crappy looking.
The Gigabyte G27F Monitor is one of the few good monitors out there that ships out with a DC power cord, so I can just plug it right into my van. The monitor itself doesn’t have the built in features of a smart TV, but I’ll run an Android TV Box instead. The benefit of the Android TV box over smart TVs might be that the android box is going to be more customizable, especially if you are tech savvy.
Mounting The Swivel Arm
Mounting for the swivel arm begin a few steps back, when I built the shelving above the power center. I had the foresight to use a 2×4 here, instead of the 1″ and 3/4″ stuff I was using throughout the rest of the shelving build. I knew I’d mount the monitor there, so I reinforced the area. These monitors can weigh over 10lbs, and will be hanging 18″ off the shelving. A thin board will not hold this kind of weight over time.
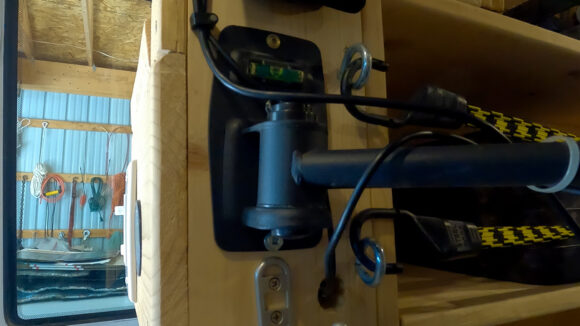
The swivel arm came with some decent heavy duty lag bolts, so I used those to screw it into the side of my shelving after picking a height and leveling it. There’s actually little level built into this swivel arm, which is pretty cool. Not only does it help mounting it level, but the level will also be useful in the future when parking at campsites and such.
Mounting The Monitor
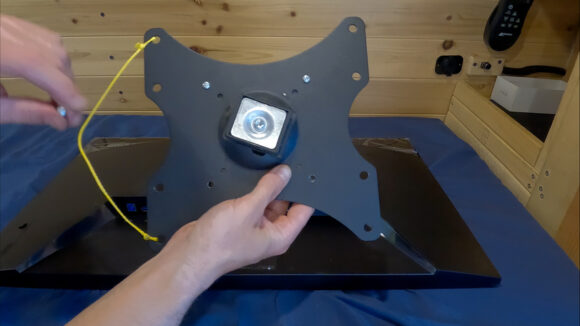
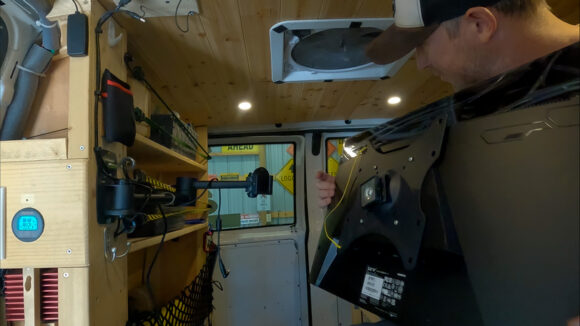
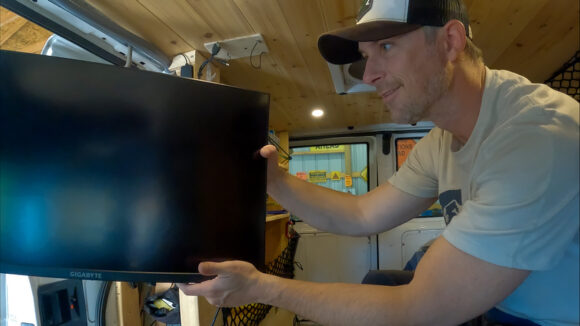
Mounting the monitor to the swivel arm is pretty straight forward. I have to remove a desk stand from the monitor, that’s how it was shipped. Then, I install the mounting bracket from the swivel arm to the back of the monitor itself. Most monitors have a universal screw layout on the back, so that these brackets can be made for a universal fit. Mine line up perfectly.
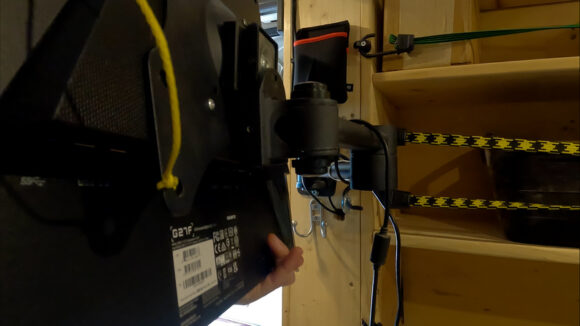
On the back of the mounting bracket, there’s a square tab that is mounted in the center, and pivots. This is how the unit tilts, and it’s also the piece that fits into a slot on the swivel arm. You can add a screw into the side of the little slot on the arm to secure the monitor to the frame for extra security.
Securing The Monitor While Driving
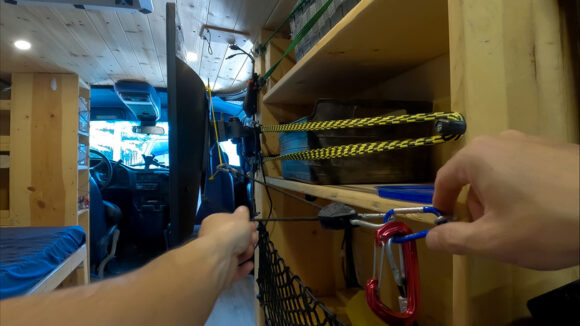
Because the monitor is mounted to a swivel arm, it will move when the van moves, and fly forward when braking hard. This is not good. To keep the monitor from moving while driving, I’ve devised a simple solution: Adjustable Rope Hangers and carabiners. On the back of the bracket that mounts the monitor to the swivel arm, I’ve attached a length of string spanning two of the screw holes. On the rear side of the shelving, at a height equal to the middle of the monitor, I install a screw eye. Then, I attach a carabiner to the screw eye. And finally, I use the adjustable rope hangers to connect the string on the monitor’s mounting bracket to the screw eye’s carabiner. These little mini ratchets work great for quickly tightening up the slack in the line, making it secure. And to remove, there’s a little quick release tab that makes adding slack o the line fast and easy, and removal is a quick as opening the carabiner when I’m ready to use the monitor.
Previous Van Build Project: 15 – Window Coverings | Van Build Project Index | Next Van Build Project: 17 – Media Center




Leave a Reply