Chevy Astro Camper Van Build: Window Coverings
Chevy Astro Camper Van Build Phase 15: Window Coverings
Tools & Materials
Materials:
Scotch Heavy Duty Adhesive Velcro
3M 90 Hi-Strength Spray Adhesive
Roll of Reflectix
Black Felt
Refelctix Tape
Magnets
AVS VentVisor Window Visors
Cardboard for making templates
Tools:
Scissors
Permanent Marker
Tape Measure
Video – Chevy Astro Camper Van Build: Window Coverings
Project Overview: Window Coverings
Windows coverings are essential to any van build. But for the stealth camper van, there are some things you can do to make your van even stealthier.
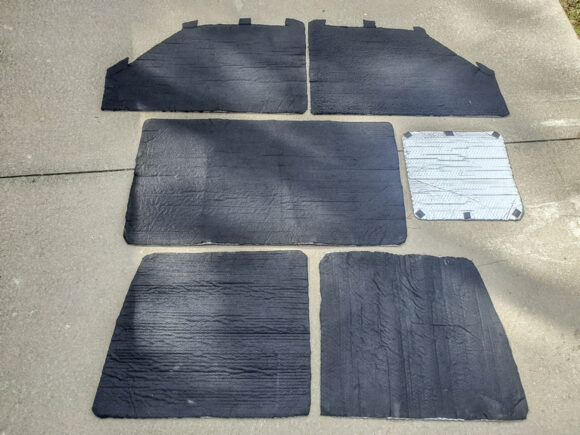
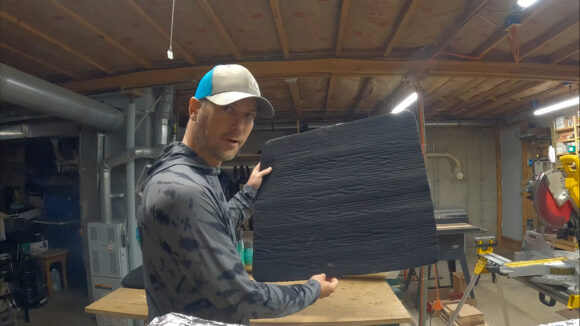
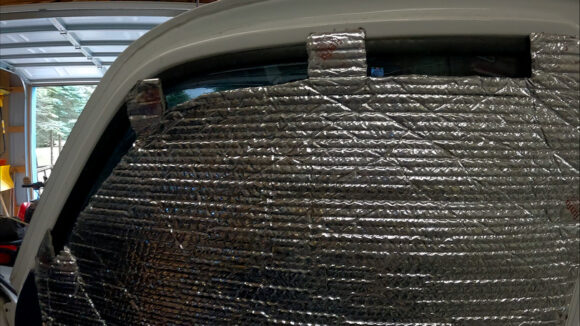
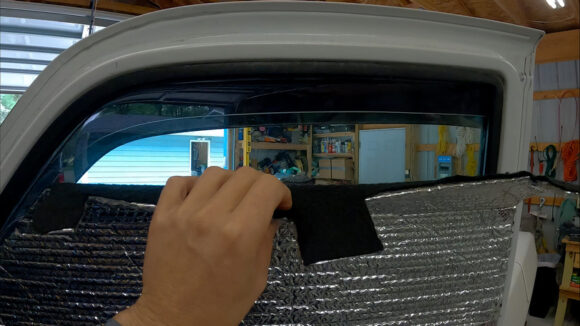
To make my window coverings, I use use a roll of Reflectix and black felt. They are held up to the van with magnets. It’s a pretty simple system, and it works extremely well. If you have a VentShade for your front windows, and you SHOULD, then you can modify your front window coverings to have tabs/cutouts that allow for airflow so that you can crack your front windows. With the VentShade, your windows can be cracked , and with the tabs cutout from the top of the inside window covering, nobody can tell from the outside, it just looks like one solid black tinted window. Stealthy.
Making Templates
First, you’ll want to cut some template out of cardboard for your window coverings. Trim the cardboard down to fit the window opening as closely as you can… not just the glass, but the metal part of the body alongside the window too… this is where the magnets will go. Make one for each window.
Cutting Reflectix
Next, lay the templates over your roll of Reflectix. Cut out the templates, making sure to leave extra material just to be careful. The window coverings will shrink a little over time, so if they overlap now, that’s ok.
Taping On Magnets
Now I’ll add the magnets. I’m putting 3-4 magnets along the sides of the smaller, rear windows, and more along the larger side and front windows. Put magnets on the corners at least, and then as many as needed in between to achieve a firm fit over the window. Tape these magnets to the Reflectix using, you guessed it, Reflectix Tape.
Glue On Black Felt
Here’s where the window coverings get more, uh, stealthy. What do you think would stand out more: a van with all its windows lined with Reflectix, or with dark tinted windows? Yup, the shiny reflectix. So, I’ll glue some black felt to the outside face of the Reflectix to mimic the look of dark black tinted windows. Sure, up close you can tell it’s not window tint, but really, only from a couple of feet away.
I use 3M 90 Hi-Strength Spray Adhesive here to glue the felt to the window coverings. The easiest way to do this is to spray both the Reflectix and the felt, then sandwich them together, with the felt on the bottom. After they dry, use a pair of scissors to cut the window covers to shape.
Installing the VentShade
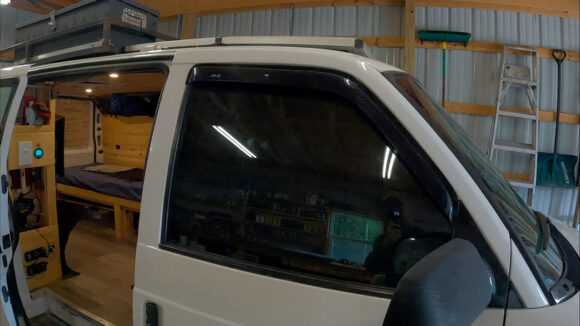
Before I can finish my front window coverings, I need to install the AVS VentVisors. These side window deflectors let fresh air in while keeping rain out. It also helps to keep the sun out of your eyes, reduce interior wind noise and fogging, and reduce interior heat. And finally, they allow a stealth camper van to have it’s windows open at night for ventilation, but to anyone outside, the windows look like they are completely rolled up.
The installation of the VentVisor is easy. It comes with an adhesive tape on the back of the visor. Clean the paint on the van with rubbing alcohol to prep the surface where it will be mounted on the door, above the top of the window. Line up the visor and press the adhesive tape onto the body. Done.
Cutting Tabs For Airflow On Front Window Coverings
With the VentVisor installed, now I know how far down I can roll my window before it can be seen from the outside, as it dips below the VentVisor. I then roll the window up slightly from there, and transfer this mark to my front window coverings. I cut out all of the material along the top of my front window coverings, except for the tabs I leave so that I can mount magnets to them. I cut off about 2-3″ from the top of the window coverings, and this now allows airflow to enter the vehicle while the windows are cracked and the coverings are up. This works great in conjunction with my overhead fan for ventilation.
Foldable Windshield Sun Shade
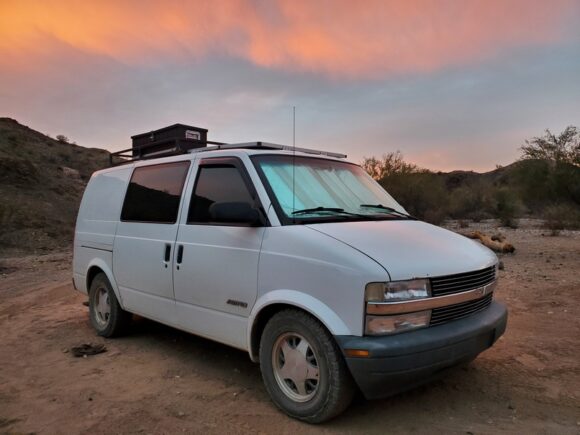
I just used an off-the-shelf Foldable Windshield Sun Shade to cover my front windshield. I just used the normal, reflective sun shades for this, because having a dark tinted front windshield would be weird and stand out. For a stealth camper van, you want to blend in. This folds up and I’m able to store it out of the way, next to/behind my driver’s seat.
Previous Van Build Project: 14 – Passenger Swivel Seat | Van Build Project Index | Next Van Build Project: 16 – Computer Monitor






Hi Troy, this is Scott. (Your friend that is building up my 5th Astro.) Hey, where did you buy the side windows insulated covers? The front windows.)
July 10, 2023 at 9:02 pm
Troy? You’ve got the wrong guy. Maybe you’re thinking of Traveling Troy, on youtube? His build series one one of the inspirations for my van build
July 11, 2023 at 8:28 pm