
Chevy Astro Camper Van Build: Strip n’ Clean
Chevy Astro Camper Van Build Phase 1: Strip n’ Clean

Chevy Astro van stripped and cleaned before camper van build
Before I can start building my camper van, I need to strip it down and clean it. Everything must go! Right down to the bare metal. Just like painting, prep work is key. It takes time to do things right, and this is a perfect example. This isn’t an exciting part of the van build project, but it’s where it all begins.
Tools & Materials Needed:
Materials
Sikaflex 715
Bucket, Brush, Sponges
Soap, Cleaning products
Rags, Towels
Tools
Dewalt Cordless Impact Driver
1/4″ Drive Quick Release Bit Extension
Dewalt Angle Grinder
Caulk Gun
Wire Wheel Attachment
Air Tools
Craftsman Socket Set
Shop Vac
Video – Chevy Astro Camper Van Build: Strip & Clean
If you’d rather watch this part of the build, check out the video below:
Project Overview: Strip & Clean
This phase of the project needs little explanation; strip the van down and clean it. If you’ve just bought a used van, any build project like this should start by thoroughly cleaning and inspecting what you have. Plus, you want to start with a clean van, right?
Strip the Van

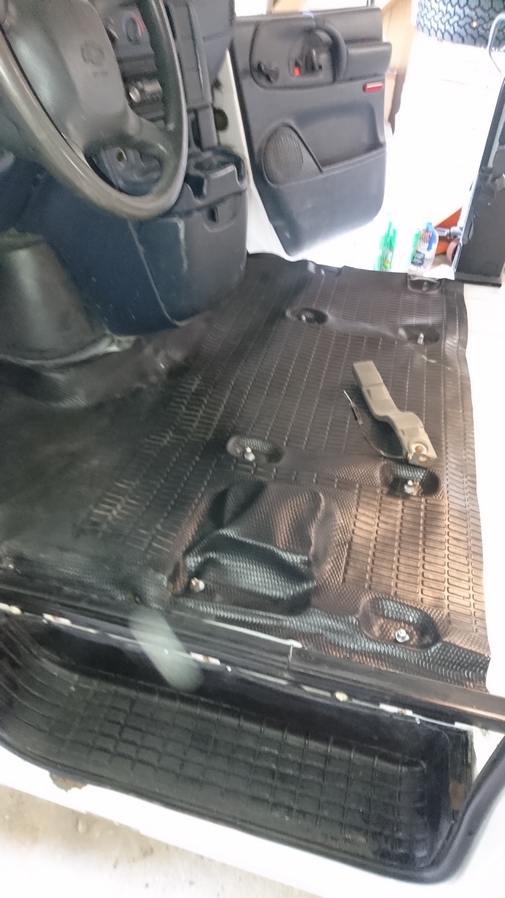
View of the cage in the rear cargo area

Removing the cage

Removing the interior
First things first; I need to remove everything in this van. Everything. This job is perhaps easier than if it were a regular passenger van, as opposed to this, a cargo van. Still, the rear cargo area presents it’s own unique challenges. The first thing I do is remove the front seats. It helps having air tools for this, it makes quick work of the otherwise tight and awkward bolts holding the seats to the floor. With the front seats gone, on to the to the cage that this cargo van had installed in the rear. I end up needing the angle grinder to cut off many of the bolts. With the cage gone, I moved on to the plastic walls. These had rivet nuts mounted through the wall, and prevented me from removing the plastic. So, the angle grinder saves the day again. I used this to cut the plastic around the nuts to free the wall, and then removed the rivet nuts afterwards now that I have the necessary clearance to do so.

Repairing a door entry way
All patched up, good as used
Next I repaired a spot on the driver’s side door entry where the floors was soft. Well, rusted through, actually. Damn Michigan vehicles, always riddled with rust. This spot is probably the worst on the entire van. I added this sheet metal here to provide some support to this area when stepping into the vehicle. I’ve also added some caulking and spray foam to try and seal up the area as best I can from the outside elements, bugs etc. There’s a trim piece that fits over this awful looking patch job to make all this look “normal”.
This area has never been a concern for me before, but while I’m building out this van, I might as well address issues as I come across them.
Cleaning
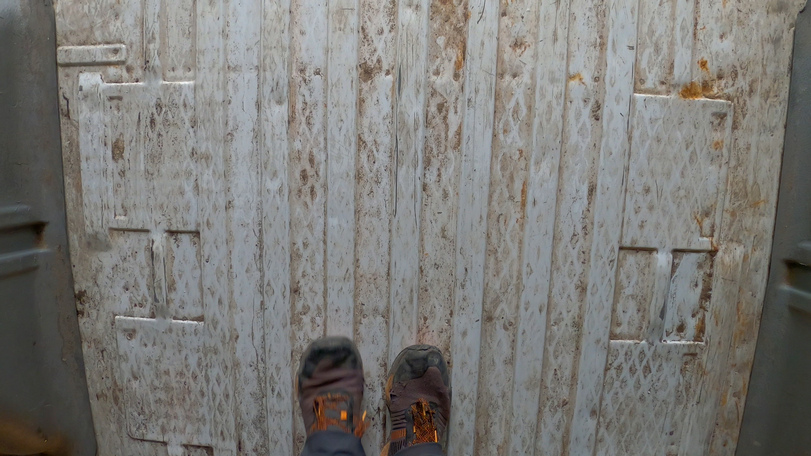
Condition of the floor
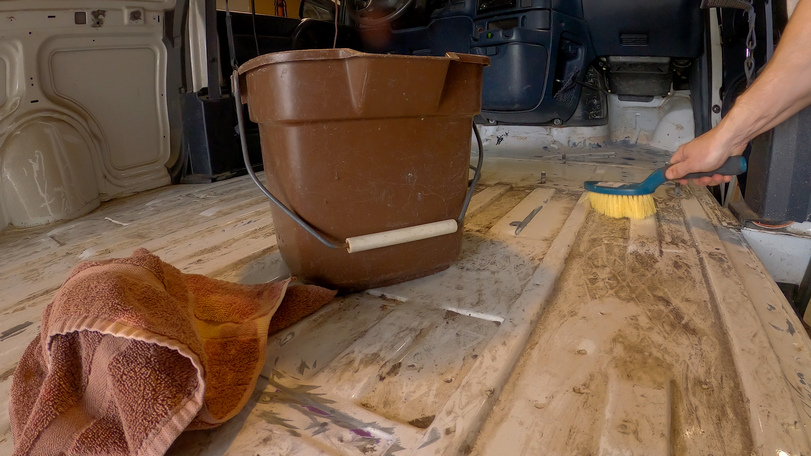
Cleaning the floors. I’m using Awesome cleaner and water

With the runner mat removed in the front and rear, I get a look at my floors. They’re dirty, but in good overall condition, with less rust (almost none) than I was expecting. Next, I’ll clean the floors using awesome cleaner and water. I use a bucket with a brush and scrub the floors and walls, and wipe down with a towel afterwards.
Surface Preparation

Stripping all the paint that’s chipping up with a wire wheel

After using the wire wheel attachment to strip the chipping paint
Now that the van is stripped of it’s interior and has had a thorough cleaning, it’s time to start prepping the surface. Now, I use an angle grinder with wire wheel attachment to strip the paint that’s chipping up on the floor. This will be key for the next step. Anywhere there’s a speck of rust, hit it with the wire wheel until you only see bare metal.
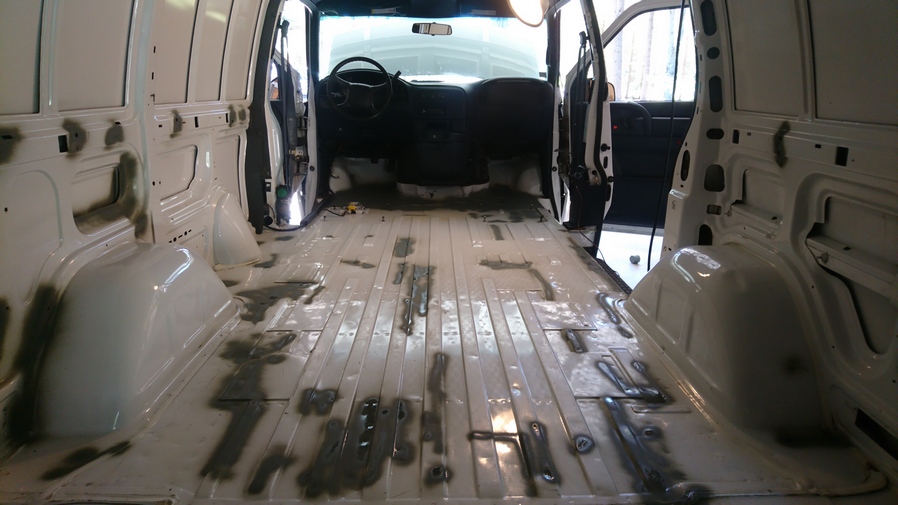
Just sprayed the bare metal spots with etching primer

Spraying over the primer with white paint
I go around the van and spray all of the bare metal areas, that I just went over with the wire wheel, using an etching primer. The etching primer helps create a better bond with the bare metal than a regular primer would. After this dries, I spray over the areas I hit with primer using a white spray paint. This will all be underneath the flooring, so none of needs to look good. It’s all about functionality here.
Caulk & Seal

Filling screw holes with caulk. I’m using Sikaflex-715
Finally, I go around the van and fill all of the screw holes, cracks etc with Sikaflex-715, a good quality flexible roofing sealant that I’ll use throughout the rest of this van build project for various applications.
Previous Van Build Post: 0 – Project Overview | DIY Stealth Camper Van Build Index | Next Van Build Post: 2 – Maxx Fan Installation


Leave a Reply